DRG Survivor Walkthrough: From a First Dive to Base-Game Progression
Start with Classic Scout, unlock the four classes, follow mission roadmaps and understand Gear, overclocks, optional Anomalies, Masteries and ten beginner checks.
Checked: 17 October 2026
Progression overview: dives, missions and sectors
This chart supports base-game progression decisions. Separate in-dive weapon upgrades from mission goals, sector gates and persistent ranks, Gear and Masteries. A measured fifty-to-one-hundred-hour completion estimate for every class is unverified.
Version 1.0 gives Elimination and Escort Duty separate five-sector tracks. Rather than the old fixed Stage 1–15 plus Final chart, use the selected mission and its stage display.
Start: learn the base-game loop with Classic Scout
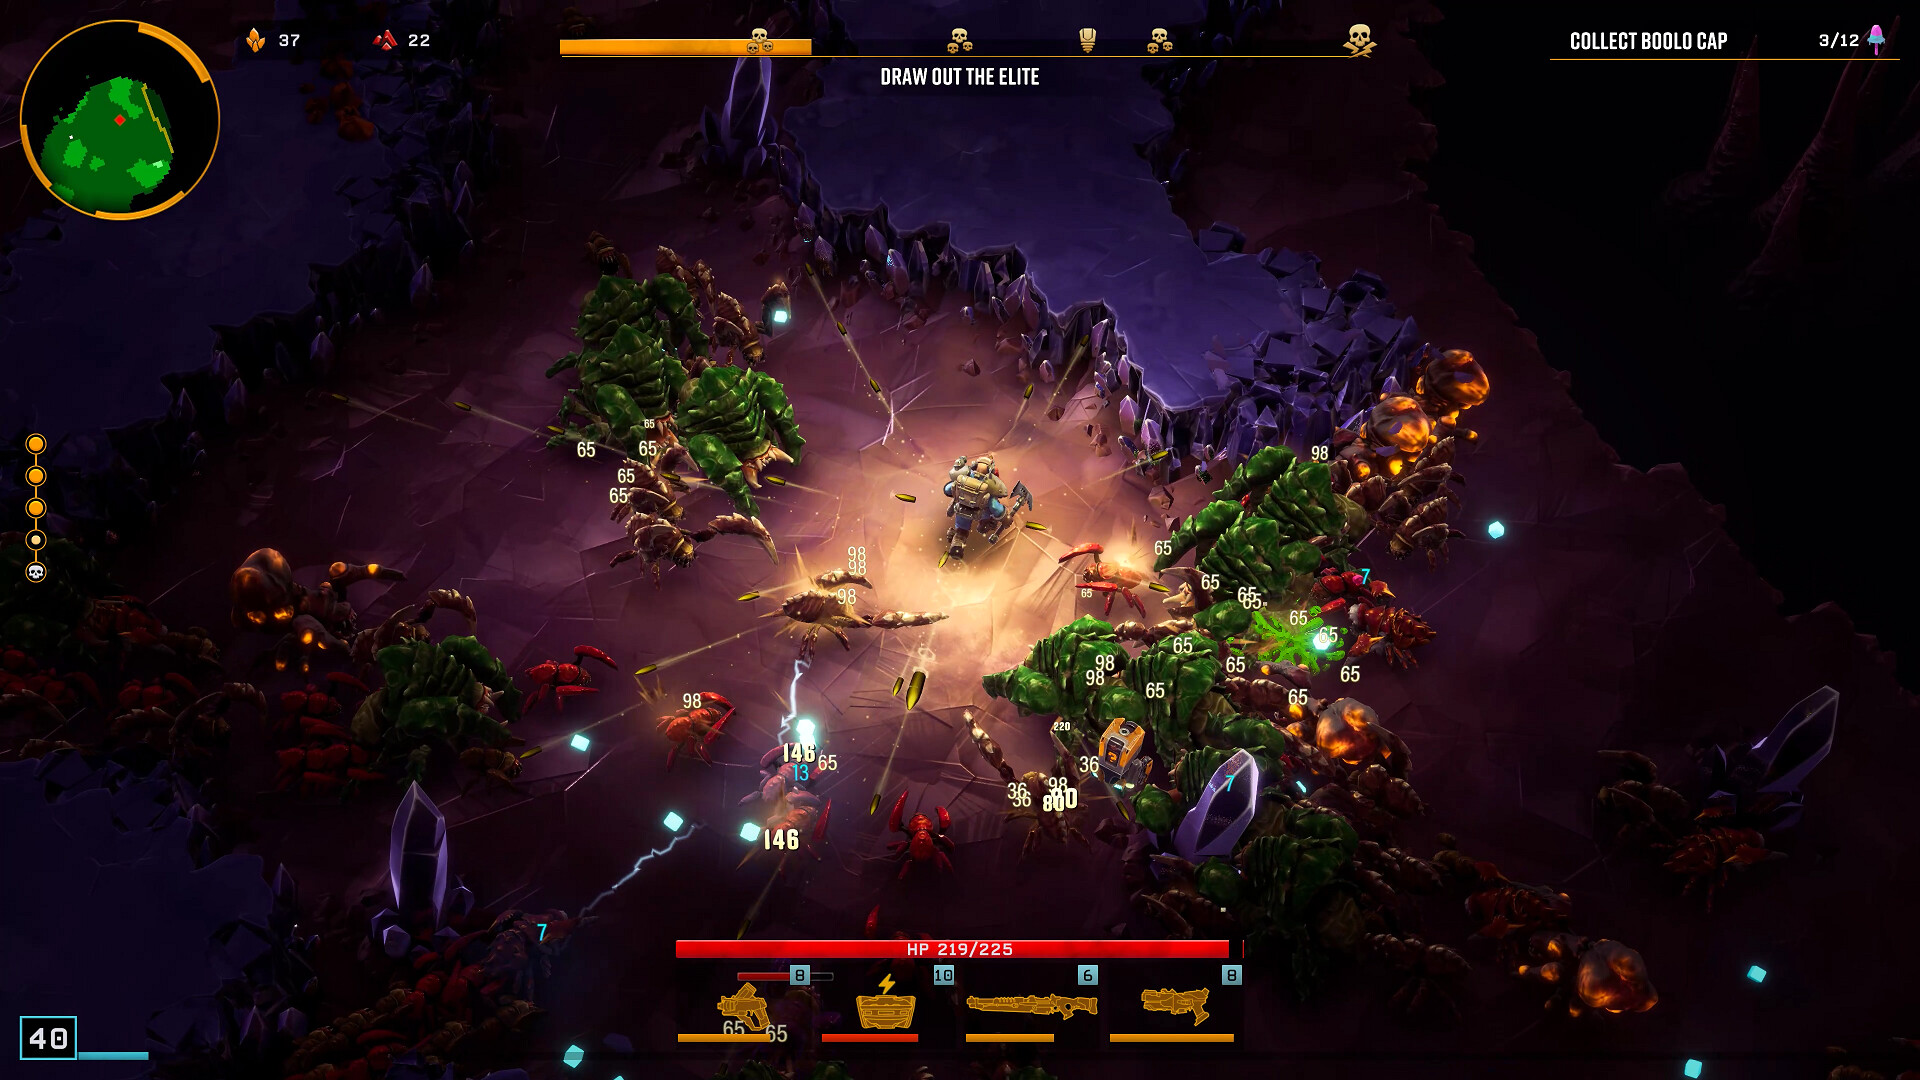
Start with Classic Scout and Deepcore GK2. Move while the automatic weapon fires, creating safe routes to experience, ore and the mission objective. Do not import the multiplayer DRG game’s manual firing and ammunition economy as identical systems.
Choose an available low-Hazard Elimination and read what completes its objective. Mining every deposit is not the success condition; prioritize a route that can reach extraction.
First dive: upgrades, Supply Pods and extraction
- Draw enemies away, collect experience and compare GK2-specific cards. When weapon level 6 is near, focusing the main weapon is one editorial choice over spreading upgrades.
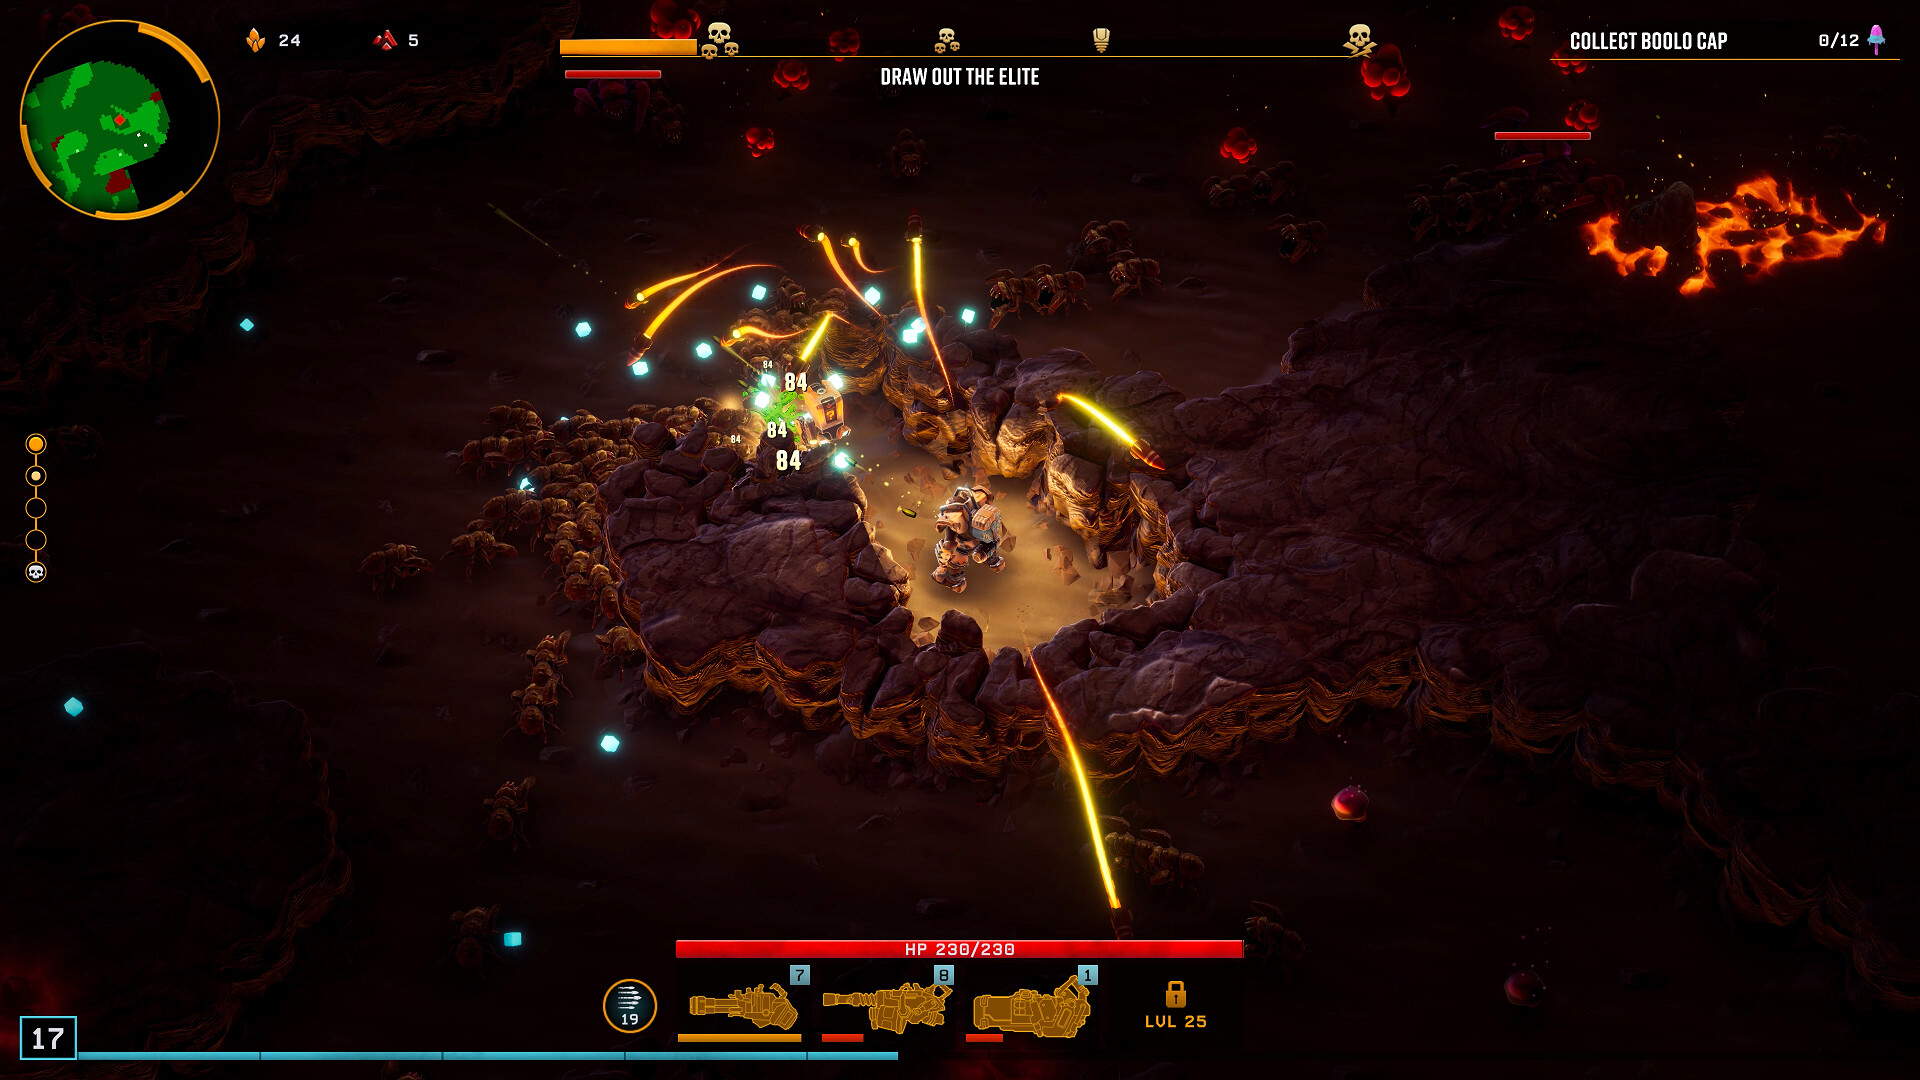
- Additional weapons appear at dwarf levels 5/15/25. Cover missing firing lanes with offered candidates rather than insisting on locked weapons or a specific order.
- Clear every piece of terrain inside the Supply Pod’s circle, including ore and crystals, then confirm landing and reward selection.
- Leave deep dead ends as the objective approaches completion. Read the Drop Pod direction and displayed countdown, enter the pod rather than merely stopping nearby, and confirm the stage ends.
- Use the shop to address the previous stage’s shortage: heal when health is unsafe, consider a Nitra weapon upgrade near a main-gun breakpoint, and compare rerolls only while keeping enough for useful purchases.
Unlocking four classes and choosing the next practice goal
| Class | Availability | Starting MOD and weapon | What to practise |
|---|---|---|---|
| Scout | Initially available | Classic / Deepcore GK2 | Movement during automatic fire, escape routes before mining, and focused main-weapon upgrades. |
| Gunner | Player Rank 3 | Weapons Specialist / Lead Storm | Move so the forward firing lane crosses enemies, then compare additional Projectile candidates. |
| Engineer | Player Rank 5 | Maintenance Worker / LMG Gun Platform | Safe places to stop, balancing Construct deployment with movement. |
| Driller | Player Rank 7 | Foreman / Subata 120 | The length of a tunnel and the firing lane behind Subata. |
MODs at Class Ranks 9 and 18 require separate progression. Heavy Gunner, Sharp Shooter, Demolitionist and Strong Armed are not freely available on a first run.
Check the mission roadmap before opening the five environments
The old fixed chart paying 2/4/6/8 Biome Points is not used as current evidence. Version 1.0 progression completes mission goals, opens a gate and advances to another sector. Five environments and five sectors are separate counts.
| Where to look | Check | Next action |
|---|---|---|
| Mission list | Available environments and objectives | Choose an objective at an available low Hazard |
| Sector gate | Required mission goals and completed progress | Complete missing objectives first |
| Gate mission | Hazard and mutator | Prepare for its rules rather than assuming regular mission conditions |
| After returning | Next sector, Gear and milestones | Check equipment and rank unlocks |
After collecting Gear
Equip Gear in the between-dive menu and compare setups for each Class MOD. The six categories—Armor, Weapon Mod, Canister, Gadget, Tool and Chip—are separate from weapon slots and artifacts.
Concrete comparisons include Company Breastplate’s health conditions, Hunters Harness variant triggers and Strange Mixture’s meta-resource Potency. Preview or Patch 3 values do not guarantee identical performance across every current item.
| Category | Role |
|---|---|
| Armor | Defense, maximum health and regeneration. Compare against the shortage in the current build. |
| Weapon Mod | Weapon-related stats such as Fire Rate and Critical Chance. |
| Canister | Stats that alter attacks, including Explosion Radius and Potency. |
| Gadget | Mining and collection, including Mining Speed and Pickup Radius. |
| Tool | Stats such as Reload Speed and Weapon Range. Some bonuses cross category boundaries. |
| Chip | Bosco’s stats, weapons and utility. This is separate from the dwarf’s four weapon slots. |
Weapon levels 6, 12 and 18: concrete overclock decisions
| Counter | Breakpoint | Action |
|---|---|---|
| Dwarf level during the dive | 5 / 15 / 25 | Choose additional weapons from unlocked offers. Four weapons are not granted at the start. |
| Individual weapon level | 6 / 12 | Balanced overclock choices. Read the card and its tradeoffs. |
| Individual weapon level | 18 | Unstable overclock choice. Compare specialization with penalties to other weapons. |
| Player / Class Rank | Persistent progression | Unlock classes and weapon candidates. This is not a substitute for dwarf or weapon level. |
Lead Storm Balanced choices
Bigger Mags trades a larger magazine against a Reload drawback. High Caliber Rounds trades Fire Rate for Damage and Piercing. A card name alone does not establish a penalty-free upgrade.
The current Wiki and official June material disagree about Gas Rerouting’s second effect. Its second modifier is held until a current in-game card is checked.
At level 18, read effects on other weapons too
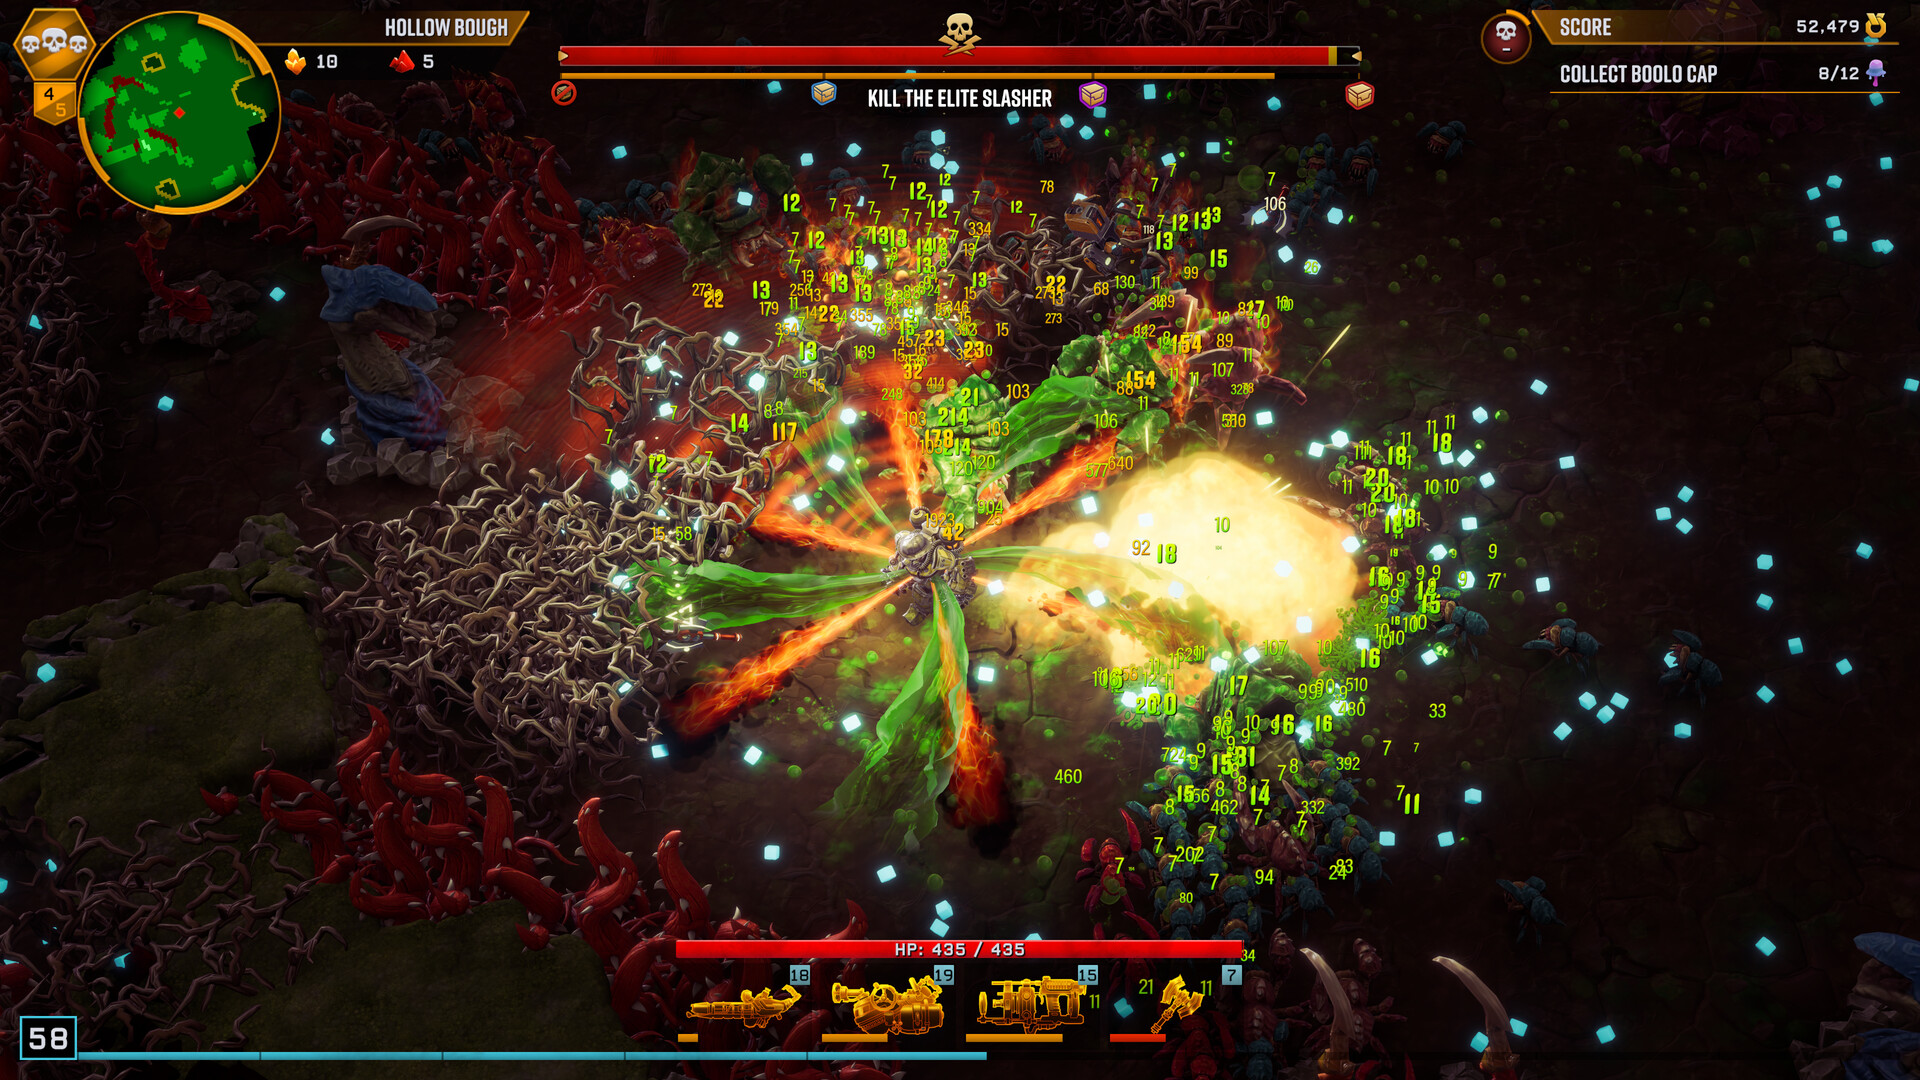
Lead Wrapped Ammo increases Damage while reducing Fire Rate and Reload. The Favourite specializes one weapon while weakening others. Compare strengthening the main weapon with supporting all four.
Overclocks were already available on first weapon use by version 1.0. A separate level-12 run for a permanent unlock is unnecessary, while weapon-level breakpoints during the dive remain.
Anomaly Dives: optional altered rules
Anomalies were introduced in Early Access Update 03 rather than first appearing in 1.0. These are examples from the introduction, not a list of every current value and unlock. Check Mastery progression and the current selection screen.
| Anomaly | Introduced rule | Build decision |
|---|---|---|
| Bloody Learner | Level-ups cause Damage and XP gain is increased | Compare XP collection against survival |
| Hardcore | Maximum health and recovery are heavily restricted | Do not assume normal durability |
| Vanilla | Removes bonuses such as meta and Mastery upgrades | Do not assume owned Gear or normal bonuses all apply |
| No Movement | Restricts when movement is allowed | Adapt beyond the usual movement-based evasion plan |
Patch 1.0.87p also records enabling B0b-33 in Vanilla, Bloody Learner, Hardcore and Company Man. Historical descriptions alone do not establish every current mode-specific rule.
Persistent upgrades and Mastery progression
| System | What persists | Next check |
|---|---|---|
| Player Rank | Progress toward classes and other unlocks | Gunner at 3, Engineer at 5 and Driller at 7 |
| Class Rank | Class weapon candidates and MODs | Separate default-weapon ranks from MOD ranks 9/18 |
| Meta Upgrades | Persistent stats | Current Credits/mineral costs; Morkite Reactor Cores were removed in 1.0 |
| Gear | Owned items and per-MOD equipment | Stats, quirks, level and variants |
| Mastery | Progress for a weapon, MOD or environment | Version 1.0 grants power rewards for challenges meeting a minimum Hazard; 1.1 expands additional rewards through Mastery Points |
Do not use the old claim that hundreds of clears across all Hazards are required for the basic Mastery power reward. Read 1.1 additional rewards separately from 1.0 power rewards.
Ten checks for beginners
- In a first Classic Scout run, give Deepcore GK2 one clear target: weapon level 6. Prioritize recovery or movement over the breakpoint when survival requires it.
- Do not cross the centre of a pack just because experience is visible. Draw enemies outward, then loop back to collect safely.
- Before mining a vein, check whether there is open ground beyond it. If a short escape tunnel is not possible, restore distance instead of forcing the dig.
- Separate Gold and Nitra uses. Compare weapon-specific upgrades paid with Nitra against general improvements, healing and rerolls paid with Gold, keeping enough for the next useful purchase.
- Clear all terrain within a Supply Pod’s radius, including ore and crystals. Resources without a pickaxe overlay must also be removed from the landing area.
- Read artifact triggers and drawbacks. For Turbo Encabulator, consider Mining Speed as well as overclock count; for MoCap, compare the missing-health condition against survival.
- Regular additional weapon slots use dwarf levels 5/15/25; overclocks use individual weapon levels 6/12/18. Distinguish shared-tag cards from weapon-specific cards.
- The Drop Pod is extraction; the Supply Pod offers an artifact. Once extraction appears, read its direction and remaining time, prioritizing arrival over optional ore.
- After returning, check Gear and milestones. Separate useful pieces from duplicates rather than selling everything solely because it is lower rarity.
- Address one failure cause on the next attempt: routes when surrounded during mining, weapon level and applicable tags when the objective survives, or countdown awareness when extraction fails.
FAQ
Which class is available first?
Classic Scout is available from the start and begins with Deepcore GK2. Gunner unlocks at Player Rank 3, Engineer at 5 and Driller at 7. Do not assume Heavy Gunner is available immediately.
Do overclocks need a separate unlock run?
The old permanent unlock requirement at weapon level 12 was already obsolete in official 1.0 documentation. During a dive, reach individual weapon levels 6, 12 and 18.
Are Anomaly clears required for regular progression?
Anomalies are optional modes with altered rules. Distinguish them from the regular mission roadmap and Masteries, then read the displayed unlock and rules. A full Legendary loadout is not established as an entry requirement.
Is this a verified best build or complete guide?
Controlled comparisons across every MOD, Hazard and equipment variant, and runtime clears, have not been performed. Names and requirements are source-checked; recommendations are editorial decisions with reasons.

LG UltraGear 27GP850

G305 LIGHTSPEED

REALFORCE R3S

SteelSeries QcK Edge XL
Affiliate links to Amazon Japan. Purchases may earn us a commission at no extra cost to you. Check the retailer for current prices.
eShop ¥5000 — Rakuten
ELECOM controller
Switch OLED — Splatoon 3
Art of Balatro
Affiliate links to Rakuten Japan. Listed prices are indicative; check the retailer for current prices.