
Glorious Model O 2

REALFORCE R3S

Razer Gigantus V2

AOC Q27G2U
Affiliate links to Amazon Japan. Purchases may earn us a commission at no extra cost to you. Check the retailer for current prices.
HORI mini controller for Switch
Roguelike Design Theory
eShop ¥5000 — Rakuten
PowerA Fusion Pro
Affiliate links to Rakuten Japan. Listed prices are indicative; check the retailer for current prices.
Deep Rock Galactic: Survivor
DRG Survivor First Dive: Weapon Levels, Mining, Supply Pods and Extraction
Build a route that lets you collect experience, mine useful resources and still reach the mission objective. A first dive is not won by clearing every mineral deposit. Once the Drop Pod is available, reaching it before the displayed countdown ends takes priority over another optional vein.
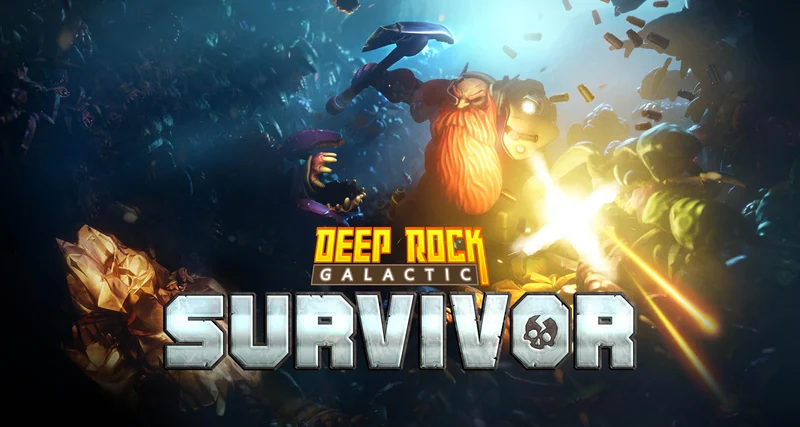
Image: Funday Games / Ghost Ship Publishing
7 sections. Spoiler details are not included in search.
Start with Classic Scout and practise moving around enemies
Scout and its Classic class MOD are available from the start. Classic begins with Deepcore GK2. Let the automatic weapon work while you concentrate on moving around the pack and creating a way through nearby terrain. You are playing the single-player auto-shooter Survivor; the multiplayer game’s manual firing and supply-pod economy are different systems.
Choose the available low Hazard Elimination dive and read its objective. Before mining a wall, look beyond the deposit: is there open ground or a dead end? A shorter path is useful only if you can finish digging before the enemies close in.
Dwarf levels and weapon levels are different
Experience increases the dwarf’s level and produces upgrade choices. A weapon-specific card improves the pictured weapon and advances its weapon level, usually by one. General or shared-tag improvements can help combat without advancing that individual weapon’s level.
| Counter | Important points | What to do |
|---|---|---|
| Dwarf level | 5 / 15 / 25 in a normal dive | Choose an additional weapon from the unlocked offers. |
| Individual weapon level | 6 / 12 / 18 | Reach an overclock choice for that weapon. |
| Persistent player and class ranks | Unlock progress outside the current dive | Check them when preparing later classes and weapon candidates. |
Focus upgrades on one main weapon
For a learning run, use Deepcore GK2 as the first weapon-level target rather than spreading every weapon-specific card across all the guns. Aim for its next overclock breakpoint while still taking survival or route improvements when those solve the immediate problem. This is an editorial priority, not a compulsory build.
Compare damage, fire rate and reload with what you see. If enemies remain in range through a long reload, reload speed may address the gap. If the gun fires continuously but the pack survives, damage or coverage may be missing. Read an overclock’s drawback before accepting a larger bonus.
Do not repeat the old separate “reach weapon level 12 to unlock overclocks permanently” grind. Official 1.0 documentation already describes overclocks as available on first use. You still have to reach the individual weapon’s in-dive breakpoint.
Choose what to mine and leave yourself an exit
Gold and Nitra serve different shopping needs. Do not dig every vein on the assumption that both pay for the same upgrade. Position the enemy pack away from the deposit, then mine while there is space. If enemies close the route, leave the vein and restore distance.
| Resource or reward | Use in this plan | Decision before detouring |
|---|---|---|
| Experience | Dwarf level and upgrade choices. | Loop back when safe; do not cut through the centre of a pack for one pickup. |
| Gold | General/shop improvements, level-up or shop rerolls, and shop healing. | Keep purchase money if another reroll would leave you unable to use the offer. |
| Nitra | Weapon-specific upgrades. Rerolling artifacts requires the Artifact Rerolls meta upgrade. | Consider the main weapon’s next breakpoint before spending it on optional rerolls. |
| Mission objective | Completing the stage’s assigned task and reaching extraction. | Use the objective display; optional resource collection does not replace it. |
Open the Supply Pod by clearing the whole marked area
A Supply Pod offers an artifact during the stage. Clear the terrain inside its marked landing radius. Resource veins and crystals in that radius also need mining even when they lack the pickaxe overlay. Leaving one of those objects is a useful first check when the event will not advance.
Complete the marked event while keeping room to move. If enemies occupy the area, lure them elsewhere, then finish the required mining or waiting. Take a useful artifact from the offered selection; do not assume a particular rare artifact will appear on your first dive.
When the Drop Pod arrives, stop optional mining
The Supply Pod and Drop Pod are different: one gives an artifact; the other is your exit. Complete the Elimination stage’s objective, then follow the extraction indicator and the displayed countdown. Other mission types and equipment can change timings, so this guide does not promise the same fixed timer in every dive.
- As the objective nears completion, leave yourself open ground and avoid entering a deep dead end.
- When extraction is available, check the direction and remaining time immediately.
- Take an open route or a short, finishable tunnel. Abandon optional ore and distant experience if they delay arrival.
- Enter the Drop Pod before the countdown expires. Confirm that the stage ends instead of stopping nearby.
Use the shop to address the previous stage’s problems
Spend Nitra on a relevant weapon upgrade, especially near a breakpoint. Use Gold for useful general improvements or healing when the current HP makes the next stage unsafe. Rerolling is optional: compare the displayed cost with the improvement you can still afford.
If you repeatedly die while mining, look at movement, mining speed and route choice rather than only adding damage. If you survive but cannot finish the objective, check weapon levels and whether the chosen upgrades affect the weapons you carry. Record that cause before starting another attempt.
Questions and answers
Why did a damage card not increase my weapon level?
Check whether it was a general or tag-wide card. Weapon-specific cards advance the pictured weapon; the dwarf’s level is another counter.
Why is the Supply Pod not ready after I cleared the marked rocks?
Inspect the entire landing radius for resource veins and crystals too. Those can require mining even without the pickaxe overlay.
Should I finish mining before taking the Drop Pod?
Once the extraction countdown is active, reaching the exit is the priority. Optional ore is not worth missing the departure.