Death Howl Walkthrough
Follow Ro’s journey in The Outer Zone and 11 bit studios’ Death Howl, from the opening through the covered Sorg encounter. The suggested route visits Distorted Hollows, Piercing Winds, Gloomy Waters, Hostile Plains, and the Howling Mountain, with region routes, quest steps, and boss preparation. It also covers Grove preparation, Teardrop planning, and ten practical tips; this is research-based guidance rather than our own tested complete walkthrough.
- From the Opening to the Ending
- Prologue and Tutorial
- Chapter 1: Distorted Hollows
- Chapter 2: Piercing Winds
- Chapter 3: Gloomy Waters
- Chapter 4: Hostile Plains
- Chapter 5: Howling Mountain
- Nine Tracked Side-Quest Routes
- Useful Items to Remember
- Ending and Post-Completion Modes
- Ten Tips for New Players
- Frequently Asked Questions (FAQ)
- Related Links
Planning Play Time
The publisher describes 25+ hours of play across four realms and thirteen regions. The final mountain is part of that overall scope, not a fifth formal realm. Exploration, retries, side quests, and the chosen mode can change the time substantially; the guide’s chapter ranges are editorial estimates, not measured completion times.
Suggested Route Overview
Death Howl has four realms and a concluding mountain route, with open paths allowing different preparation orders. This guide suggests Distorted Hollows, Piercing Winds, Gloomy Waters, Hostile Plains, then the mountain; it is not a rigid rule that each realm requires the preceding reward card to unlock.
| Order | Realm | Bosses | Planning estimate |
|---|---|---|---|
| Chapter 1 | Realm of Distorted Hollows | Cantharsis | Editorial estimate: 4–6 hours |
| Chapter 2 | Realm of Piercing Winds | Tradontoz | Editorial estimate: 5–7 hours |
| Chapter 3 | Realm of Gloomy Waters | Cephagloom | Editorial estimate: 6–8 hours |
| Chapter 4 | Realm of Hostile Plains | Exorath | Editorial estimate: 5–7 hours |
| Chapter 5 | The Howling Mountain | Sorg | Editorial estimate: 3–5 hours |
📖 Main Story: Ro’s Search for Olvi
Ro enters a spirit world after losing her son, Olvi. The setting draws on Scandinavian and shamanic imagery, while exploration and tactical card battles carry the journey through grief. The covered final route reaches Sorg; Teardrops are progression resources, not established fragments of Olvi’s soul or proof of a branching Frostpunk-style decision system.
Opening Sequence
- Start a new game and inspect the modes currently available. For a first playthrough, use Normal and follow the tutorial prompts; REBIRTH and Custom Mode have later unlock requirements.
- The opening introduces Olvi’s death and Ro’s journey into the spirit world.
- Follow the introductory battles to learn drawing cards, basic attacks, and Block. Use the card names and effects actually displayed in your current version.
- At the first Sacred Grove, inspect recovery, the map, progression, the current deck, and the equipment menu.
- Continue along the opened route into the Forest of Howling Shadows.
Four Tutorial Priorities
Opening Equipment Check
Inspect the equipment actually unlocked and read its trigger. A launch-version player account identifies Brother’s Bracelet and Mother’s Cloth as early choices and records one initial equipment slot; it does not establish two simultaneous automatic starting awards.
Learn the Opening Cards
Read the starting deck rather than assuming an exact fifteen-card Realmless list. The five entries below represent attack, Block, movement, range, and ailment-response roles to inspect in the current version.
- Quick Strike: launch observation—1 mana, 1 damage, Push 2. Check the destination and terrain when using this basic attack.
- Block of Wood: launch observation—2 mana for 2 Block. Compare it with the marked incoming damage.
- Sprint: launch observation—1 mana, a card Sacrifice, and movement of 2 tiles. Check the landing tile before leaving the attack lane.
- Aim for the Heart: launch observation—2 mana for 3 ranged damage. Check line of sight and Bird Nest’s surcharge if it drew the card.
- Cleanse: an ailment-response option. Check which effects it actually removes; Poison, Chill, and disruptive cards do not all share one universal removal rule.
[Area 1] Forest of Howling Shadows
- The opening realm includes Forest, Meadows, and Creek routes, with Groves, Nests, and paths to revisit as preparation improves.
- The Forest’s Bird Nest Totem adds a draw each turn, but the drawn card costs one more mana that turn. Compare the extra option with the cost before equipping it.
- For Flames of Vengeance, talk to the burning tree and find the blue bird in the Forest. An official patch moved the bird within this region, so use the current quest marker rather than the unverified northeast-altar claim.
- Use early Grimsnout encounters to learn attack previews, movement costs, and card sequencing. A one-turn kill is not guaranteed for every deck or enemy variant.
- Tree Root grants an attack-damage bonus after a qualifying kill for that turn. A recorded route starts from the northern Forest Grove and finds its Nest beyond an Elder encounter near the river; prepare it if the deck can chain kills and attacks.
[Area 2] Meadows of Delusion
- Start Balancing the Scales at the giant fish in the Meadows’ western pond. Collect five Scale Shield quest cards along the western route and return them for Pearl; they are pickups rather than one guaranteed drop per battle.
- Reptilian Eggs offers a choice of one of five cards on the first turn in the recorded Normal Mode description. Compare its opening option with the deck’s other equipment.
- The launch encounter records Giant Puffballs with 4 HP and a three-turn poison explosion. Resolve the threat before its timer; moving a few tiles is not assumed to avoid the poison.
- Dire Shrooms can pull Ro and disrupt a planned position. Check their attack lanes and the following enemies’ reach before choosing where to end a turn.
[Area 3] Creek of Spectral Falls
- Totemite creates a timed encounter before the main boss. The latest official update changes its Doom timer from seven rounds to six; plan against the current timer rather than the previous figure.
- Explore the Creek’s open paths and map connections before the boss. A claim of a verified one-way waterfall shortcut is not established by the sources read.
- Recover and review the deck before Cantharsis. Keep enough movement to leave its frontal lane, use Tree Root or Bird Nest only if their triggers fit, and obey the deck manager’s current limits.
👹 Cantharsis Boss Encounter
See the dedicated boss page for the encounter sequence, recorded launch-version statistics, preparation choices, and current-version limitations.
Cantharsis — encounter details →📜 Side Quests in This Chapter
- Flames of Vengeance(See Nine Tracked Side-Quest Routes for details.)
- Balancing the Scales(See Nine Tracked Side-Quest Routes for details.)
- Avoid Cantharsis’s frontal line and use the side lanes to attack its face. Kill the summoned threats and plan around its movement; a three-to-four-turn victory is not guaranteed.
- Bird Nest’s extra drawn card costs one more mana that turn. Account for this before committing mana to movement or a different attack.
- Pearl discards a random card each turn and grants Block equal to that card’s cost in the recorded description. Avoid building a turn that fails if an essential card is discarded.
[Area 1] The Breathing Chasm
- For Reap or Weep, speak to the northeastern Chasm quest giver, collect the eyes in the northwestern cave, survive the ambush, and return. Picking up the eyes is not evidence that a Realmless Reaping Eye attack card is unlocked.
- In cold routes, inspect terrain, attack previews, and movement destinations before committing. An automatic sliding-floor rule is not established by the sources read.
- Opal reduces a random card’s mana cost by one for the current turn in the recorded description. It can improve some hands, but is not a permanent extra mana point or a requirement for Tradontoz.
- Chill causes HP pressure in the recorded encounter. Light a Fire is a regional skill unlock; standing near a fire counters the cold. Do not assume Chill simply raises all mana costs or that a particular removal card cures it.
[Area 2] The Hidden Vale
- For The Laughing Face of Death, follow the corpse dialogue, battle/rest progression, and boulder quest-card delivery. Frostalite does not establish a two-tile overworld boulder-pushing mechanic.
- The Laughing Face of Death rewards Thick Fur. Its fatal-strike protection is limited to once per battle; the official patch preserves current HP when it triggers rather than setting HP to one.
- Bear Skull grants 3 Block after a qualifying kill in the recorded description. Prepare a way to finish a target before relying on that defense.
- A recorded route finds Cone Fylge in an eastern Hidden Vale cave. It is a companion card; the sources read do not establish a universal extra mana point each turn from every Fylge.
[Area 3] The Glacial Maw
- Frozen Driftwood comes from the central Hidden Vale frozen-lake route: defeat the three marked Elder encounters to the northwest, east, and west, then return. Its recorded effect is 1 Block each turn.
- Tradontoz’s falling ice is marked by red tiles before the hit. Check those previews and avoid standing next to the hands when planning the body opening.
- Before Tradontoz, review attacks for the two hands, movement for marked ice, and the regional Light a Fire unlock. Use the actual costs of Heavy Blizzard, Grand Spear, and any other cards you select.
👹 Tradontoz Boss Encounter
See the dedicated boss page for the encounter sequence, recorded launch-version statistics, preparation choices, and current-version limitations.
Tradontoz — encounter details →📜 Side Quests in This Chapter
- Reap or Weep(See Nine Tracked Side-Quest Routes for details.)
- The Laughing Face of Death(See Nine Tracked Side-Quest Routes for details.)
- The launch observation records two hands with 10 HP and 2 Block each turn. Defeat both to expose the body for a one-turn stun window, then prepare for the hands to reform.
- Use the current Light a Fire and Ember descriptions. In the recorded encounter, Ember costs 1 mana and 1 HP to deal damage; it is not a token that restores mana.
- Plan around Chill’s HP pressure and nearby fire. Its recorded effect is not an escalating hand-wide mana penalty, and card-specific ailment removal must be checked separately.
[Area 1] Dead Roots
- Root Out Corruption starts at the red tree in Dead Roots. Carry the Twig quest card to the red-marked landmarks and return to trigger Trunkrot. The launch observation records 100 HP; check the current mode’s display.
- For In Search of Beauty, obtain the rock quest card from the large rock in a cave above the central Elder. Kill five distinct enemy types with that card and return; the requirement is not equipping the Red Rock Totem.
- Adder Stone reduces Curse costs by one. The newest official update makes its random-card conversion occur every other turn; an earlier update’s every-turn wording is no longer current.
- Gloomcroaks can pull Ro with their tongues. Check the destination and nearby enemy ranges, then decide whether movement, Block, or a kill best answers the new position.
[Area 2] The Wailing Marshes
- The Soother is the separate Bowl secret encounter: reach the altar at 5 HP or less to open the bridge. Entangled Relationship instead involves the beached whale and three encounters without a Grove rest.
- The official patch spells the Totem Algae Bubble and raises its health loss from 1 to 2. Read the current target and trigger text before combining a health-cost effect with the deck.
- Branch Fylge is another companion option. An official fix allows it to move one tile before firing; a universal per-turn mana bonus is not established by the sources read.
- Compare available defensive and poison-support equipment with the actual triggers. The names Frozen Fish Head and Infected Tooth alone do not establish the poison effects previously assigned to them.
[Area 3] Shores of Darkness
- On the Shores route, inspect Dreadfin attack previews and retaliation before selecting a ranged attack. Avoid treating a named ranged card as an automatic safe answer.
- Study Woeful Seashroom attacks before Cephagloom. Their encounter pressure matters during the boss’s exposed phase; movement, timing, and a useful Spirit card can support a clear.
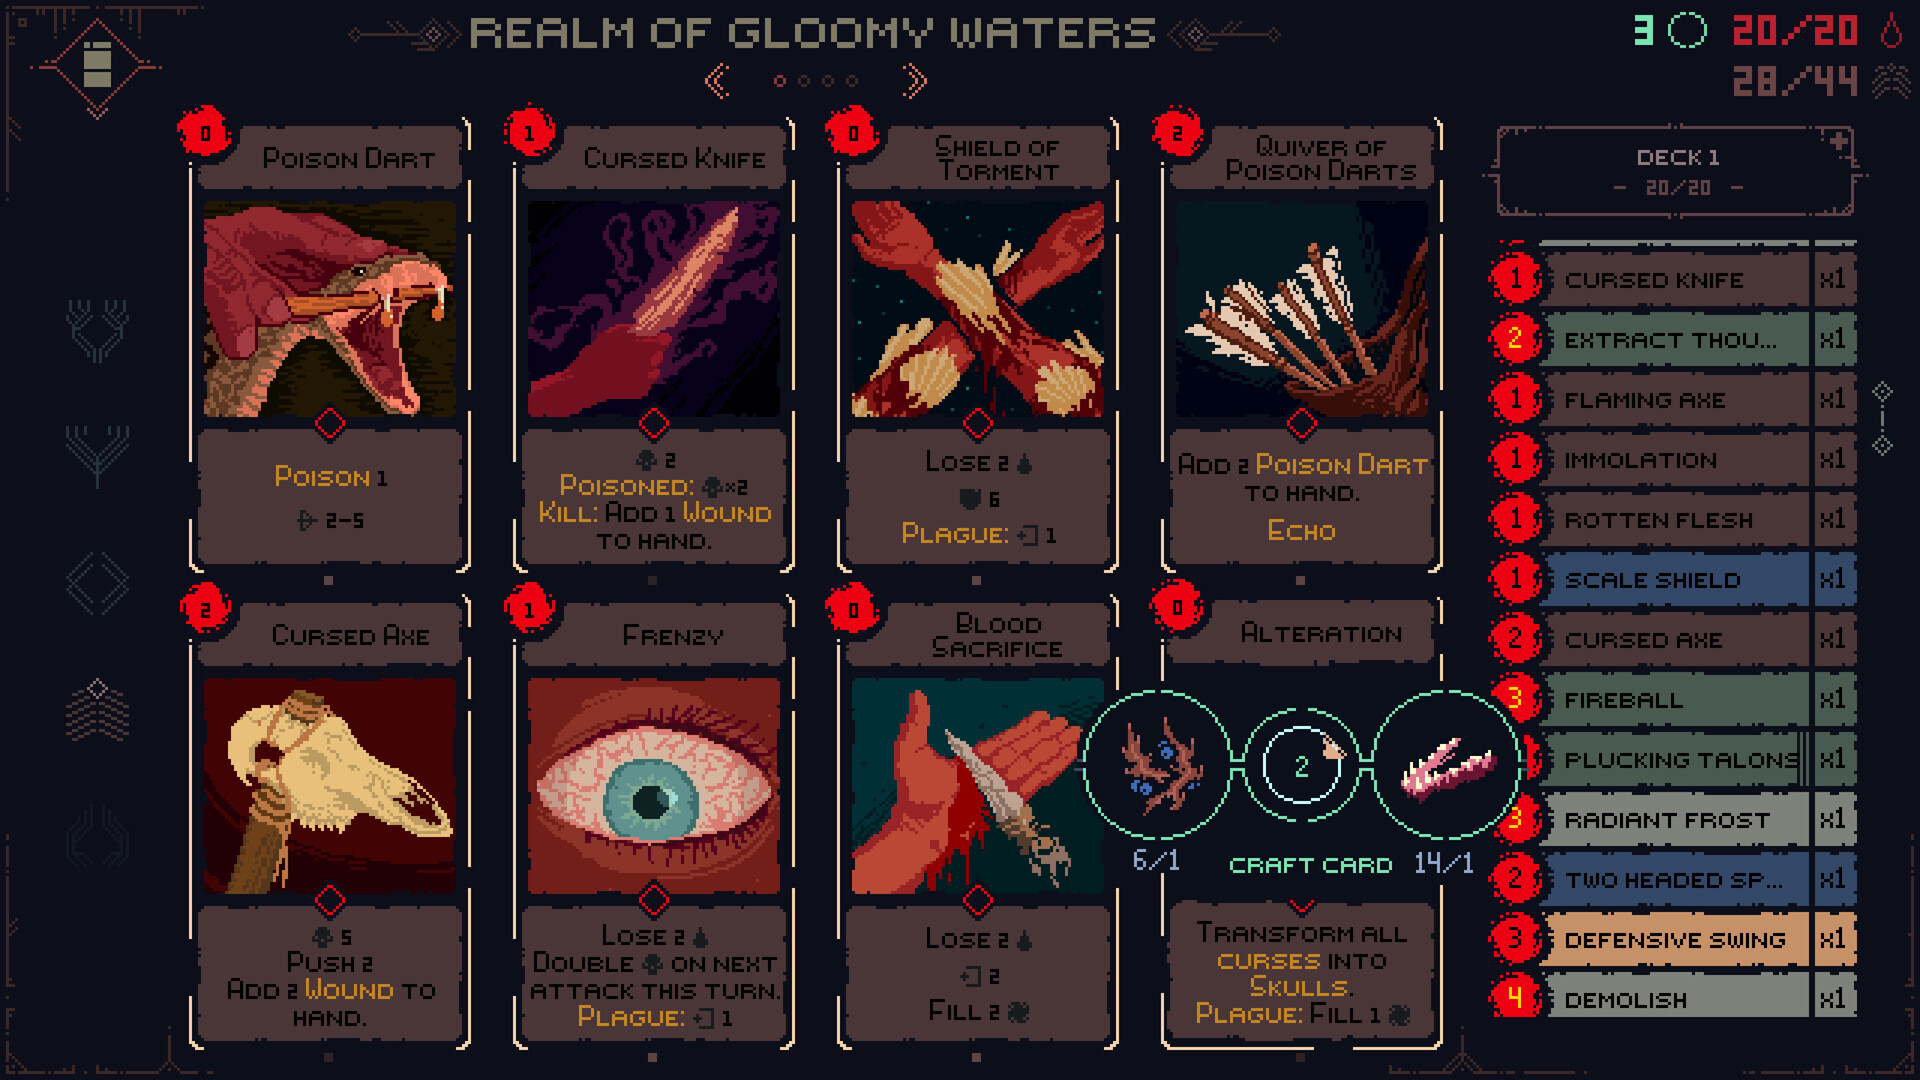
- Before Cephagloom, prepare a way to clear all four tentacles in the same opening and retain damage for the body. Poisonous Grounds, Poisonous Winds, and direct damage are options according to the actual deck.
👹 Cephagloom Boss Encounter
See the dedicated boss page for the encounter sequence, recorded launch-version statistics, preparation choices, and current-version limitations.
Cephagloom — encounter details →📜 Side Quests in This Chapter
- Root Out Corruption(See Nine Tracked Side-Quest Routes for details.)
- In Search of Beauty(See Nine Tracked Side-Quest Routes for details.)
- Entangled Relationship(See Nine Tracked Side-Quest Routes for details.)
- The recorded encounter has four 5-HP tentacles that respawn individually, followed by a 30-HP body exposed for three turns. Poison can help coordinate the clear, but physical damage is not proven incapable of winning.
- Heavy Thoughts are disruptive cards added to the hand. Check their card text and Adder Stone’s current conversion trigger; do not treat them as a universal plus-two cost increase to the most expensive card.
- Start In Search of Beauty when you obtain its rock quest card and track five distinct enemy-type kills with that card. The Red Rock Totem is the reward, not the equipment needed to begin progress.
[Area 1] Moors of Withered Memories
- Eggle is an optional encounter on the Moors route. A player quest observation reports that this hidden-cave encounter is not required for Uninvited Sorrows; confirm the giver’s required route.
- Accept Uninvited Sorrows from the thorned being, use the healing quest card as appropriate, clear the required area without resting at a Grove, and return. The recovery reward’s official later patch changes healing from 3 to 2; do not use the previous maximum-three figure.
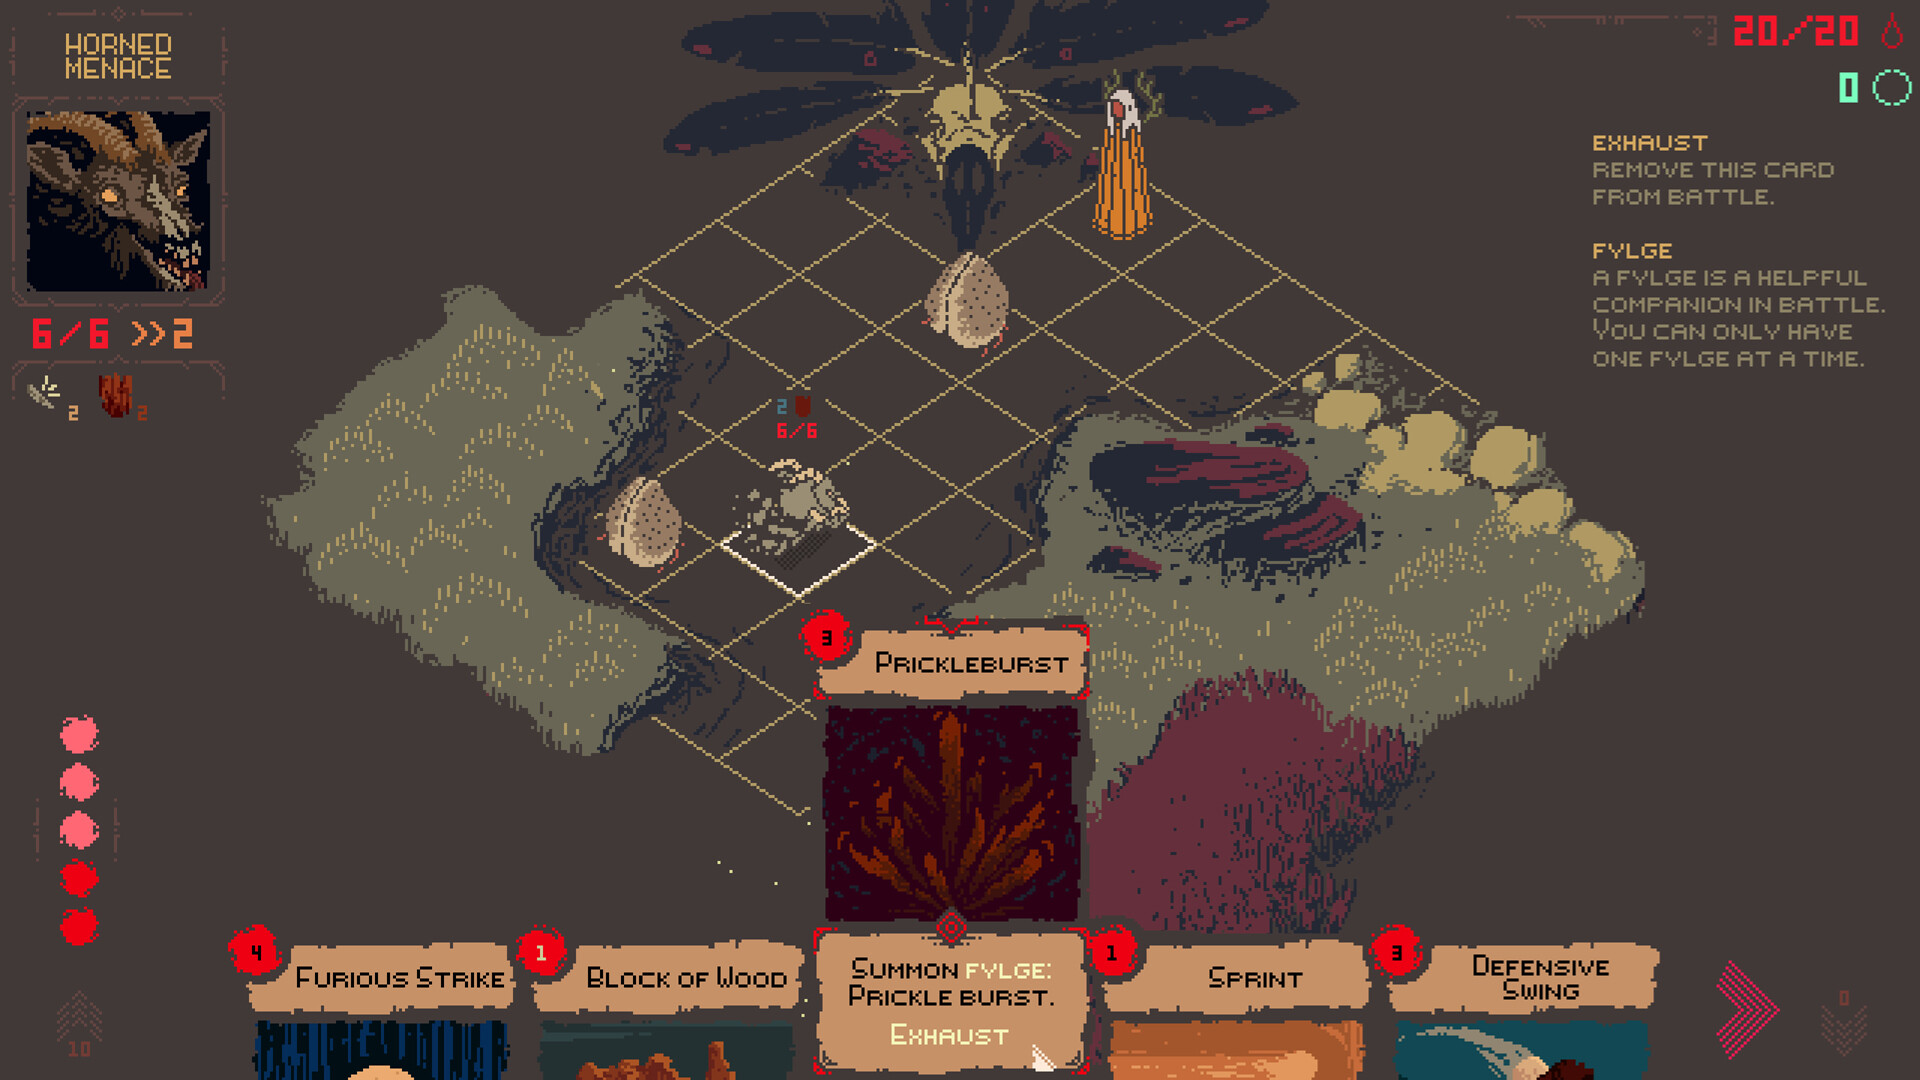
- Horned Menace movement and knockback can disrupt a position. Inspect the current unit’s preview and avoid placing Ro where several enemies can follow one forced move.
[Area 2] Valley of Desolation
- Scattered Senses starts with the Mother in the Valley. Collect the eye, ear, nose, and tongue across four realms, then return for Amber Figurine: first-turn 5 Block and protection against the next ailment in the recorded description.
- Spider poison requires a response appropriate to its actual stacks and timing. Compare movement, a kill, defense, and any poison-removal card currently available.
- Prepare movement and rear access for the Valley’s encounters. Confirm Goathoof’s current effect and acquisition point rather than relying on an unverified hidden-room location.
- Skull Fylge is a companion choice to inspect before the mountain. Its name does not establish that it removes realm restrictions or supplies automatic mana.
[Area 3] Cadaver Dunes
- Prepare for Snail defenses and hazardous paths in the Dunes. Read its current preview instead of assuming every hit always creates exactly 5 Block.
- A recorded route finds Shell of Whispers at a Nest inside the giant skull after the Dunes’ second Grove. It grants 2 mana with one fewer card drawn per turn; weigh the smaller hand against the resource gain.
- Before Exorath, compare rear attacks, movement such as Hunters Leap, and reliable body-window damage. Backstab, Sharpshooter, and Tainted Spear are options rather than an obligatory four-card package.
👹 Exorath Boss Encounter
See the dedicated boss page for the encounter sequence, recorded launch-version statistics, preparation choices, and current-version limitations.
Exorath — encounter details →📜 Side Quests in This Chapter
- Uninvited Sorrows(See Nine Tracked Side-Quest Routes for details.)
- Scattered Senses(See Nine Tracked Side-Quest Routes for details.)
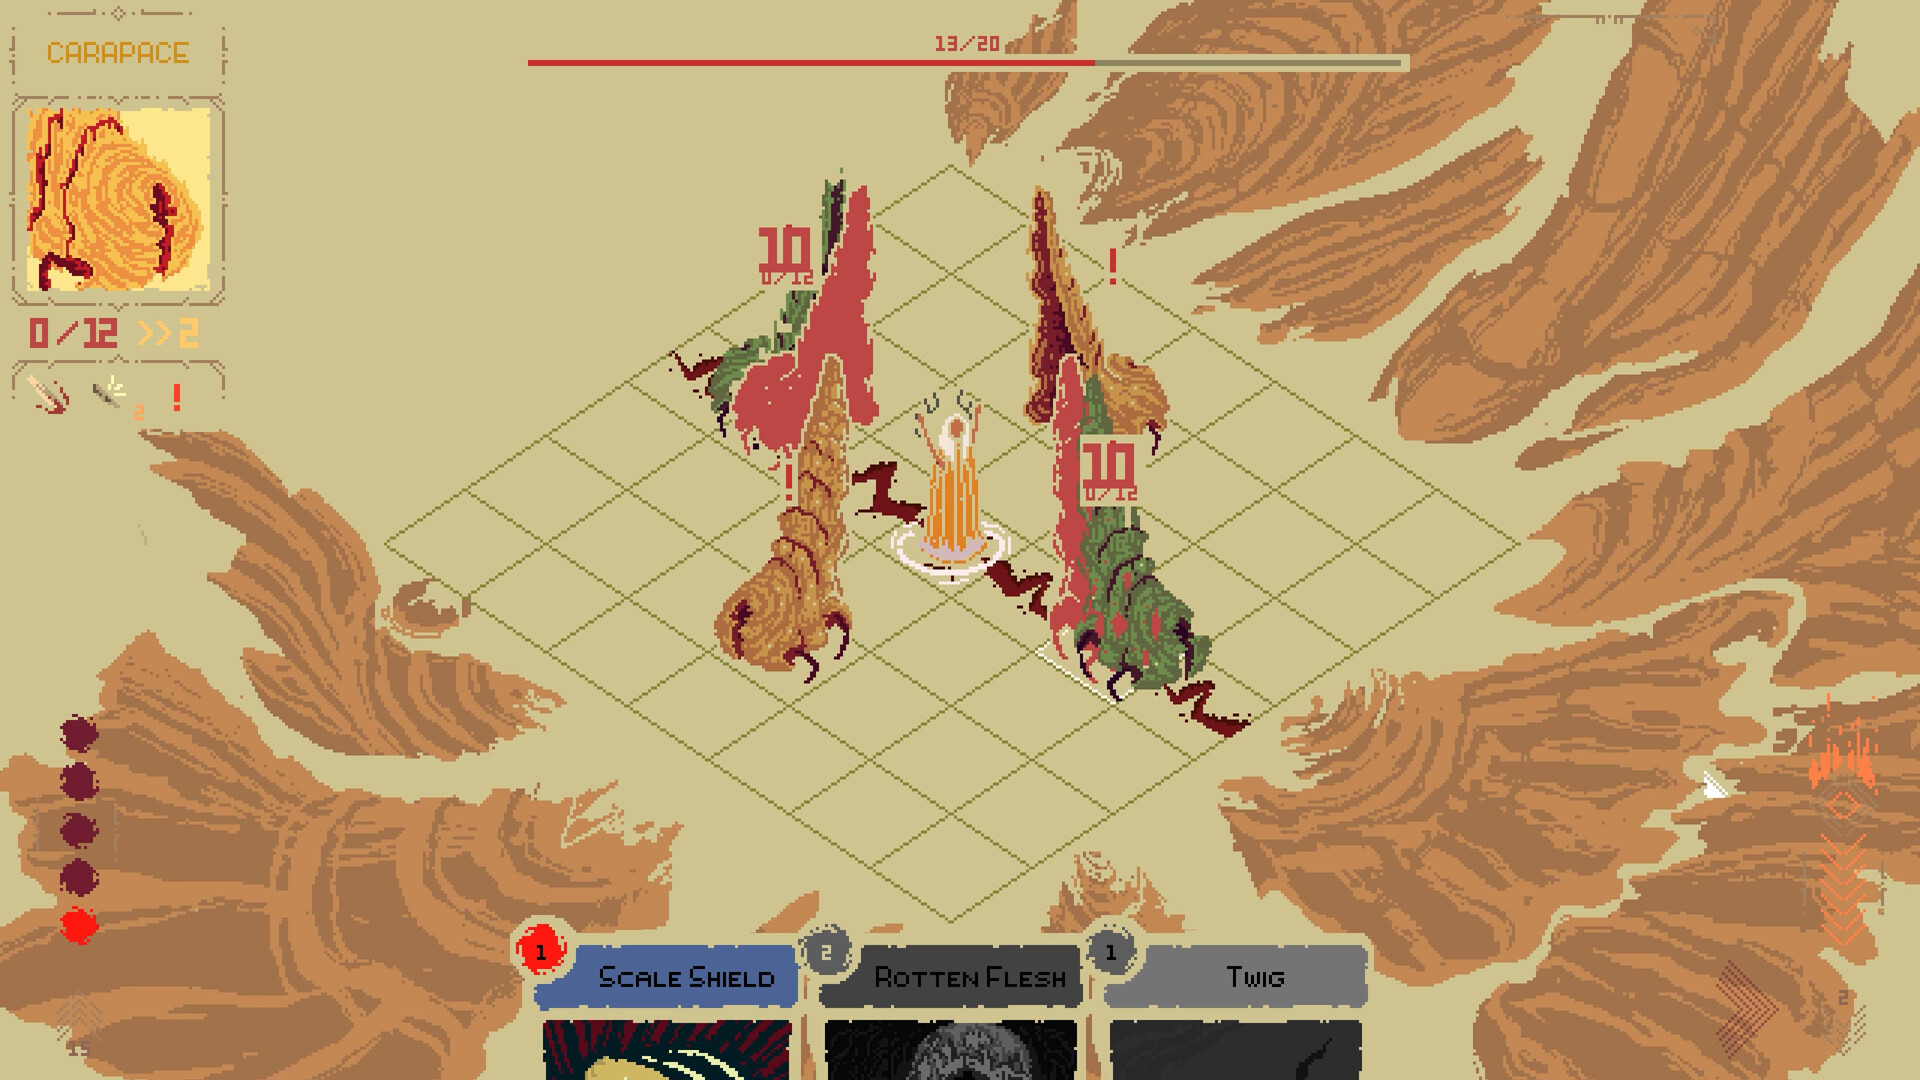
- The recorded encounter has four 12-HP Carapaces with 2 Block and double damage from the rear. Clear them to expose the 20-HP body for one turn before shells reform; retain enough resources to use that opening.
- For Uninvited Sorrows, complete the required route without resting at a Grove and return to the thorned quest giver. Plan the route beforehand; a special wait-at-the-door workaround is not established.
- Amber Figurine’s opening protection and the Ox Heart recovery reward can support late routes. Complete their quests if those effects fit the deck; neither is a mandatory entrance requirement.
[Area 1] Moon Eel encounter (editorial route label)
- Avoid the central laser lane when the Moon Eel fight starts. The recorded sequence uses four Small Eyes, a central Moon Eye, and a later Roe phase; a universal 40-HP total is not established for every component or mode.
- Destroy the four Small Eyes, attack Moon Eye during its opening, and prepare for six Roe after three turns. Roe left alive become Spirits; that does not mean the entire encounter automatically restarts.
- Compare Hunters Leap, Frog Leap, Meteor Strike, and Sun Beam for reaching or hitting Roe on both sides. Check their current costs, range, and targets before planning the sequence.
- Frostalite deals random-enemy damage according to Echoes made that turn, rather than guaranteed damage to the boss each turn. It is optional, and The Laughing Face of Death rewards Thick Fur rather than proving Frostalite’s acquisition point.
[Area 2] Sorg encounter (editorial route label) (Sorg's Throne)
- The recorded final encounter has Sorg at 30 HP. Sorg reacts after individual actions, using horizontal/vertical Lateral attacks, nearby Slam attacks, and an end-turn Teleport hit that can be blocked. Ro is fully healed on entering from Moon Eel.
- Plan burst damage around Sorg’s reactions, with movement and Block for the actions between attacks. Echo creation may support Frostalite, but Echo does not simply mean every selected effect automatically happens twice.
- Use the actual keywords and mode-specific Realmless cards. A Stream of Thoughts provides Push and conditional draw/mana in the recorded description; do not treat all four regional rewards as automatic damage-doubling Echo cards or promise a two-to-three-turn clear.
- Defeating Sorg completes the covered story route. REBIRTH unlocks after a first completion; the sources read do not establish a separate four-card true-ending gate or a guaranteed free-roam menu.
👹 Sorg Boss Encounter
See the dedicated boss page for the encounter sequence, recorded launch-version statistics, preparation choices, and current-version limitations.
Sorg — encounter details →- During Moon Eel’s Roe phase, plan access to both sides before spending mana. Surviving Roe become Spirits and change the following pressure; use movement and appropriate area damage without assuming one failed kill resets the entire fight.
- Ro enters Sorg fully healed in the recorded route. Thick Fur can provide once-per-battle protection, but the sources read do not establish that all healing cards are disabled or that this Totem is mandatory.
- The recorded ending route does not establish a requirement to hold four regional reward cards. Prepare for Moon Eel and Sorg using the actual deck and mode rather than searching the Totem list for an unverified ending condition.
The nine quest routes below cover their starting interactions, objectives, steps, and rewards. They are the quests tracked in this article, not a guarantee that future updates add no others. Current quest text takes priority where rewards or requirements differ by version.
Flames of Vengeance
Balancing the Scales
Reap or Weep
The Laughing Face of Death
Uninvited Sorrows
Scattered Senses
Root Out Corruption
In Search of Beauty
Entangled Relationship
💡 Quest Planning
Read a quest’s objective before accepting a no-rest route, and distinguish an object carried as a quest card from an equipment reward. The sources read do not establish that defeating a realm boss universally skips quest events. In particular, plan Uninvited Sorrows (the required route without a Grove rest) and Entangled Relationship (the whale’s three-encounter route) around recovery and return paths.
These items support different plans but are not all mandatory. Track the actual quest and map markers during exploration; this guide does not certify that every object remains obtainable after every ending or mode transition.
| Item | Location / route | Purpose |
|---|---|---|
| Tree Root | Forest of Howling Shadows — Nest route | Kill-triggered attack bonus for the current turn; useful when the deck can chain a kill into further attacks. |
| Opal | Piercing Winds — confirm the actual pickup marker | Random-card cost reduction for that turn; helps a suitable hand without creating permanent mana. |
| Thick Fur | Hidden Vale — The Laughing Face of Death | Once-per-battle protection against a fatal strike. |
| Red Rock | Dead Roots — In Search of Beauty reward | Use the rock quest card for five distinct enemy-type kills, then return for the Totem. |
| Crystalized Ox Heart | Moors — Uninvited Sorrows reward | Complete the required route without a Grove rest and return; prepare recovery before starting. |
| Amber Figurine | Valley — Scattered Senses reward | Return the four senses from different realms for opening Block and protection against the next ailment. |
| A Stream of Thoughts | Recorded Cantharsis reward | A recorded Normal Mode Realmless reward; not a proven four-card true-ending requirement. |
| A Burst of Ice | Recorded Tradontoz reward | A recorded Normal Mode Realmless reward; not a proven four-card true-ending requirement. |
| A Touch of Gloom | Recorded Cephagloom reward | A recorded Normal Mode Realmless reward; not a proven four-card true-ending requirement. |
| A Leap of Death | Recorded Exorath reward; name differs in later/mode-specific notes | A recorded Normal Mode Realmless reward; not a proven four-card true-ending requirement. |
Ending and later modes (spoilers)
✨ Covered Ending Route
- This guide covers the four realm Great Spirits: compare their encounter routes and preparations.
- Their recorded Normal Mode reward cards include A Stream of Thoughts, A Burst of Ice, A Touch of Gloom, and a historically named A Leap card. Holding all four is not an established separate true-ending gate..
- Prepare for the Howling Mountain, then the Moon Eel and Sorg encounters.
- The sources read do not establish a side-quest-count requirement or specific ending dialogue variants. See the quest routes for their practical equipment and progression rewards.
🎮 After a First Completion
- REBIRTH: officially unlocked after completing the game, with changed enemies and Realmless cards.
- Custom Mode: officially unlocked after completing REBIRTH, with settings for enemy health, Ro’s health, deck size, card penalties, and other rules.
- Further Totem Collection: the official update adds seven miniboss Totems; use the current collection screen when tracking them.
- Further Card Collection: the publisher advertises more than 160 cards, and REBIRTH changes Realmless card names and functions. Check the current mode’s collection rather than a fixed 160-card checklist.
- Achievement Planning: inspect the actual Steam achievement list and its conditions. A requirement to play four Realmless rewards in one turn is not established by the sources read.
🔁 REBIRTH and Custom Mode
The official update adds REBIRTH after a first completion and Custom Mode after REBIRTH. REBIRTH changes enemy challenges and all Realmless card names, functions, and colors; Custom Mode allows several rule adjustments. The unverified statement that no second-playthrough mode exists is outdated.
Q. How do I reach Death Howl’s ending?
A. The covered main route leads through the four Great Spirit encounters and the Howling Mountain’s Moon Eel and Sorg. The recorded route does not establish a separate true-ending condition requiring possession of four specific cards or completion of all side quests. Ending details below contain spoilers; REBIRTH unlocks after a first completion.
Q. What should I change when a boss or route blocks progress?
A. Review movement, damage timing, and protection at a Grove. Coordinate Cephagloom’s tentacle clear, exploit Exorath’s rear weak points, and retain resources between Sorg’s reactions. Poison or Echo can support an appropriate deck, but neither is universally mandatory. Explore another accessible route for cards, Totems, and Teardrop progression if the current plan is inadequate.
Q. How long does a playthrough take?
A. The publisher advertises 25+ hours of play. The guide’s thirty-to-fifty-hour estimates are editorial planning ranges, not measured completion guarantees. Exploration, retries, side quests, and the selected mode can substantially change the time needed.
Q. Is there a second-playthrough mode?
A. Yes. The official update adds REBIRTH after a first completion, with stronger enemies and changed Realmless card names and effects. Completing REBIRTH unlocks Custom Mode. The statement that no New Game+ style mode exists is outdated; do not apply Normal Mode card notes unchanged to REBIRTH.

Switch OLED

G435 LIGHTSPEED

LG UltraGear 27GP850

AKRacing Pro-X V2
Affiliate links to Amazon Japan. Purchases may earn us a commission at no extra cost to you. Check the retailer for current prices.
Roguelike Design Theory
eShop ¥5000 — Rakuten
PowerA Fusion Pro
Switch OLED — Splatoon 3
Affiliate links to Rakuten Japan. Listed prices are indicative; check the retailer for current prices.