
Steam Deck OLED

HyperX Cloud III

Razer Viper V3 Pro

G PRO X 60
Affiliate links to Amazon Japan. Purchases may earn us a commission at no extra cost to you. Check the retailer for current prices.
Rakuten Points ¥3000
HORI mini controller for Switch
Roguelike Design Theory
Balatro strategy guide
Affiliate links to Rakuten Japan. Listed prices are indicative; check the retailer for current prices.
Death Howl Boss Guide — Nine Covered Encounters
Strategies for six main-story encounters and three side bosses in Death Howl: attack patterns, deck and Totem options, five-step battle plans, and common mistakes. Explains how to evaluate reward cards and prepare for Sorg. This is a reference-based guide, not certification of every boss or mode.
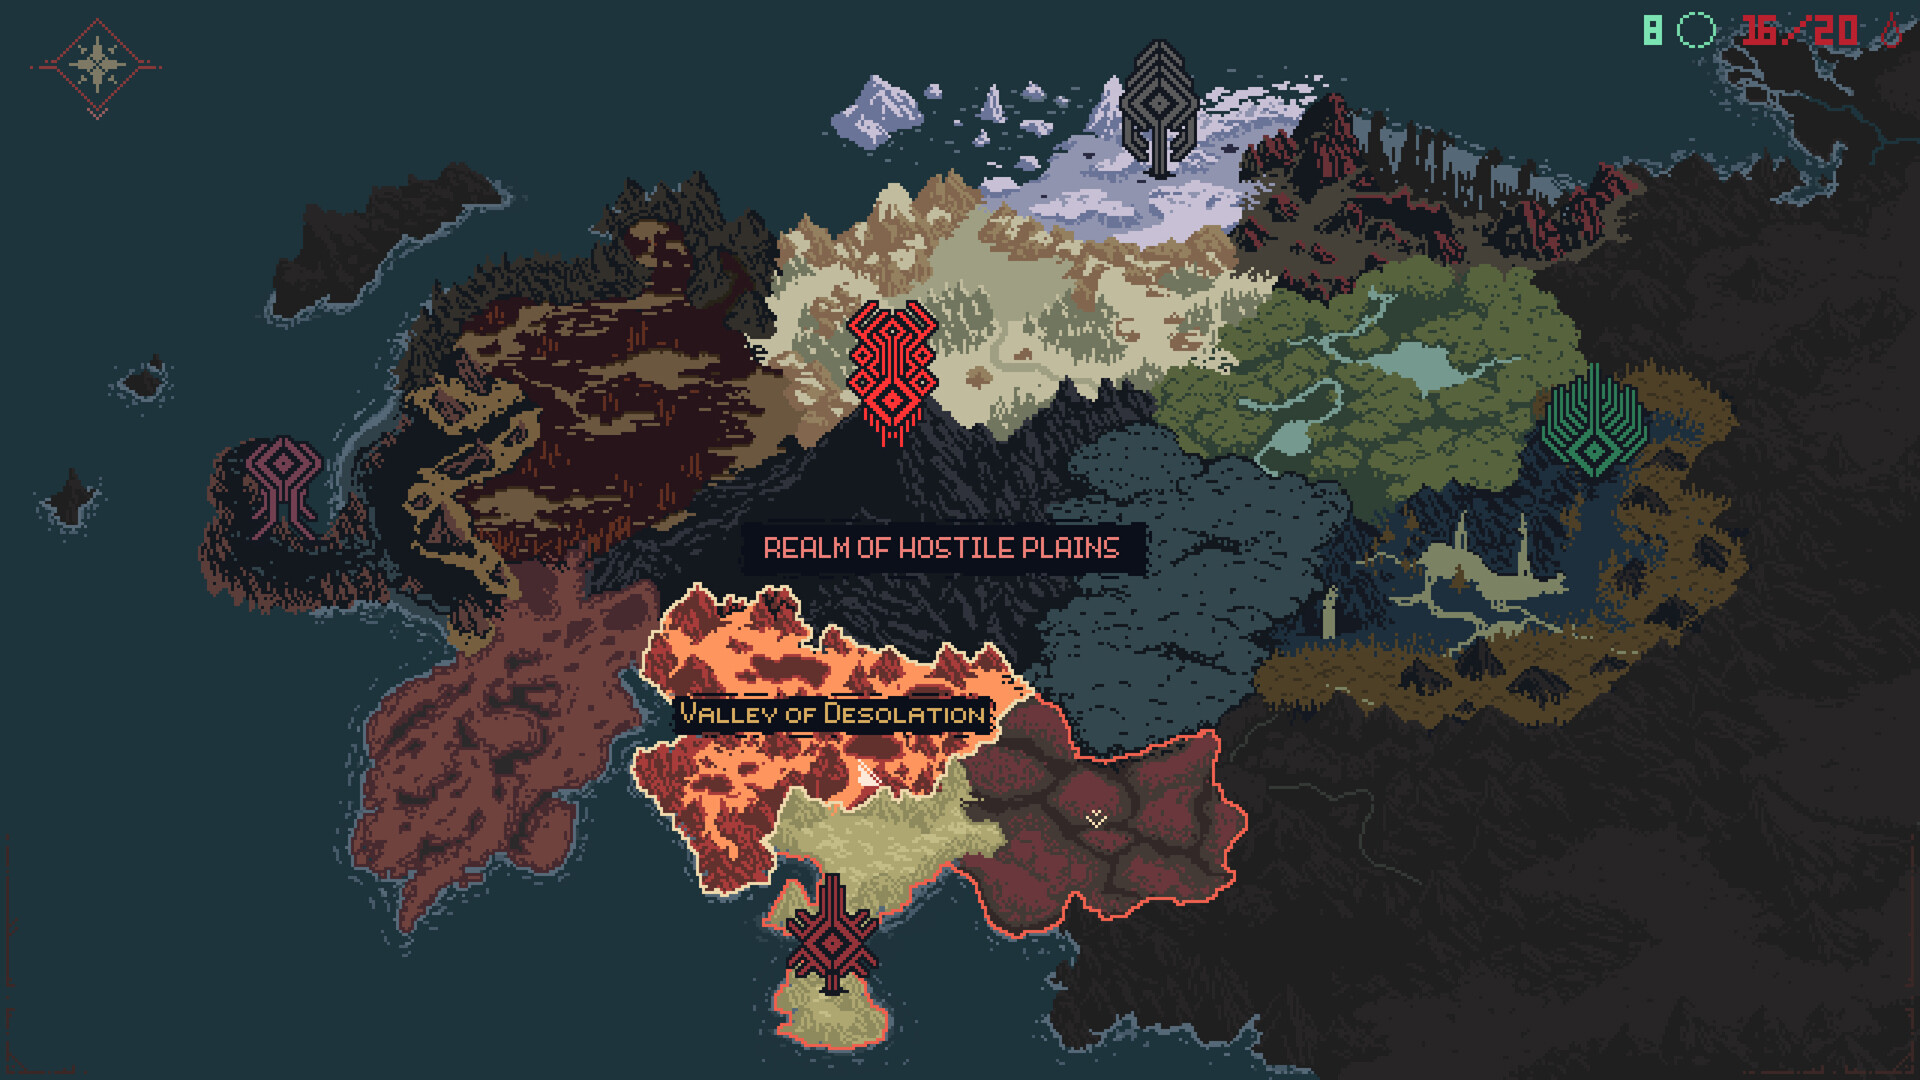
🗺️ Suggested Realm Order
One suggested route is Distorted Hollows → Piercing Winds → Gloomy Waters → Hostile Plains → Howling Mountain. The world permits other routes, so this is not a mandatory official order. Update the deck for the current realm and prepare for the mountain when your resources are ready.
🎴 Adapt the Plan to the Boss
Poison can help coordinate Cephagloom’s tentacles, back-positioning exploits Carapace vulnerability, and strong action sequences help against Sorg. These are strategy examples. Match cards and Totems to your plan before the attempt rather than treating one archetype as the only way to win.
🏆 Evaluate the Reward Cards
The four Great Spirit rewards have different conditions and resource effects. Read their current card text before including them; they are not universally mandatory top-tier attacks. REBIRTH changes Realmless card names and effects, so keep Normal Mode and REBIRTH descriptions separate.
⭐ Four Great Spirit Reward Cards
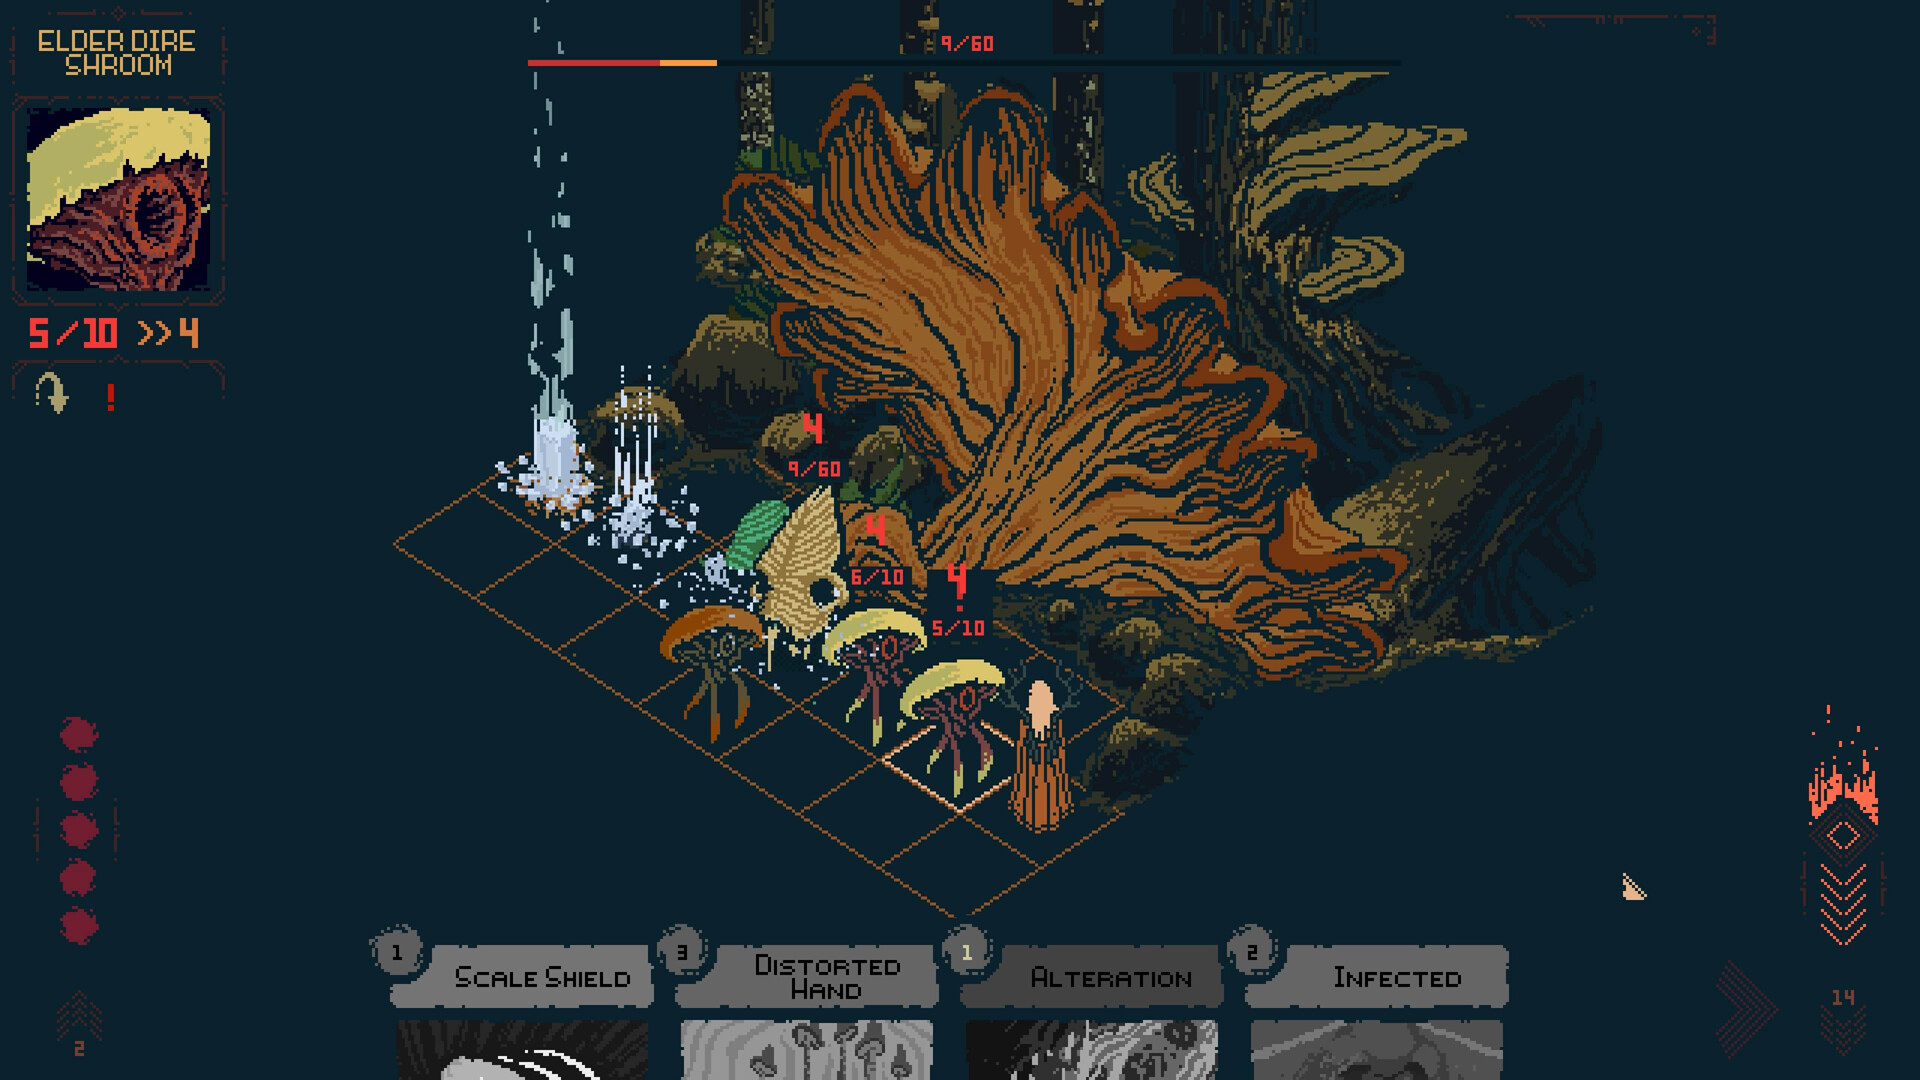
Boss identities and encounter details (spoilers)
Cantharsis
⚡ Attack Patterns
📋 Five-Step Battle Plan
- 1 STEP 1: Choose an opening position to one side of the boss and keep out of the frontal attack lane.
- 2 STEP 2: Remove Giant Puffballs before their countdown expires; leaving them alive allows their poison explosion.
- 3 STEP 3: Check Dire Shroom pulls and remove threats that could drag Ro into a dangerous position.
- 4 STEP 4: When the boss burrows, manage summons and prepare the next hand while watching your position.
- 5 STEP 5: Use available ranged or damage cards to finish the boss without abandoning board control. If Bird Nest is equipped, account for the extra mana cost of its drawn card.
🃏 Card Options (Check Current Copy Limits)
| Card | Copies | Purpose |
|---|---|---|
| Quick Strike | Check limit | Launch observation: 1 mana, 1 damage, Push 2. Compare the target’s remaining HP and destination before using it to finish a Puffball. |
| Aim for the Heart | Check limit | Launch observation: 2 mana for 3 ranged damage. Check the sightline to the face. |
| Triple Strike | Check limit | A multi-hit option. Check target restrictions and the total mana needed before assuming it can clear several summons at once. |
| Fireball | Check limit | A ranged damage option; check its area and targeting before trying to hit the boss and summons together. |
| Block of Wood | Check limit | Launch observation: 2 mana for 2 Block. Compare that protection with the marked incoming damage. |
| Deep Meditation | Check limit | Read its current effect before reserving it for defense; do not assume the card itself supplies a large Block buffer. |
| Sprint | Check limit | Launch observation: 1 mana and a card Sacrifice to move 2 tiles. Account for both costs when leaving a threatened lane. |
| Cleanse | Check limit | An ailment-removal option, including help with Poison from Infected. Read the current removal conditions. |
| Warmth | Check limit | A hand/resource option to inspect when preparing for summons. Do not assume it is a general extra-card effect without reading the card. |
| 2 Steps Ahead | Check limit | Plan movement around the threatened lane; check the card’s actual movement and draw effects. |
🪨 Three Totem/Support Options
❌ Common Mistakes
- ✕ Ending in the frontal lane and taking avoidable repeated hits.
- ✕ Leaving Giant Puffballs alive until their countdown triggers the poison explosion.
- ✕ Ignoring a Dire Shroom pull that moves Ro into the boss’s attack lane.
- ✕ Neglecting summons while the boss burrows, then losing space when it reappears.
- ▸ The difficulty rating is this guide’s recommendation, not an in-game rule. If your current deck cannot manage summons, collect useful cards or upgrades and return; Bird Nest is one possible tool, with a mana surcharge to plan around.
- ▸ Inspect A Stream of Thoughts after the victory. Its Push, Exhaust, Last, and Empty effects support different plays; it is not a direct damage card that every later deck must include in multiple copies.
- ▸ This encounter is useful practice in keeping a safe position while handling summons—skills that remain relevant in later boss fights.
Tradontoz
⚡ Attack Patterns
📋 Five-Step Battle Plan
- 1 STEP 1: Check the regional Light a Fire unlock and current description to prepare for Chill.
- 2 STEP 2: Prepare to defeat both hands; the launch observation gives each 10 HP and 2 Block per turn.
- 3 STEP 3: Check falling-ice markers each turn and leave enough movement to avoid the threatened tiles.
- 4 STEP 4: Spend prepared damage during the one-turn body opening after both hands fall.
- 5 STEP 5: Prepare protection and movement for the next turn before committing the rest of your hand to finishing damage.
🃏 Card Options (Check Current Copy Limits)
| Card | Copies | Purpose |
|---|---|---|
| Light a Fire | Check limit | A regional fire ability. Read the current unlock, nearby protection against Chill, and Ember’s cost. |
| Crushed from Above | Check limit | A damage option for a hand or other exposed target; check actual damage rather than assuming a fixed two-hit kill. |
| Grand Spear | Check limit | An attack option for an exposed target. Reserve the required mana and check its current targeting rules. |
| Heavy Blizzard | Check limit | An area-damage option to inspect. Do not assume every hand and the body can always be damaged by one cast. |
| Quick Strike | Check limit | A low-cost finishing option when a target has little HP remaining. |
| Block of Wood | Check limit | A defensive option for the next attack; use its current Block value. |
| Deep Meditation | Check limit | Inspect its actual effect when planning the last part of the fight rather than assuming it provides a large Shield. |
| Sprint | Check limit | Movement for leaving marked ice impacts; compare it with other available movement options. |
| Warmth | Check limit | Read the card’s current resource and cold-related effects before treating it as a debuff cleanse. |
🪨 Three Totem/Support Options
❌ Common Mistakes
- ✕ Spending attacks on a protected body without first checking the hands and damage conditions.
- ✕ Missing falling-ice markers and taking avoidable repeated damage.
- ✕ Failing to prepare the regional fire interaction and the encounter’s actual resource needs.
- ✕ Leaving Chill’s HP pressure and the appropriate response unexamined.
- ▸ Keep resource generation in proportion to the attacks and movement you need. There is no universal requirement here to generate exactly three or four Embers.
- ▸ Learn the marked impact positions from the current encounter and keep a route away; do not rely on an assumed three-pattern rotation.
- ▸ Inspect A Burst of Ice after defeating Tradontoz. Check its realm, cost, and conditions before carrying it into another region.
Cephagloom
⚡ Attack Patterns
📋 Five-Step Battle Plan
- 1 STEP 1: For the poison example, place Poisonous Grounds where it can affect several tentacles.
- 2 STEP 2: Use Poisonous Winds to spread damage and coordinate the tentacle kills before replacements accumulate.
- 3 STEP 3: Use available poison or other damage cards to finish tentacles, while keeping clear of Woeful Seashrooms.
- 4 STEP 4: When all tentacles fall, use the three-turn opening to damage the 30-HP body with your prepared hand.
- 5 STEP 5: Manage Heavy Thoughts cards and the mana your hand actually needs. If the body withdraws, rebuild the next opening rather than treating one missed window as an automatic failed run.
🃏 Card Options (Check Current Copy Limits)
| Card | Copies | Purpose |
|---|---|---|
| Poisonous Grounds | Check limit | Area poison for spreading damage through the tentacle phase. |
| Poisonous Winds | Check limit | A poison option for several targets; combine its ongoing damage with the body’s three-turn opening. |
| Poison Dart | Check limit | A single-target poison option for a replacement tentacle. Check its current cost and effect when assembling the deck. |
| Quiver of Poison Darts | Check limit | A poison option to inspect for handling several targets or summons. |
| Blood Sacrifice | Check limit | The official balance patch gives 1 mana and Exhaust. Treat it as its actual resource effect rather than poison generation. |
| A Touch of Gloom | Check limit | A reward to inspect after victory, rather than a requirement for the first attempt. |
| Block of Wood | Check limit | Protection against incoming damage while preparing the tentacle clear. |
| Cleanse | Check limit | Manage the disruptive cards in your hand; do not assume Cleanse removes Heavy Thoughts itself. |
| Sprint | Check limit | Movement away from a dangerous position and summon attack ranges. |
🪨 Three Totem/Support Options
❌ Common Mistakes
- ✕ Failing to coordinate tentacle kills before replacements appear.
- ✕ Ignoring Heavy Thoughts cards until they disrupt the intended turn.
- ✕ Spending the exposed-body window without enough damage, then needing another tentacle clear.
- ✕ Leaving Woeful Seashrooms in positions that threaten Ro.
- ▸ Coordinate damage across the tentacles and finish the remaining ones before replacements undo the clear. Do not assume a respawned tentacle preserves the exact poison stacks of the one it replaced.
- ▸ The recorded body opening lasts three turns. If it closes before the body is defeated, handle the tentacles again and prepare another damage window.
- ▸ Inspect A Touch of Gloom after defeating Cephagloom. Consider its actual effect and realm property for later decks rather than treating it as a mandatory generic poison attack.
Exorath
⚡ Attack Patterns
📋 Five-Step Battle Plan
- 1 STEP 1: Use available movement, such as Sprint or Hunters Leap, to approach a Carapace from behind.
- 2 STEP 2: Combine back-positioning with damage cards against the Carapace’s 12 HP and current Block; calculate the kill using your actual hand.
- 3 STEP 3: Focus on the remaining Carapaces one at a time, leaving movement for a safe ending tile.
- 4 STEP 4: Remove the last Carapace when ready to use the one-turn exposed-body window.
- 5 STEP 5: Spend the prepared damage on the 20-HP body, then repeat the shell phase if another opening is needed.
🃏 Card Options (Check Current Copy Limits)
| Card | Copies | Purpose |
|---|---|---|
| Backstab | Check limit | A back-attack option that can make use of a Carapace’s doubled damage from behind. |
| Sharpshooter | Check limit | A ranged option to compare with your intended attack angle; check its actual bonus conditions. |
| Hunters Leap | Check limit | A movement/attack option for reaching the far side of a target; check the destination and mana cost. |
| Tainted Spear | Check limit | A damage option. Compare its current effect with the target’s HP and Block rather than assuming an automatic one-shot. |
| A Leap of Death | Check limit | A post-victory reward to inspect; it is not needed for the first body opening. |
| Sprint | Check limit | Movement for getting behind a target and finishing on a safe tile. |
| Skull Fylge | Check limit | A summon option. Check its effect and placement rather than treating it as an extra realmless Totem slot. |
| Block of Wood | Check limit | Protection for an incoming hit if you cannot finish the turn out of danger. |
| Aim for the Heart | Check limit | A ranged backup when a safe back position is unavailable. |
🪨 Three Totem/Support Options
❌ Common Mistakes
- ✕ Repeated frontal attacks that fail to get through refreshing Block efficiently.
- ✕ Spreading damage across protected shells without finishing a target.
- ✕ Missing the exposed-body opening and needing another Carapace phase.
- ✕ Ending in an unsafe space between Carapace backs while chasing a damage bonus.
- ▸ Check the target’s actual facing for a back attack. Do not treat every non-frontal direction, including both sides, as guaranteed backstab damage.
- ▸ If using Skull Fylge, inspect its placement and effect before relying on it as a distraction. A summon does not automatically establish a backstab trigger.
- ▸ Inspect the reward card after defeating Exorath and compare its current name, realm, and effect before carrying it into the Sorg deck.
Moon Eel
⚡ Attack Patterns
📋 Five-Step Battle Plan
- 1 STEP 1: Start away from the center tile between the pincers to avoid the laser while the eyes are alive.
- 2 STEP 2: Destroy the four Small Eyes, using movement and damage appropriate to their positions.
- 3 STEP 3: Use the central opening to damage Moon Eye and prepare for the Roe turn.
- 4 STEP 4: When the six Roe appear, use movement such as Hunters Leap or Frog Leap, or attacks such as Meteor Strike or Sun Beam, to reach both sides within the turn.
- 5 STEP 5: Clear any Spirits from surviving Roe and repeat the eye cycle until Moon Eel is defeated. Sorg begins immediately afterward, with Ro’s HP restored at the transition.
🃏 Card Options (Check Current Copy Limits)
| Card | Copies | Purpose |
|---|---|---|
| Hunters Leap | Check limit | A movement/attack option for reaching a Small Eye or the opposite side of the arena. |
| Frog Leap | Check limit | Movement for crossing between sides; calculate the mana left for damaging the Roe. |
| Meteor Strike | Check limit | An attack that can help with Roe without relying on a clear line of sight. Check its target area and actual damage. |
| Sun Beam | Check limit | Another option for Roe across the arena without a normal ranged sightline. Use its current targeting and cost. |
| A Stream of Thoughts | Check limit | A Stream of Thoughts provides Push and conditional draw/mana support, rather than ordinary damage to eyes or the body. |
| A Burst of Ice | Check limit | An optional reward card to inspect for this phase; use its actual damage and conditions. |
| Sprint | Check limit | Movement for a threatened position or reaching the next eye. |
| Deep Meditation | Check limit | A support option whose current resource effect needs checking. Keep clear of the active laser lane rather than relying on an unverified Block effect. |
| 2 Steps Ahead | Check limit | Movement planning for the eye and Roe transitions. |
🪨 Three Totem/Support Options
❌ Common Mistakes
- ✕ Starting in the central laser position while the Small Eyes are alive.
- ✕ Failing to destroy all Small Eyes before trying to attack Moon Eye.
- ✕ Leaving Roe alive and adding random Spirits to the next part of the fight.
- ✕ Reaching the Roe turn without a way to affect the opposite side of the arena.
- ▸ The recorded Roe layout has three on each side. Review the positions so your planned sequence reaches both sides in one turn.
- ▸ Frostalite can contribute when its Echo condition is met, but its random targeting cannot guarantee the required Roe kills or add extra turns to the deadline.
- ▸ The Moon Eel deck’s movement and damage options can help in the following fight, but Sorg’s reactions to individual actions require a different turn plan.
Sorg
⚡ Attack Patterns
📋 Five-Step Battle Plan
- 1 STEP 1: If Amber Figurine is equipped, use its opening Block while still avoiding the marked attack lanes.
- 2 STEP 2: If using Frostalite, create Echoes to activate its end-of-turn damage; check possible targets instead of assuming a fixed 1–2 damage to the boss every turn.
- 3 STEP 3: Prepare strong damage sequences, checking Sorg’s new danger markers after each card or movement action.
- 4 STEP 4: Keep Block or a safe position for the next reaction. Do not rely on an unverified attack-speed trigger at 15 HP.
- 5 STEP 5: Use the damage cards in your actual hand to finish the fight, keeping movement and protection available. Use A Stream of Thoughts for its resource/Push effects rather than as a direct damage attack.
🃏 Card Options (Check Current Copy Limits)
| Card | Copies | Purpose |
|---|---|---|
| Furious Strike | Check limit | An attack option to build around. Check its current damage and cost-reduction condition when planning a sequence of cards. |
| Aim for the Heart | Check limit | A ranged attack option for a safe opening; verify the current range and damage. |
| A Stream of Thoughts | Check limit | A Push and resource-management card, not the deck’s ordinary one-mana damage attack. |
| A Burst of Ice | Check limit | Inspect the reward card’s actual cost, realm, and effect before reserving it as a finishing attack. |
| Meteor Strike | Check limit | A damage option for a planned burst turn; check its current target rules. |
| Deep Meditation | Check limit | Read its actual resource effect before counting on it for a large Block buffer. |
| Harden Soul | Check limit | A defensive option to compare with the incoming Lateral or Slam damage; read its current duration. |
| Sprint | Check limit | Movement for reacting to Sorg’s new position and danger markers. |
| Warmth | Check limit | A hand/resource option to compare with the Echo cards you intend to play. |
🪨 Three Totem/Support Options
❌ Common Mistakes
- ✕ Taking avoidable damage while assuming there will be a safe opportunity to recover later.
- ✕ Relying on Frostalite damage without meeting its Echo condition or considering its target.
- ✕ Playing an Echo effect without checking which effect it actually repeats.
- ✕ Missing the new danger markers after Sorg reacts to a card or movement action.
- ▸ Retrying lets you revise the plan and learn Sorg’s responses. Check the retry and checkpoint behavior in your current version rather than assuming every attempt resets all progress.
- ▸ Plan the actual mana cost and effect of an Echo sequence. It may help your damage or Frostalite setup, but the examples are not a guaranteed doubling of every 3-damage card into 6 damage.
- ▸ Defeating Sorg advances the story ending. There is no promised three-to-five-attempt completion time; revise the deck and action sequence according to what caused the previous failure.
- ▸ Do not plan post-game content around unverified rumors of a secret boss or new chapter. Check the options and mode unlocks actually offered after the ending.
Boss identities and encounter details (spoilers)
Trunkrot
⚡ Attack Patterns
📋 Battle Plan
- 1 STEP 1: Prepare sustained damage and a way to handle several root threats.
- 2 STEP 2: Use poison or other reliable damage your deck supports while leaving a safe ending position.
- 3 STEP 3: Remove roots that threaten your route, using available area or targeted damage.
- 4 STEP 4: Compare the damage you can deal this turn with any recovery actually shown; use burst when it finishes a target or opens space.
- 5 STEP 5: Commit finishing damage only after checking the remaining threats and the mana needed to stay safe.
🃏 Card Options (Check Current Copy Limits)
| Card | Copies | Purpose |
|---|---|---|
| Poisonous Grounds | Check limit | Area poison as one sustained-damage option. |
| Poisonous Winds | Check limit | A poison option to compare with the need to handle roots and the body. |
| Quiver of Poison Darts | Check limit | Damage that can help with root threats while maintaining pressure. |
| Blood Sacrifice | Check limit | The official balance patch gives 1 mana and Exhaust. Calculate the actual resource trade-off rather than poison generation. |
| Furious Strike | Check limit | An attack option whose current cost-reduction condition should be included in the turn plan. |
| A Stream of Thoughts | Check limit | A resource/Push option for improving a turn, rather than a generic damage attack. |
| Block of Wood | Check limit | Block for incoming damage while you manage attack lanes. |
| Cleanse | Check limit | Removal for an ailment the current card can actually cleanse. |
| Sprint | Check limit | Movement out of a threatened lane or blocked route. |
🪨 Three Totem/Support Options
❌ Common Mistakes
- ✕ Spending all resources on one burst without a plan for roots and remaining HP.
- ✕ Leaving roots in positions that remove safe attack and retreat routes.
- ✕ Relying on an assumed regeneration threshold instead of watching the actual encounter state.
- ✕ Finishing turns within a close-range poison threat or root attack line.
- ▸ Complete the Twig’s marked-landmark steps before returning to finish the quest. Read the resulting card and reward screen instead of assuming the boss alone provides an extra hidden upgrade.
- ▸ This side fight can provide practice in sustained damage and board control before the Great Spirit, if your current resources allow the detour.
- ▸ Check where Algae Bubble is obtained before making it part of your preparation. The quest route and reward shown in game take priority over an assumed Wailing Marshes reward.
The Soother
⚡ Attack Patterns
📋 Battle Plan
- 1 STEP 1: Before attacking, plan where the new pieces will stand and where a death explosion could hit Ro.
- 2 STEP 2: When it splits, use available area or targeted damage to bring several pieces into finishing range.
- 3 STEP 3: Trigger a death explosion from a safe position so it can damage other pieces rather than Ro.
- 4 STEP 4: Clear remaining pieces and keep enough mana to leave dangerous blast positions.
- 5 STEP 5: Finish the encounter and inspect the current reward. The later update changes miniboss rewards to a Totem and one Teardrop, rather than the older three-Teardrop reward.
🃏 Card Options (Check Current Copy Limits)
| Card | Copies | Purpose |
|---|---|---|
| Furious Strike | Check limit | Damage for setting up the next split and explosion. |
| Aim for the Heart | Check limit | Ranged damage from outside a dangerous death explosion. |
| Fireball | Check limit | Damage against several split pieces. |
| Heavy Blizzard | Check limit | An area-attack option for grouped pieces. |
| A Stream of Thoughts | Check limit | Push and conditional draw/mana support for the planned sequence; this is not a generic damage attack. |
| Cleanse | Check limit | Remove only ailments covered by the current card description; a universal Soothing cleanse is not assumed. |
| Block of Wood | Check limit | Protection against a death explosion if a safe position is unavailable. |
| Sprint | Check limit | Movement to leave a blast area before finishing a piece. |
| Branch Fylge | Check limit | A summon option. The official 1.0.0.5 patch lets Branch move one tile into position before firing; check the current Fylge description for its other effects. |
🪨 Three Totem/Support Options
❌ Common Mistakes
- ✕ Letting split pieces accumulate without a safe next target.
- ✕ Using a damage sequence without accounting for how the pieces split.
- ✕ Finishing a piece while Ro stands inside its death-explosion range.
- ✕ Confusing The Soother’s Bowl route with the whale’s separate three-fight quest.
- ▸ Evaluate Algae Bubble’s actual health cost and effect before including it. The official balance patch increases its health loss from 1 to 2; it is not mandatory late-game equipment.
- ▸ Damage causes the remaining health to divide between the two pieces. Plan damage and position around that split rather than assuming you can always kill the intact unit before the mechanic occurs.
- ▸ Use a defeated piece’s explosion to damage other pieces while keeping Ro outside the affected area.
Eggle
⚡ Attack Patterns
📋 Battle Plan
- 1 STEP 1: Check the eggs’ current HP and positions, then plan how to damage several without losing a safe ending tile.
- 2 STEP 2: When the body is a viable target, use a prepared damage sequence rather than waiting for an assumed fixed stun cycle.
- 3 STEP 3: Account for the actual ailments and the one-use protection from Amber Figurine if it is equipped.
- 4 STEP 4: Reassess eggs, the body, and threatened tiles as the encounter develops.
- 5 STEP 5: Inspect the current miniboss reward. Do not repeat the encounter on the assumption of a random rare-card drop table.
🃏 Card Options (Check Current Copy Limits)
| Card | Copies | Purpose |
|---|---|---|
| Fireball | Check limit | An area-attack option for egg targets. |
| Heavy Blizzard | Check limit | An area-attack option for grouped pieces. |
| Meteor Strike | Check limit | An area-damage option for a prepared attack sequence. |
| Furious Strike | Check limit | Damage for a safe body opening. |
| A Stream of Thoughts | Check limit | Push and conditional draw/mana support for the planned sequence; this is not a generic damage attack. |
| Aim for the Heart | Check limit | Ranged damage from a usable sightline. |
| Cleanse | Check limit | Removal for an ailment the current card actually covers. |
| Block of Wood | Check limit | Protection when a threatened position cannot be avoided. |
| Sprint | Check limit | Movement for adjusting position inside the enclosed arena. |
🪨 Three Totem/Support Options
❌ Common Mistakes
- ✕ Calculating egg kills using the previous 3 HP after the update increased them to 5.
- ✕ Assuming one ignored Ailment protects Ro from every later status effect.
- ✕ Waiting for an unverified stun cycle while ignoring the current encounter state.
- ✕ Missing threatened tiles and taking repeated avoidable hits in the enclosed space.
- ▸ The official update gives minibosses Totem rewards and a Teardrop. Do not assume Eggle has a repeatable random rare-card reward without a matching current reward screen.
- ▸ Use a repeating plan of checking egg HP, clearing a useful target, attacking the body when safe, and leaving a safe position. Do not rely on an unverified guaranteed egg-clear/stun loop.
- ▸ This can be an optional detour before completing Hostile Plains if your deck and resources are ready.
Boss identities and encounter details (spoilers)
| Bosses | HP | Difficulty | Suggested Approach | Useful Totem/Support Option | Cards to Consider |
|---|---|---|---|---|---|
| Cantharsis | 60 (launch observation) | ★★★ | Direct damage and movement | Tree Root / Bird Nest | Quick Strike / Triple Strike |
| Tradontoz | 20 HP plus hands (launch observation) | ★★★★ | Hand control, protection, and burst damage | Opal / Thick Fur | Light a Fire / Crushed from Above |
| Cephagloom | 30 HP plus tentacles (launch observation) | ★★★★★ | Coordinated tentacle damage; poison is an option | Frozen Fish Head / Infected Tooth | Poisonous Grounds / Poisonous Winds |
| Exorath | 20+Carapace | ★★★★★ | Positioning and back attacks | Goathoof / Amber Figurine | Backstab / Sharpshooter / Hunters Leap |
| Moon Eel | Inspect each component | ★★★★★ | Movement and attacks that reach both sides | Tree Root / Frostalite | Meteor Strike / Sun Beam / Hunters Leap |
| Sorg (final encounter) | 30 (launch observation) | ★★★★★ | Strong action sequences; optional Echo/Frostalite | Frostalite / Amber Figurine / Opal | Furious Strike / A Stream of Thoughts / A Burst of Ice |
| Trunkrot | 100 (launch observation) | ★★★★ | Sustained damage and root control | Adder Stone / Algae Bubble | Poisonous Grounds / Furious Strike |
| The Soother | Splitting target | ★★★★ | Area damage and death-explosion planning | Tree Root / Red Rock | Fireball / Heavy Blizzard |
| Eggle | Egg encounter | ★★★★ | Egg control, movement, and protection | Amber Figurine / Crystalized Ox Heart | Fireball / Meteor Strike / Cleanse |
Read threatened tiles carefully
Before acting, inspect the tiles threatened by the current attack. Decide the order of movement and cards with enough mana left to avoid the next hit. Sorg can react after individual actions, so checking only once at the beginning of an ordinary turn is not enough there.
Keep a focused, legal deck
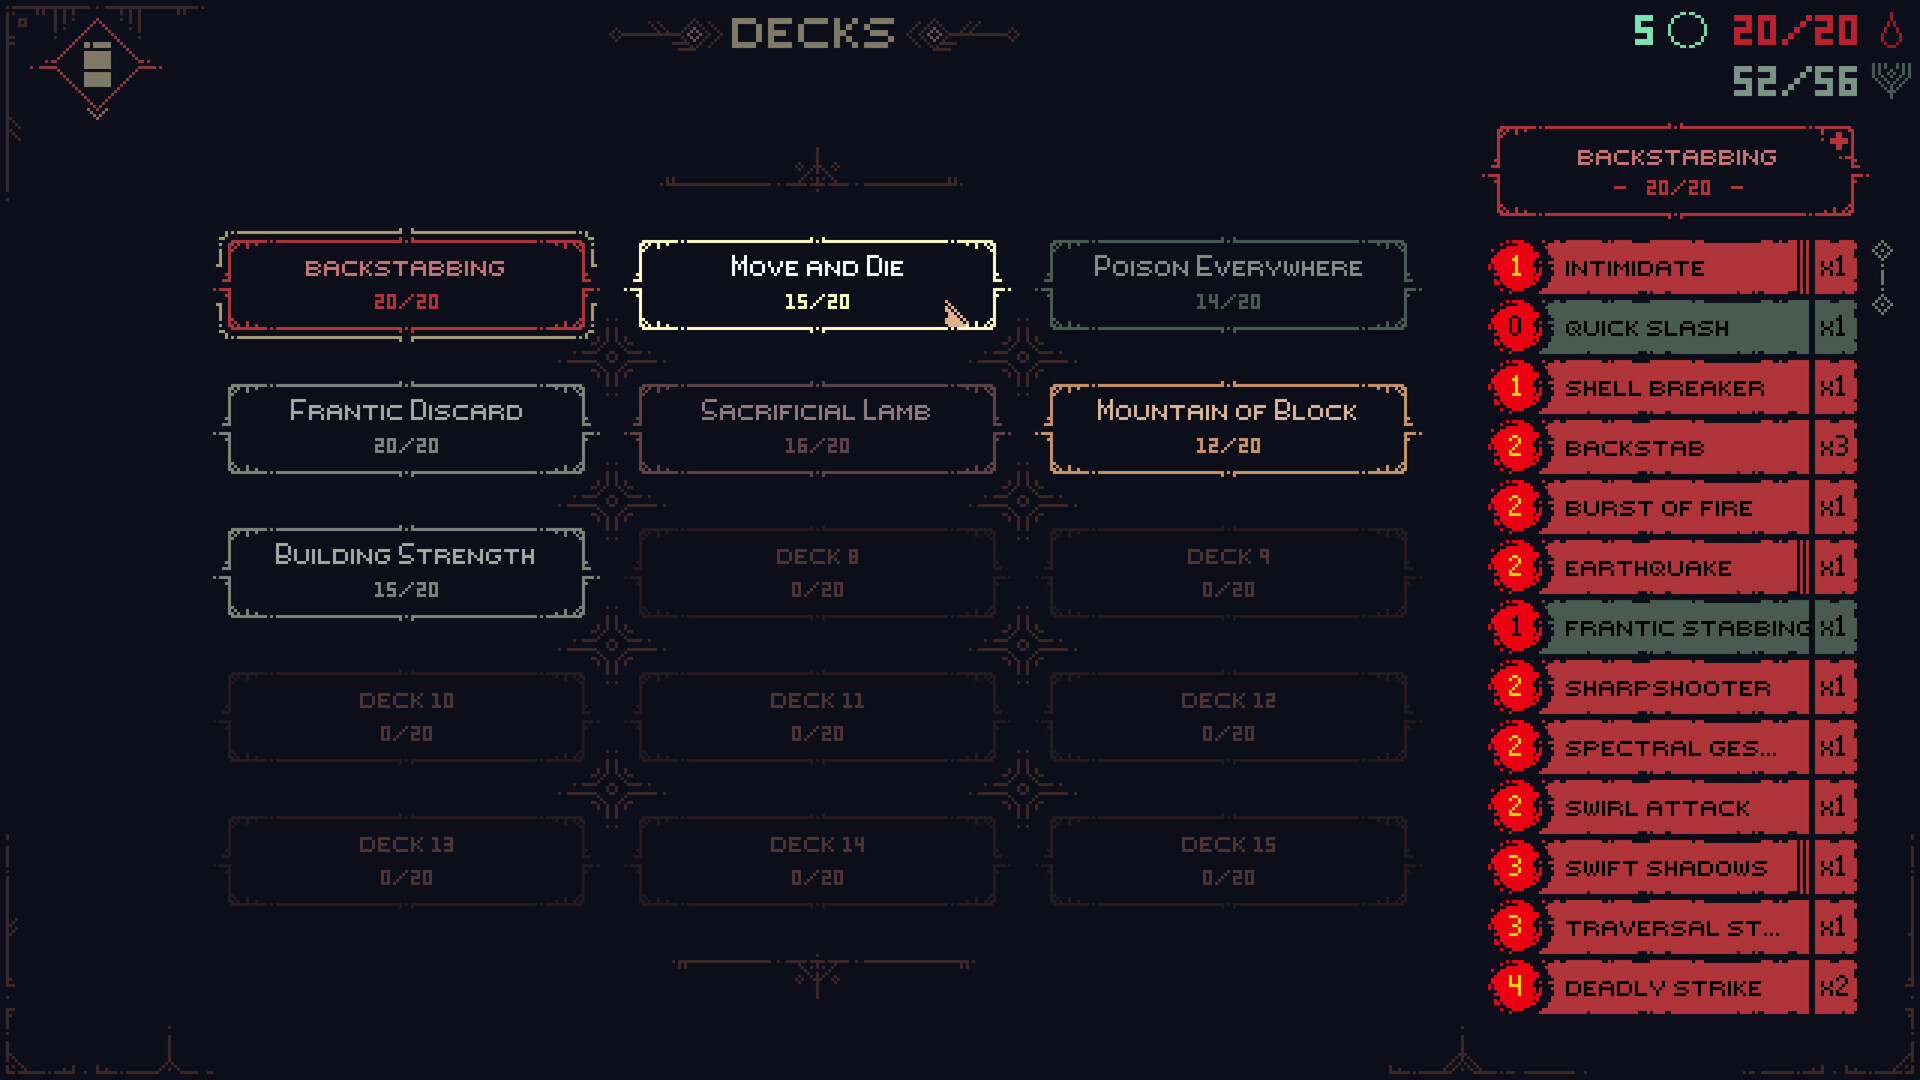
Give each card a purpose and avoid filling the deck with cards you cannot afford in the current realm. Use the minimum and maximum shown by the deck manager for your mode; Custom Mode can change the minimum deck size, so a universal fifteen-card rule is not used.
Change Totems for the encounter
Review the equipped Totems before fighting and choose effects that match your planned cards. Poison-oriented play, back-positioning, and Echo setups can have different needs; none is the only legal solution for a particular boss.
Budget mana for attacks and movement
The basic turn budget is 5 mana shared between cards and movement. Compare the value of moving one tile with the attacks you can still afford. Totems and Fylge cards can change resource planning, but Bug and Cone are Fylge choices rather than extra Totem slots.
Use Sacred Groves to prepare retries
Sacred Groves restore health and reset enemy encounters. Use them to revise cards and preparation between attempts, while deciding whether to craft with Death Howls or convert them into upgrades. Recover dropped Howls when practical rather than repeating battles without a resource plan.
Q1. Which Death Howl bosses are the most demanding?
Q2. What commonly causes a failed boss attempt?
Q3. How should I use the Great Spirit reward cards?
Q4. How should I prepare for Sorg, the final boss?
This guide compares the existing route notes with publisher updates and recorded player observations. It is not based on our own gameplay testing. Use the current in-game descriptions for your mode and version.
- ▸ REBIRTH and Custom Mode are Available Now!
- ▸ Patch 1.0.0.5
- Official updates: check modes and balance changes.
- Official updates: check modes and balance changes.