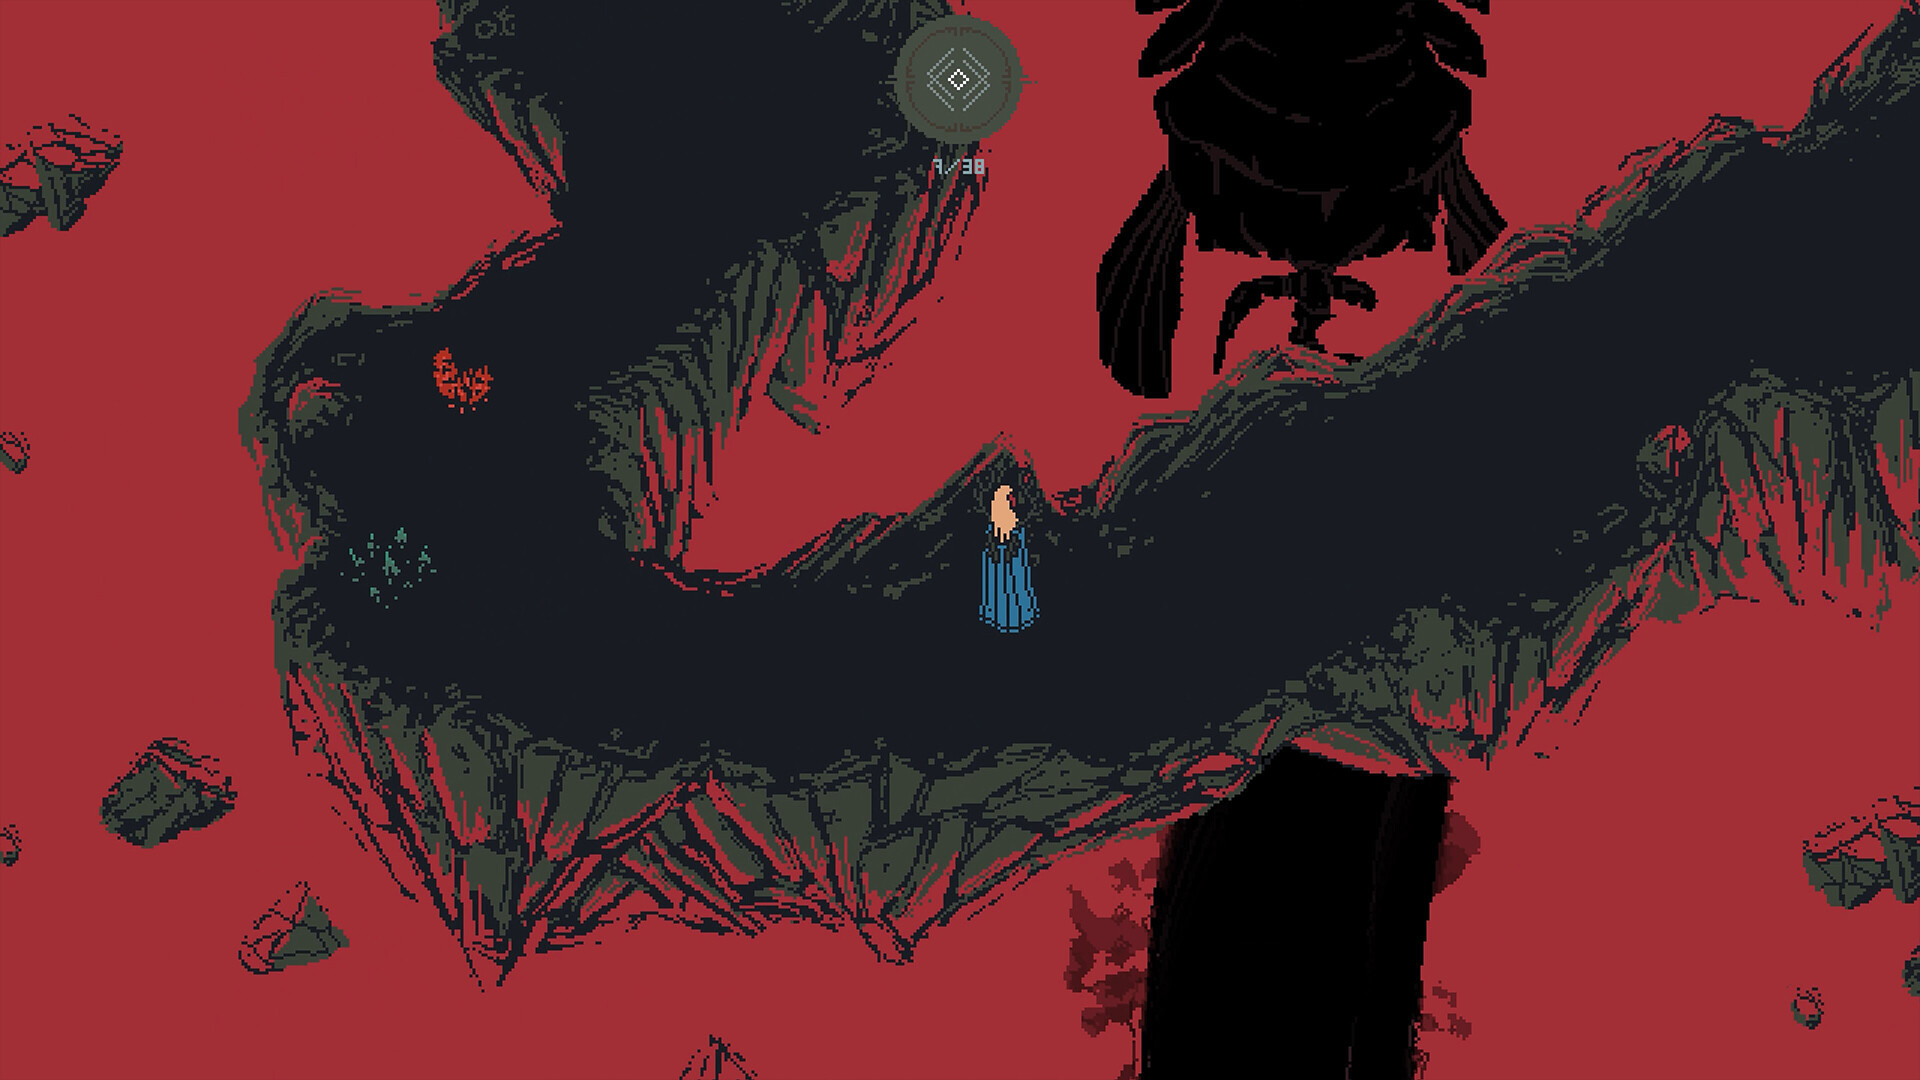
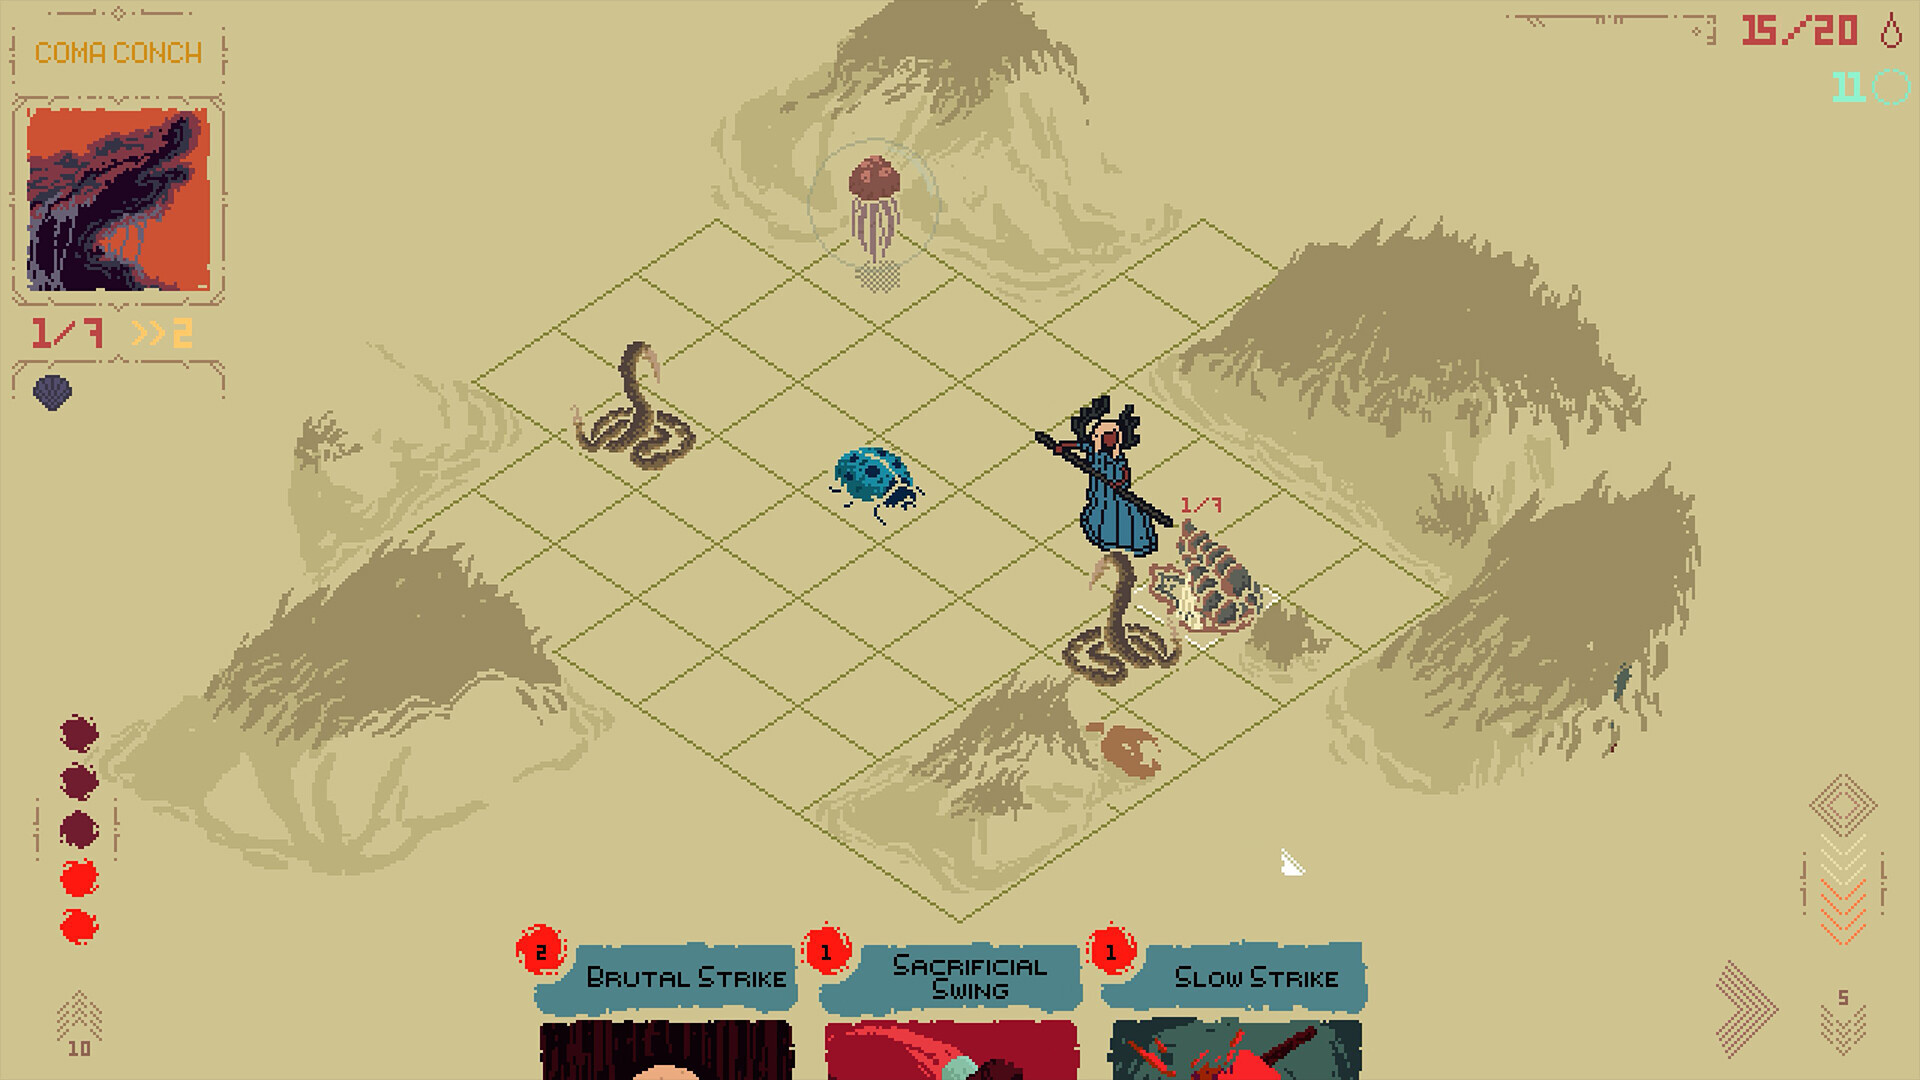
Four realms and the final mountain route
Routes through Distorted Hollows, Piercing Winds, Gloomy Waters, Hostile Plains, and the Howling Mountain. Covers the zone and encounter entries, card/Totem preparation, side quests, and route choices, with the publisher’s current Nest and reward changes distinguished from launch observations.
Death Howl’s four main realms and final mountain approach have different enemies, mechanics, and card choices. Activated Sacred Groves support travel and recovery, while resting resets enemies. The guide suggests an order, but alternate routes can suit a different deck or available resources.
🗺️ Main Realms and the Mountain
Each of the four main realms is covered through three named regions. The mountain’s Moon Eel and Sorg entries below describe encounters, not two extra formal regions; the publisher’s total is thirteen regions. Quest and side-encounter availability varies with the actual route and updates.
🔗 Connections Between Regions
Use open paths and activated Groves to revisit earlier areas. Not every realm is locked behind defeating the immediately preceding Great Spirit; the suggested route should not be mistaken for a rigid central-hub unlock chain.
🔥 Sacred Groves
Groves restore HP, support checkpoints and travel, and convert collected Death Howls into Teardrop progression. Plan crafting, deck changes, and upgrades around their use. Resting also resets enemy encounters, which matters for no-rest quest objectives.
🚀 Traveling Between Regions
Track the Groves you have activated and the route back to a dropped Howl location. Travel is not described here as restricted only to completely cleared realms. Several Groves within a region can shorten the return journey and help plan safer exploration.
- 1. 🌲 Distorted Hollows — Starting Realm
- 2. ❄️ Piercing Winds — Cold and Fire
- 3. 🐍 Gloomy Waters — Poison and Disruptive Cards
- 4. 🐂 Hostile Plains — Movement and Back Attacks
- 5. 🏔️ Howling Mountain — Final Route
- 6. 💧 Teardrop Sources by Realm
- 7. 🎯 Route-Planning Examples
- 8. ❓ Frequently Asked Questions
🗺️ 3Covered Regions and Encounters
Forest of Howling Shadows
The opening region for learning Sacred Groves, combat positioning, and crafting cards.
- ▸ Activate the first Sacred Grove.
- ▸ Find the Bird Nest Totem.
- ▸ Find the Tree Root Totem.
- ▸ Start Flames of Vengeance at the burning tree.
- ▸ Grimsnout (early enemy)
- ▸ Giant Puffballs (countdown threat)
- ▸ Dire Shrooms (pull threat)
- ▸ Tree Root Totem (same-turn kill bonus)
- ▸ Bird Nest Totem (extra draw with a surcharge)
- ▸ Affordable attack options such as Quick Strike
- ▸ Teardrop sources: check the current Nests and skill progression.
Meadows of Delusion
The meadow beyond the forest. Balancing the Scales starts with the Giant Fish and rewards the Pearl Totem after the Scale Shields are returned.
- ▸ Find the Reptilian Eggs Totem.
- ▸ Collect five Scale Shields.
- ▸ Receive the Pearl Totem quest reward.
- ▸ Elder Spirit encounters
- ▸ Elder Dire Shrooms (stronger pull threats)
- ▸ Totemite (countdown threat; later update: six rounds)
- ▸ Pearl Totem (discard-to-Block effect)
- ▸ Reptilian Eggs Totem (opening card choice)
- ▸ Triple Strike
- ▸ Teardrop sources: check the current Nests and skill progression.
Creek of Spectral Falls
The final zone of Distorted Hollows on the route to Cantharsis. Activate the Groves, handle Elder Spirit encounters, and collect useful Nests before the Great Spirit fight.
- ▸ Route to Cantharsis
- ▸ Check unlocked recipes and crafting materials.
- ▸ Search the actual Nest markers for Teardrops.
- ▸ Several Spirit and Elder Spirit encounters
- ▸ Check the enemy types shown in the current region.
- ▸ Giant Puffballs and related threats
- ▸ Fireball (check its current target and effect)
- ▸ Stone Fist (attack option)
- ▸ Rabid Attack
- ▸ Teardrop sources: use current map markers.
🃏 Card Unlocks and Acquisition Checks
- ▸ Double Strike (check the actual recipe/unlock)
- ▸ Triple Strike (check the actual recipe/unlock)
- ▸ Fireball (check recipe and materials)
- ▸ Stone Fist (check recipe and materials)
- ▸ Cleanse (check the unlocked card panel)
🪨 Totem Routes and Acquisition Checks
- ▸ Tree Root (Nest beyond an Elder encounter in the Forest)
- ▸ Bird Nest (Forest Nest southeast of the pre-bridge Grove)
- ▸ Reptilian Eggs (Meadows Nest beyond an Elder encounter)
- ▸ Pearl (Balancing the Scales reward)
- ▸ Brother’s Bracelet (check acquisition and current effect)
👹 Main Encounter Checks
📜 Quest Routes (2 covered)
Flames of Vengeance
Editorial difficulty: ★☆☆☆☆- Talk to the burning tree in the Forest of Howling Shadows to begin the quest.
- Follow the quest to the blue bird; an official patch moves its position within the Forest.
- Carry the quest card back through the required encounters.
- Return the bird to the burning tree to complete the route, rather than an unsupported central ancient altar.
Balancing the Scales
Editorial difficulty: ★★★☆☆- Talk to the Giant Fish by the western pond in the Meadows of Delusion.
- Collect the five Scale Shields along the western route, accounting for the quest cards in the deck.
- Scale route 1: north of the first Sacred Grove.
- Scale route 2: after crossing the river onto the western island.
- Scale route 3: north after the next Spirit encounter.
- Scale route 4: south after that same encounter.
- Scale route 5: beyond the Elder encounter near a Nest.
- Return all five to the Giant Fish to obtain Pearl.
Cantharsis is recorded with 60 HP in the launch-era encounter. Stay out of the frontal lane, handle Puffball countdowns, and account for Dire Shroom pulls. See the boss page for the detailed plan; difficulty stars are editorial, not an in-game difficulty value.
Use this realm to learn Grove resets, card play, and Totem equipment. Tree Root and Pearl are useful options for suitable decks, but neither must be included in every later build.
🗺️ 3Covered Regions and Encounters
The Breathing Chasm
An early Piercing Winds zone where cold pressure and new card costs require preparation. Reap or Weep starts here; follow the region’s Groves and the quest route rather than relying on the unverified description of a universal accumulating freeze stack.
- ▸ Find the eyes for Reap or Weep.
- ▸ Learn the region’s Chill interaction.
- ▸ Check Bear Skull’s acquisition and effect.
- ▸ Unlock and inspect Crushed from Above.
- ▸ Check the Spirit types shown in the current encounter.
- ▸ Cold-region enemies and their current attack effects
- ▸ Bear Skull Totem (Kill: gain 3 Block)
- ▸ Crushed from Above (check the current Block trade-off)
- ▸ Opal (Reap or Weep reward)
- ▸ Teardrop sources: use current map markers.
The Hidden Vale
A larger region with the corpse’s boulder-carrying quest for Thick Fur, the frozen-lake route for Frozen Driftwood, and an eastern cave containing Cone Fylge. Plan the Groves and optional paths around those objectives.
- ▸ Complete the boulder-delivery quest for Thick Fur.
- ▸ Carry the quest boulder.
- ▸ Find Frozen Driftwood.
- ▸ Check Heavy Blizzard’s recipe and current effect.
- ▸ Stronger cold-region Spirit encounters
- ▸ Check the enemy names and attacks shown in the region.
- ▸ Thick Fur reward (once-per-battle fatal-strike protection)
- ▸ Frozen Driftwood Totem (each turn: gain 1 Block)
- ▸ Heavy Blizzard (check its area and current effect)
- ▸ Teardrop sources: inspect current Nest markers.
The Glacial Maw
The final Piercing Winds zone on the route to Tradontoz. Prepare for the hands and falling ice. Thick Fur comes from The Laughing Face of Death in The Hidden Vale, so it should not be listed as a Glacial Maw chest reward.
- ▸ Thick Fur: optional protection from the Hidden Vale quest.
- ▸ Frostalite: an optional Echo-support Totem, not required for Sorg.
- ▸ Route to Tradontoz
- ▸ Cone Fylge: hidden-cave route in The Hidden Vale.
- ▸ Cold-region Elder encounter: read the previews
- ▸ Cold-region Spirit and Elder Spirit encounters
- ▸ Thick Fur Totem (one fatal-strike protection per battle)
- ▸ Frostalite Totem (Echo-dependent end-of-turn damage)
- ▸ Cone Fylge (summon card)
- ▸ Grand Spear
- ▸ Teardrop sources: inspect current Nest markers.
🃏 Card Unlocks and Acquisition Checks
- ▸ Crushed from Above (check the region’s unlocked card panel)
- ▸ Heavy Blizzard (check recipe and materials)
- ▸ Grand Spear (check recipe and materials)
- ▸ Light a Fire (regional Teardrop unlock)
- ▸ Cone Fylge (hidden cave in The Hidden Vale)
🪨 Totem Routes and Acquisition Checks
- ▸ Bear Skull (check the actual acquisition route)
- ▸ Opal (check the region’s Totem route)
- ▸ Thick Fur (The Laughing Face of Death reward)
- ▸ Frostalite (optional Echo support; check acquisition)
- ▸ Frozen Driftwood (Hidden Vale frozen-lake symbols)
👹 Main Encounter Checks
📜 Quest Routes (2 covered)
Reap or Weep
Editorial difficulty: ★★★☆☆- Talk to the quest giver in the northeastern part of The Breathing Chasm.
- Fight through to the northwestern cave above the nearby Sacred Grove.
- Collect the eyes and handle the ambush inside the cave.
- Fight back out and return to the quest giver to complete the route.
The Laughing Face of Death
Editorial difficulty: ★★★★☆- Inspect the corpse near the central Hidden Vale Grove, then advance the spirit’s dialogue through battles and rests.
- When asked, accept the boulder as a quest card and follow its map marker; it is not moved by pushing a rock across the overworld.
- The boulder affects the hand and movement through its card effect. Frostalite/Echo is an option for dealing damage while movement is restricted, not a way to slide the overworld boulder on ice.
- Carry it through the required encounters and place it at the marked destination.
- Return to the spirit and finish the dialogue.
The launch-era Tradontoz observation records a 20-HP body and two hands with 10 HP each and 2 Block per turn. Remove both hands to expose the body for one turn. Avoid falling-ice markers and unlock Light a Fire from the regional Teardrop tree to handle nearby Chill damage. See the boss page for the full plan.
Prepare for Chill, the hands, and falling ice. Opal, Thick Fur, and Frostalite serve different plans; they are not three mandatory S-tier items or a requirement to explore this realm second. Choose according to current card costs, protection, and Echo support.
🗺️ 3Covered Regions and Encounters
Dead Roots
A root-covered entry region with the Root Out Corruption and In Search of Beauty routes. Prepare for attack lanes and poison threats, and follow each quest’s actual landmarks using the recorded 100 HP as a launch-version reference and checking the current display.
- ▸ Trunkrot (launch observation: 100 HP; use current display)
- ▸ In Search of Beauty and its Red Rock quest
- ▸ Start In Search of Beauty in the cave.
- ▸ Watch poison terrain and enemy attack ranges.
- ▸ Root-related threats: check current enemy names.
- ▸ Gloom-region Spirits and their actual pull or ranged effects
- ▸ Red Rock Totem (later balance: 1 mana on its qualifying kill)
- ▸ Poison Dart (single-target poison option)
- ▸ Quiver of Poison Darts (check its targeting)
- ▸ Teardrop sources: use current map markers.
The Wailing Marshes
A marsh with the Bowl route to the splitting Soother and the separate Entangled Relationship quest inside the whale. Keep their objectives and reward screens distinct.
- ▸ The Soother side-boss route
- ▸ Three fights inside the whale, without a Grove between them
- ▸ Branch Fylge: check the actual route and card.
- ▸ Algae Bubble: check acquisition and the later health-cost change.
- ▸ Gloomcroaks
- ▸ Dreadfins (inspect retaliation and range)
- ▸ Woeful Seashrooms
- ▸ Algae Bubble Totem (later balance health loss: 2 rather than 1)
- ▸ Branch Fylge (summon card)
- ▸ Poisonous Grounds (area-poison option)
- ▸ Teardrop sources: inspect current Nest markers.
Shores of Darkness
The dark coastal route to Cephagloom. Collect useful materials and inspect unlocked poison cards and Totem effects while preparing a coordinated tentacle clear. Avoid relying on unverified fixed altar or shoreline item locations.
- ▸ Route to Cephagloom
- ▸ Check Poisonous Winds in the regional card panel.
- ▸ Check Adder Stone’s route and current effect.
- ▸ Check Frozen Fish Head’s route and current effect.
- ▸ Stronger coastal Spirit encounters
- ▸ Woeful Seashrooms
- ▸ Enemies during the body opening: inspect their ranges
- ▸ Poisonous Winds (poison option for several targets)
- ▸ Adder Stone (Curse cost −1; later update converts Curses every other turn)
- ▸ Frozen Fish Head (compare with the actual poison plan)
- ▸ Infected Tooth (compare with the actual poison plan)
- ▸ Blood Sacrifice
- ▸ Teardrop sources: inspect current Nest markers.
🃏 Card Unlocks and Acquisition Checks
- ▸ Poisonous Grounds (check recipe and materials)
- ▸ Poisonous Winds (check recipe and materials)
- ▸ Poison Dart (check the unlocked card panel)
- ▸ Quiver of Poison Darts (check recipe and materials)
- ▸ Blood Sacrifice (later balance: gain 1 mana; Exhaust)
- ▸ Branch Fylge (inspect its actual acquisition route)
🪨 Totem Routes and Acquisition Checks
- ▸ Red Rock (In Search of Beauty; distinguish quest card and Totem)
- ▸ Algae Bubble (check the actual reward screen)
- ▸ Adder Stone (check acquisition and current effect)
- ▸ Frozen Fish Head (check acquisition)
- ▸ Infected Tooth (check acquisition)
👹 Main Encounter Checks
📜 Quest Routes (3 covered)
Root Out Corruption
Editorial difficulty: ★★★★☆- Talk to the red tree in Dead Roots to receive the Twig quest card.
- Visit the red landmarks marked by the quest; each interaction strengthens the Twig.
- Prepare damage and positioning for the concluding root encounter.
- Return the developed Twig to the tree, then handle the fight and its attack lanes.
- Prepare at a Grove before the concluding encounter, accounting for the reset of ordinary enemies.
In Search of Beauty
Editorial difficulty: ★★★☆☆- Enter the cave above the central Elder encounter in Dead Roots and talk to the large rock.
- Carry the rock as a quest card and finish five different enemy types with it; equipping a Totem is not the quest condition.
- Choose five distinct targets. Elder variants count separately from their ordinary versions in the player observation.
- Return the rock to its cave after meeting the counter and complete the conversation.
Entangled Relationship
Editorial difficulty: ★★★★★- Talk to the beached whale in the upper-middle part of The Wailing Marshes.
- Enter its mouth and find the seaweed causing pain.
- Removing the seaweed starts the route through three fights before Ro exits.
- First fight: inspect the actual enemies and save resources for the next encounter.
- Second fight: control threats while preserving HP for the remaining fight.
- Third fight: finish the route to leave the whale; this is not The Soother’s separate Bowl encounter.
- Prepare recovery and protection for the sequence. Algae Bubble has a health cost and is not a required defensive item here.
The launch-era Cephagloom observation records four 5-HP tentacles that respawn individually and a 30-HP body exposed for three turns after all tentacles fall. Poison can help coordinate the clear, but is not the only possible winning archetype. See the boss page for details.
Prepare a deck for the realm’s poison, disruptive cards, and several-target encounters. Red Rock and poison cards can help suitable plans, but are not universal requirements. Trunkrot, The Soother, and the quest routes are optional detours with version-dependent rewards and completion time.
🗺️ 3Covered Regions and Encounters
Moors of Withered Memories
The entry region contains Uninvited Sorrows, which asks for the required clear without resting at a Grove after accepting it. Follow the quest giver’s dialogue and prepare personal recovery before beginning.
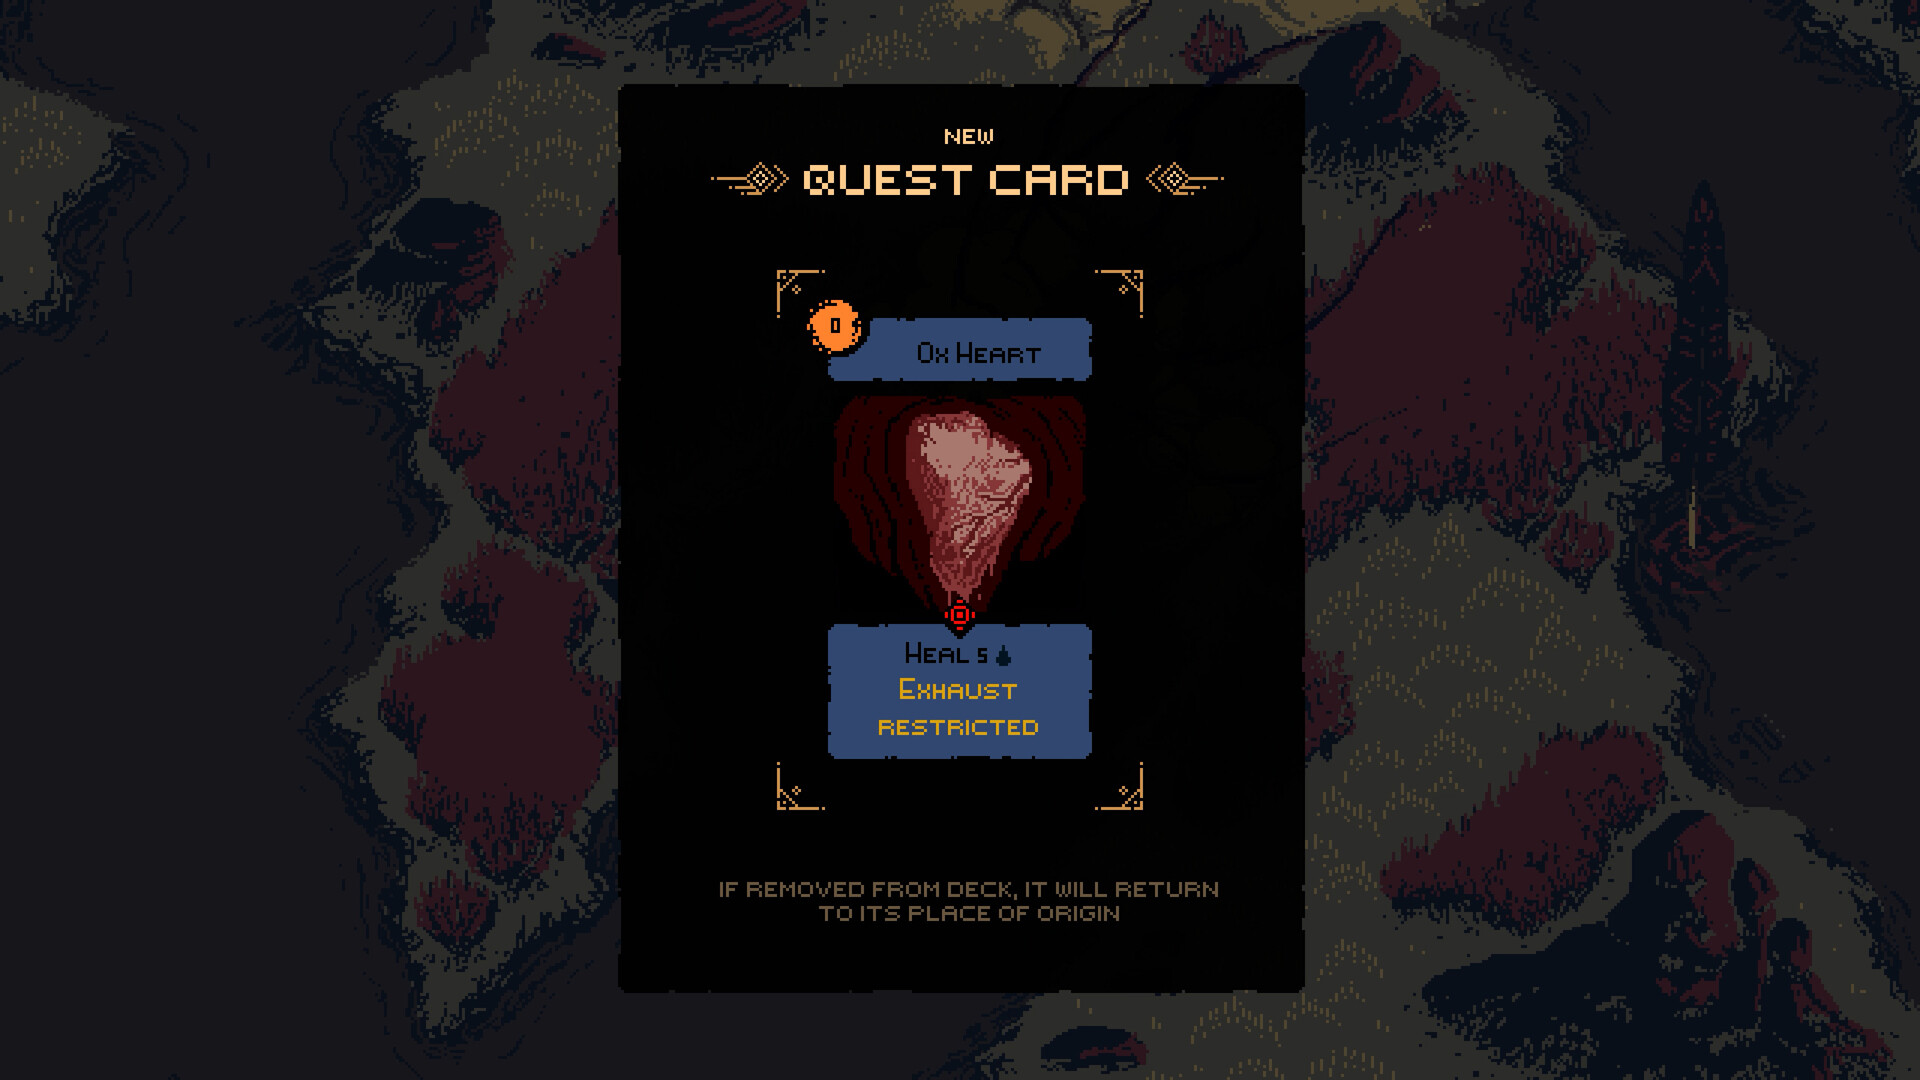
- ▸ Crystallized Ox Heart route (check its current recovery value)
- ▸ Start Uninvited Sorrows.
- ▸ Optional Eggle encounter inside the giant egg
- ▸ Horned Menace encounters
- ▸ Horned Menaces (inspect charge and push threats)
- ▸ Poison threats: inspect current enemies and effects.
- ▸ Ox Heart recovery (later balance: 2 rather than 3)
- ▸ Back-attack options for the realm
- ▸ Sharpshooter (check its actual bonus condition)
- ▸ Teardrop sources: use current map markers.
Valley of Desolation
A region with Scattered Senses, where Mother asks for four missing senses located across the realms. Completing the route yields Amber Figurine.
- ▸ Obtain Amber Figurine through Scattered Senses.
- ▸ Collect four senses across several regions.
- ▸ Check Goathoof’s acquisition and Push interaction.
- ▸ Inspect Hunters Leap’s recipe and current effect.
- ▸ Stronger Spirit encounters
- ▸ Snails: inspect current hazardous paths and defensive triggers.
- ▸ Horned Menaces
- ▸ Amber Figurine (first turn: 5 Block; ignore the next Ailment)
- ▸ Goathoof (Push-support option)
- ▸ Hunters Leap (movement/attack option)
- ▸ Teardrop sources: inspect current Nest markers.
Cadaver Dunes
The coastal-dune route to Exorath. Prepare attacks and movement from the unlocked card panel, and explore the hidden skull route for Shell of Whispers.
- ▸ Route to Exorath
- ▸ Check Tainted Spear’s recipe and effect.
- ▸ Check the Skull Fylge acquisition route.
- ▸ Find Shell of Whispers.
- ▸ Snails
- ▸ Check the current shell-related encounter threats.
- ▸ Dune-region Spirits and Elder Spirits
- ▸ Tainted Spear (damage option; not a guaranteed one-shot)
- ▸ Skull Fylge (summon card; not unrestricted Realmless conversion)
- ▸ Shell of Whispers (+2 mana; draw one fewer card per turn)
- ▸ Teardrop sources: inspect current Nest markers.
🃏 Card Unlocks and Acquisition Checks
- ▸ Backstab (check the current card-panel unlock)
- ▸ Sharpshooter (check recipe and materials)
- ▸ Hunters Leap (check recipe and materials)
- ▸ Tainted Spear (check recipe and materials)
- ▸ Exorath reward (check current mode and card name)
🪨 Totem Routes and Acquisition Checks
- ▸ Crystallized Ox Heart (Uninvited Sorrows route)
- ▸ Amber Figurine (Scattered Senses reward)
- ▸ Goathoof (check acquisition)
- ▸ Shell of Whispers (Nest inside the giant skull in Cadaver Dunes)
👹 Main Encounter Checks
📜 Quest Routes (2 covered)
Uninvited Sorrows
Editorial difficulty: ★★★★★- Talk to the thorned being near the central Grove to begin.
- Use the quest’s recovery card and clear the required enemies without resting.
- Preserve HP with actual recovery and protection effects; Pearl grants Block rather than healing.
- The hidden cave and Eggle are not established as compulsory targets; the player observation excludes them from the required clear.
- Return to the thorned quest giver to complete the quest, rather than simply crossing the region exit.
Scattered Senses
Editorial difficulty: ★★★★☆- Begin with Mother in the Valley of Desolation; the four items are not all scattered within that valley.
- Eye: below the northern Sacred Grove in The Wailing Marshes.
- Ear: a western Hidden Vale alcove between Spirit encounters.
- Nose: on the southern/western route in the Meadows of Delusion, near the cave.
- Tongue: southwestern Dead Roots, near the small lake.
- Return all four senses to Mother in the Valley of Desolation to obtain Amber Figurine.
The launch-era Exorath observation records four Carapaces with 12 HP and refreshing 2 Block, vulnerable to double damage from behind. Clearing them exposes the 20-HP body for one turn. Movement and back attacks are efficient options, not the only legal build. See the boss page for details.
This realm makes back-positioning useful against Carapaces. The recovery and Amber Figurine quest routes can support suitable plans, but neither quest nor Eggle is a compulsory detour for every build.
🗺️ 2Covered Regions and Encounters
Moon Eel encounter (editorial route label)
The encounter before Sorg. Avoid the central laser position until the four Small Eyes are destroyed, then prepare movement or attacks that can reach both sides during the Roe turn.
- ▸ Moon Eel encounter (use the current HP display)
- ▸ Central laser position
- ▸ Meteor Strike: inspect availability before the final route.
- ▸ Sun Beam: inspect availability before the final route.
- ▸ Moon Eye, the body target
- ▸ Four Small Eyes
- ▸ Six Roe
- ▸ Meteor Strike (targeted damage option)
- ▸ Sun Beam (attack option without a normal ranged sightline)
- ▸ Frog Leap (latest official update: First fills 2 mana)
- ▸ Sacred Groves along the mountain approach
Sorg encounter (editorial route label)
(Sorg's Throne)The final encounter reacts to individual card and movement actions. Read the new danger markers after each action. Ro’s HP is restored at the transition from Moon Eel into this fight.
- ▸ Final encounter with Sorg
- ▸ Action-by-action movement and teleport reactions
- ▸ Prepare protection; avoid assuming a mid-fight Grove escape.
- ▸ Route to the story ending
- ▸ Sorg (30 HP in the launch-era observation; editorial difficulty)
- ▸ Story ending
- ▸ Mode unlocks: the official update adds REBIRTH after the first completion.
🃏 Card Unlocks and Acquisition Checks
- ▸ Meteor Strike(Moon Eel encounter (editorial route label) / S)
- ▸ Sun Beam(Moon Eel encounter (editorial route label) / S)
- ▸ Frog Leap(Moon Eel encounter (editorial route label) / A)
🪨 Totem Routes and Acquisition Checks
- ▸ Frostalite (optional Echo support; obtain before the mountain if using it)
- ▸ Review the Totems already available for the intended deck.
👹 Main Encounter Checks
📜 Quest Routes (1 covered)
A linear mountain gauntlet
(No side quests on this covered final route.) Editorial difficulty: ★★★★★- Mountain approach → Moon Eel encounter
- Moon Eel → immediate Sorg encounter, with HP restored
- Defeat Sorg → story ending
Moon Eel is followed immediately by Sorg. Clear the Small Eyes before using Moon Eye’s central opening, then prepare for six Roe across both sides. Sorg reacts after individual actions and is recorded with 30 HP in the launch encounter. See the boss page for movement, damage, and optional Echo/Frostalite planning.
Prepare the final deck before the climb, without assuming the entire skill tree must already be complete. Frostalite is optional and Echo-dependent. For Moon Eel, surviving Roe become Spirits, so prepare a way to reach both sides rather than treating one missed Roe as an automatic failed run.
Teardrops support skill progression. The sources vary with updates; there is no fixed total here, but official updates add Nests and change miniboss rewards. Use Howl conversion, current Nest markers, quest rewards, and active skill costs to plan upgrades; a single fixed total is not a current cap or proof that every upgrade is impossible to obtain.
| Order | Realm | Teardrops | Main Sources | Quest Contribution |
|---|---|---|---|---|
| 1 | Distorted Hollows | Varies with updates | Grove conversion; Forest, Meadows, and Creek Nests | Flames of Vengeance / Balancing the Scales (check current rewards) |
| 2 | Piercing Winds | Varies with updates | Grove conversion; Chasm, Vale, and Maw Nests | Reap or Weep / The Laughing Face of Death (check current rewards) |
| 3 | Gloomy Waters | Varies with updates | Grove conversion; Dead Roots, Marshes, and Shores Nests | Root Out Corruption / In Search of Beauty / Entangled Relationship (check current rewards) |
| 4 | Hostile Plains | Varies with updates | Grove conversion; Moors, Valley, and Dunes Nests | Uninvited Sorrows / Scattered Senses (check current rewards) |
| 5 | Howling Mountain | Varies with updates | Check the current route and mode; no fixed zero-total claim. | No tracked side quests on the covered final route. |
| Summary | Four main realms plus the mountain | Varies with updates | Howl conversion, Nests, quests, and encounters; no fixed 56/20 split. | Side-quest completion is not universally mandatory. |
Use map Nest markers and accessible routes to look for rewards. Official patches add more Teardrop Nests, so revisit the current map rather than relying on the unverified region-by-region fixed counts.
The open-world routes allow different priorities as paths become available. The following three examples compare preparation goals; none is a mandatory official order or a timed completion guarantee.
👑 Route 1: Suggested General Progression
An editorial route for learning the systems in stages: basic cards and Grove resets in the opening realm, cold pressure and defensive choices in Piercing Winds, several-target damage in Gloomy Waters, and movement/back-positioning in Hostile Plains. Review the final deck before the mountain. The realm difficulty does not follow a guaranteed fixed staircase. An option for a first playthrough. Read the opening instructions; REBIRTH and Custom Mode have later unlock requirements.
🐍 Route 2: Prioritize a Poison-Oriented Plan
Prioritize Gloomy Waters cards and resources after the initial preparation, comparing Poisonous Grounds, Poisonous Winds, and support choices. Poison provides ongoing damage with its own timing and targets, not a guaranteed low-mana answer to every later fight. Opal and Thick Fur may support a suitable plan, but are not entrance requirements. Adapt carried-over cards to realm penalties and the actual encounter.
🐂 Route 3: Prioritize Movement and Back Attacks
An alternate route that prioritizes movement, back-attack options, and the recovery quest in Hostile Plains before Gloomy Waters. Check the new realm’s mana penalty and the current recipe requirements. A back-oriented deck still needs a way to coordinate Cephagloom’s tentacle clear, but this does not force a complete switch to a single mandatory poison deck.
Distorted Hollows and Piercing Winds are used first and second in this suggested route, not fixed by a universal realm-order rule. Gloomy Waters and Hostile Plains can be reordered according to preparation and open paths.The Howling Mountain is the concluding route in this guide, although its entrance can open earlier. The main priority is preparing the cards and resources your next encounter actually requires.
Q1. Which realm should I explore first?
Q2. How do Sacred Groves work?
Q3. How do I obtain Teardrops?
Q4. How long does exploration take?
This page compares existing route notes with publisher updates and recorded player observations. It is not our own gameplay certification; current in-game text and your selected mode take priority.
- ▸ REBIRTH and Custom Mode are Available Now!
- ▸ Patch 1.0.0.5
- Official updates: check modes and balance changes.

Razer Viper V3 Pro

ANNE PRO 2

Game Design Brain

Steam ¥3,000
Affiliate links to Amazon Japan. Purchases may earn us a commission at no extra cost to you. Check the retailer for current prices.
Game Music Collection
ELECOM controller
Rakuten Points ¥3000
PowerA Fusion Pro
Affiliate links to Rakuten Japan. Listed prices are indicative; check the retailer for current prices.