Crow Country Walkthrough: Keys, Underground Route and Finale
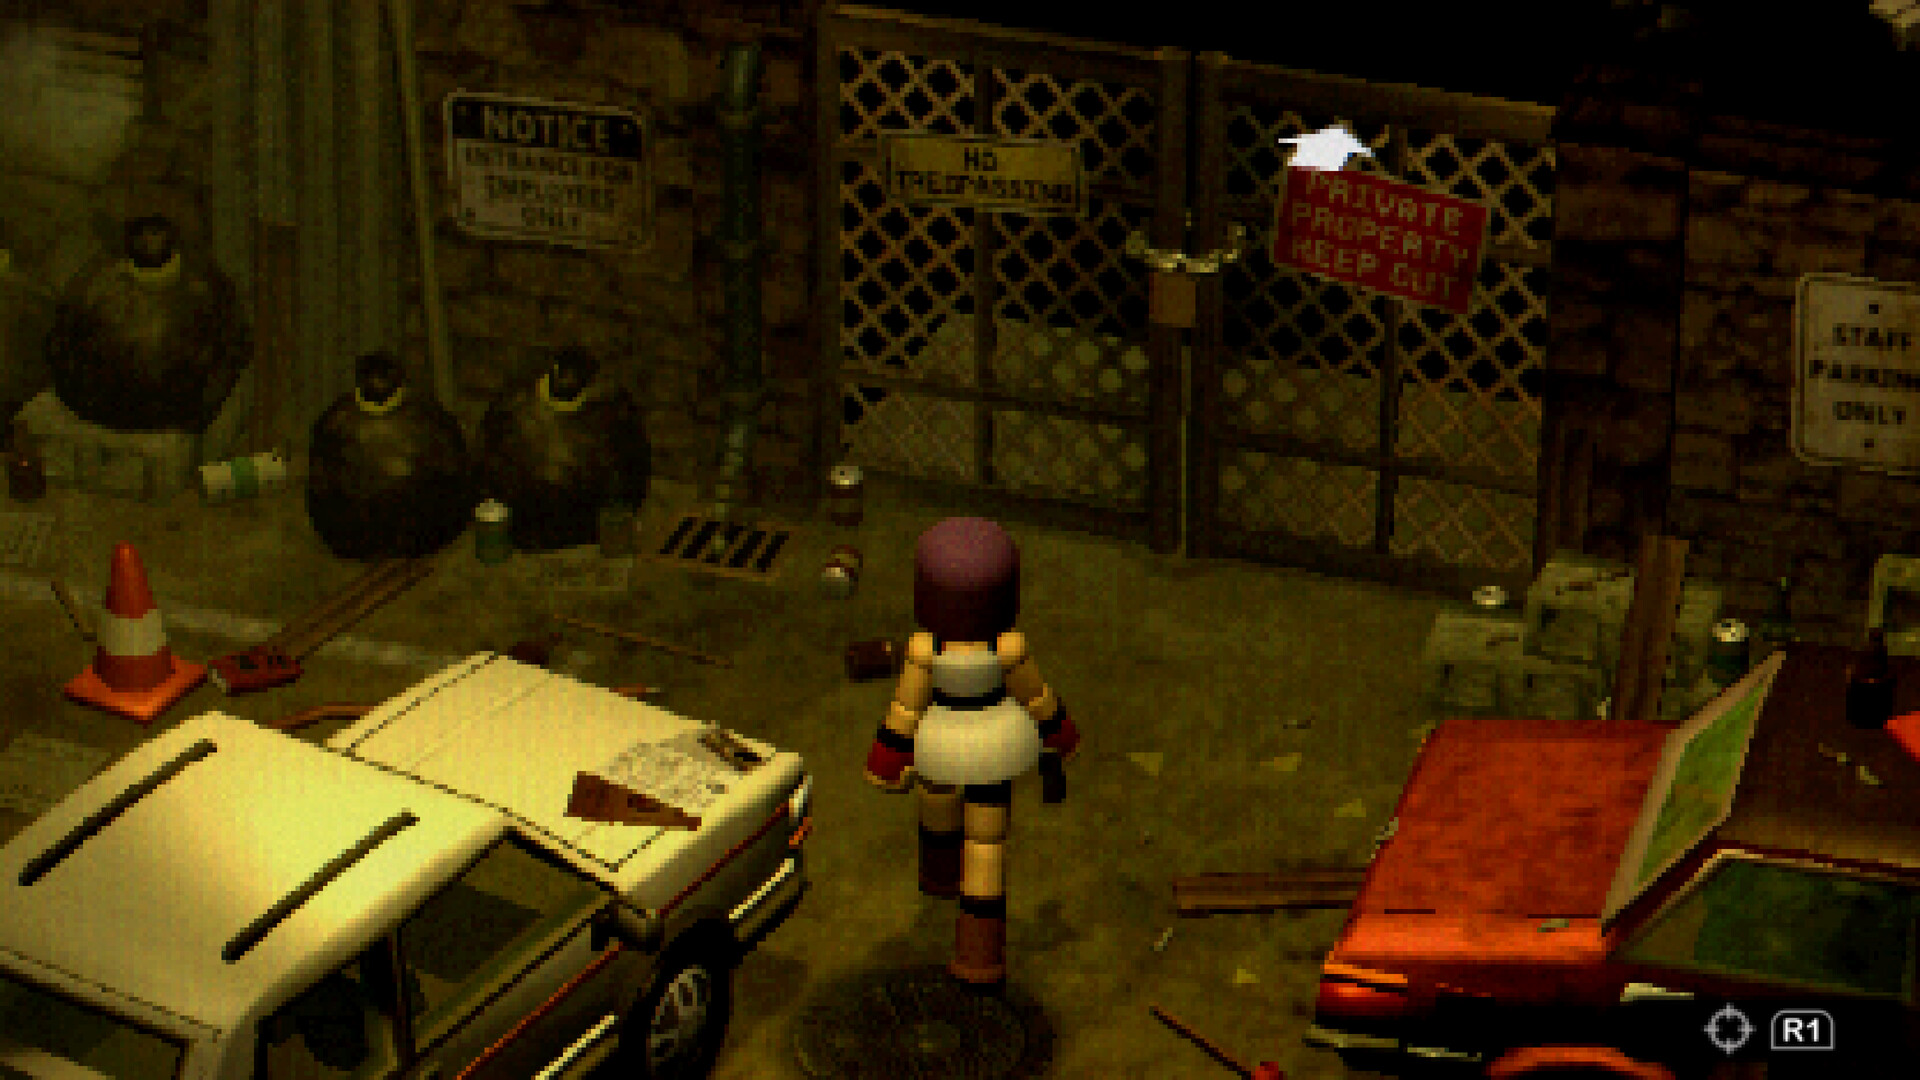
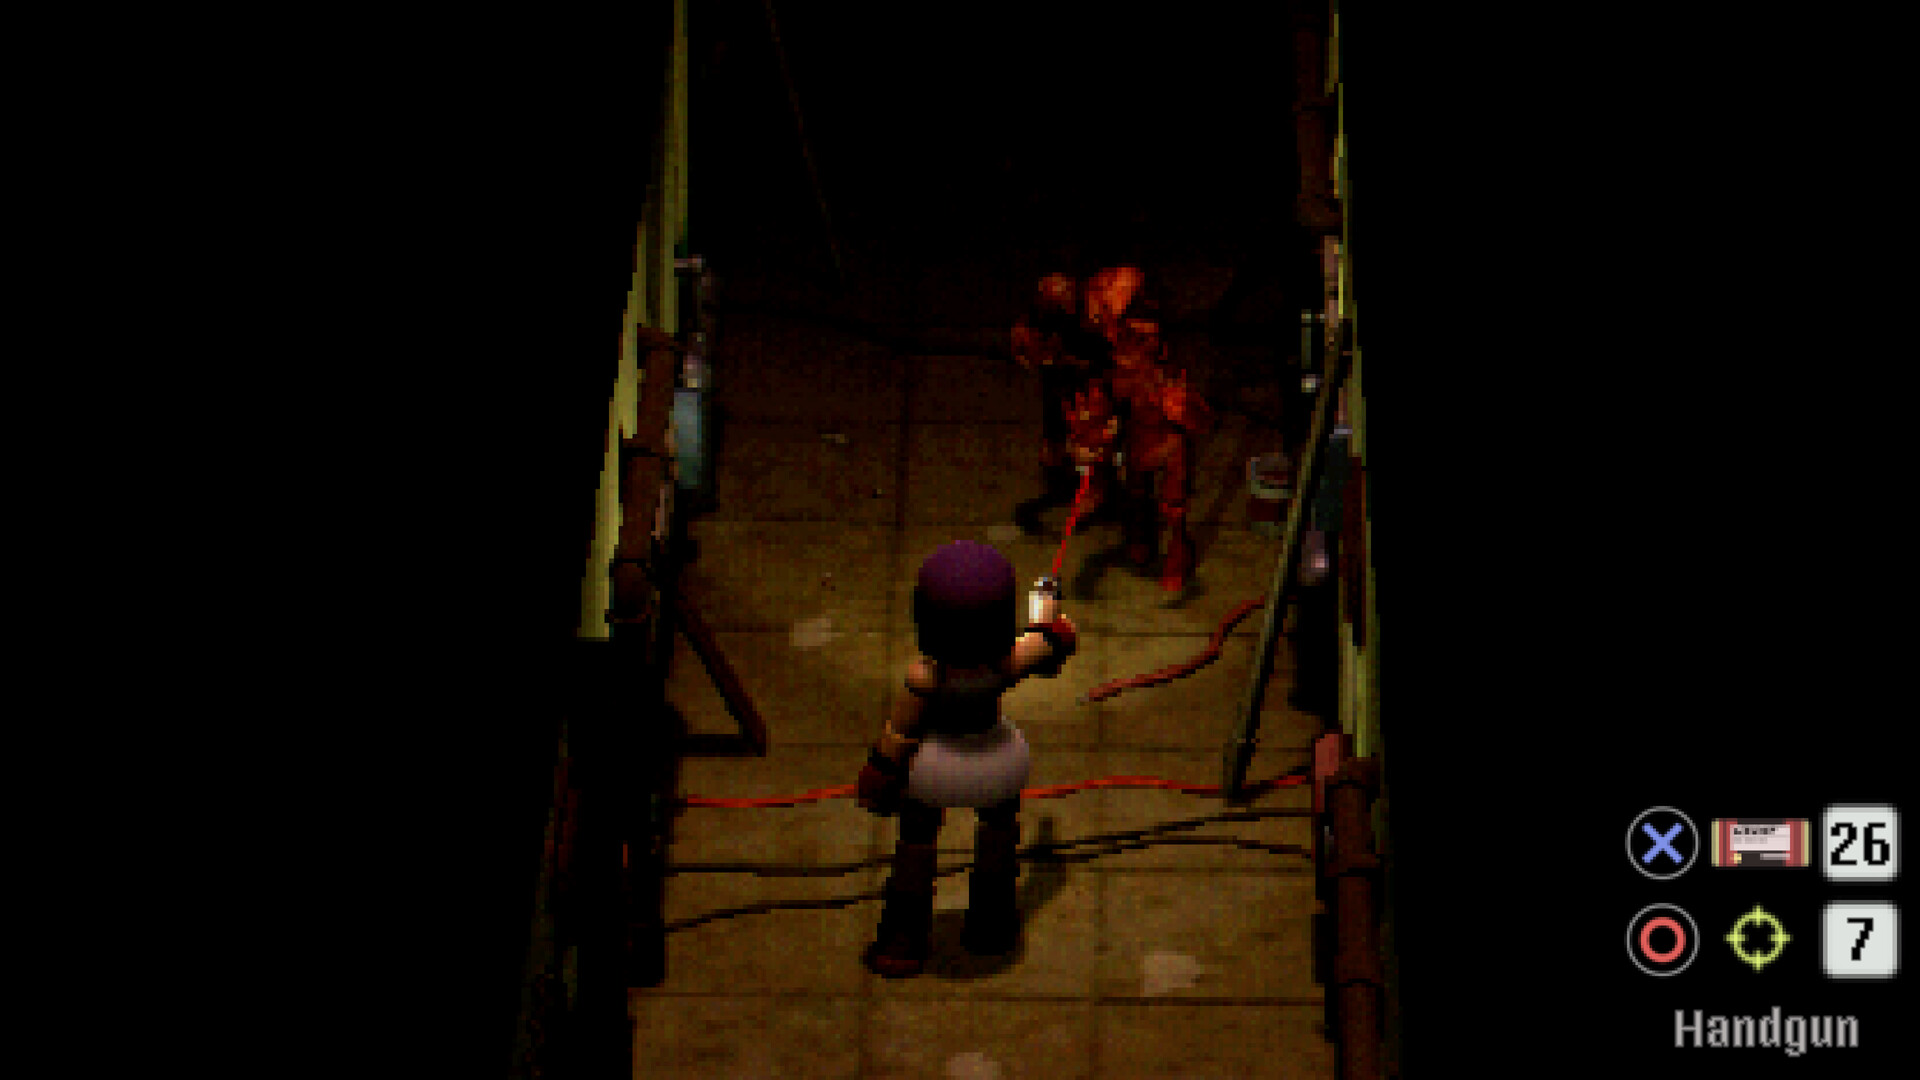
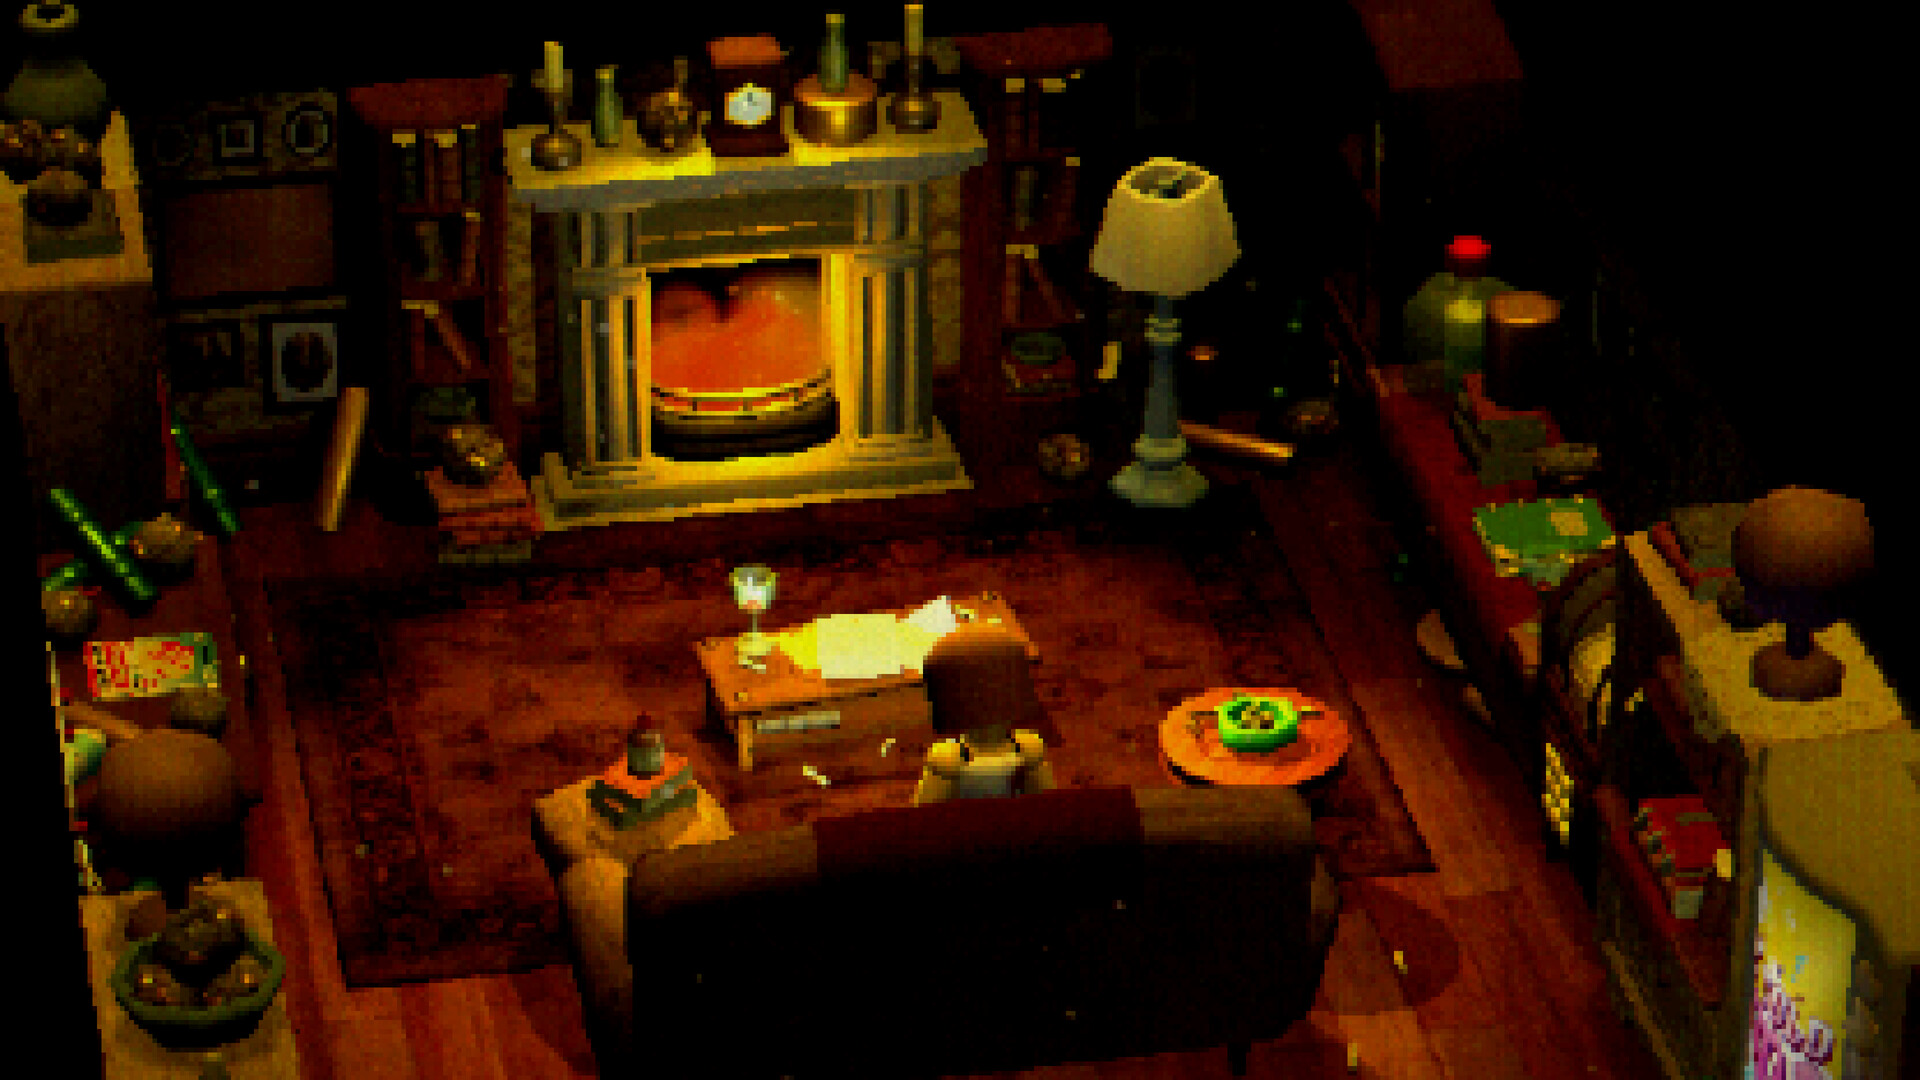
Use this chart to connect your current room, inventory and next locked destination. Its nineteen stages are navigation aids, not chapter counts or the only fastest route. You can leave the finale disclosure closed until its story context is needed.
Before starting
When the save-room return is long, check whether a new door connects to a corridor. Record the locations of maps, letters and dates so you can reread them. On a first run, secure a clear rather than refusing healing or saves to chase a rank.
| Mode | Experience | Note |
|---|---|---|
| Survival Horror | Standard experience with combat and resource management | Learn routes around enemies, ammunition, healing and puzzles together. A first clear does not require forcing an S rank. |
| Exploration | Mode focused on exploration, story and puzzles | The official description allows exploration without monster attacks. This guide has not checked whether combat achievements and rank rewards are available under identical conditions. |
| Murder of Crows | Additional hard mode | Available immediately. Resources are scarcer, enemies more aggressive and serious injury prevents running. Rank requirements differ, so do not reuse standard-mode thresholds. |
Preparation at the entrance
- Check the car and entrance for ammunition, your Handgun and Flashlight. Shoot the entrance lock, but do not treat every box or door as a shooting target.
- Help Arthur back to the car and finish the conversation. Read the number where he sat and the book in the Lounge before approaching Fairy Pond.
- Find the map and first save interaction, noting locked doors. Count the Med Kit used for Arthur separately from your own healing supplies.
Main-route answers before central access
Open answers or major spoilers
| Stage | Prerequisite | Action | Next goal |
|---|---|---|---|
| Entrance and Arthur | Handgun and a Med Kit | Take ammunition from the car and shoot the entrance lock. Help injured Arthur back to the car; examine the note where he sat and the book in Crow’s Lounge. | Toward Fairy Pond |
| Fairy Pond | Entry code and passphrase | Enter with 3184 and the fairy passphrase from the Lounge. Operate the pump while its gauge is in the white band, clear the water, then shoot the target indicated by the reflection and collect Bronze Key. | Bronze Key |
| The Crypt | Bronze Key | Enter Haunted Hilltop and match the gravestones’ names to directions. Handle or evade the optional mini-boss, then use the lever in its broken wall to reach the Utility Corridor. | Corridor and safe |
| Utility Corridor and Machine Room | Year on a gravestone | Use Soulina’s death year, 1872, at the safe for Crank Handle. Check the map and Gasoline, and open the door for Julie. | Crank Handle |
| Haunted Manor | Crank Handle | Listen to the bird and ring the entrance bell five times. Set the left clock to 10:20 and right to 11:15, then collect Gemstone from the painting. | Gemstone |
| Swan Boats | Gemstone | Use Gemstone on the swan mechanism, move the boat to the gap in the fence and examine it for Chain. | Chain |
| Fairytale Town Dig Site | Bronze Key, Crank Handle, Chain and Gasoline | Unlock the house’s mailbox with Bronze Key. Use the crank and chain to raise the resin block, fuel the installed burner and retrieve Woeful Mask. | Woeful Mask |
| Witchwood | Woeful Mask | Use the mask at the door and switch matching-symbol pedestals to reach the center. Take Trident from the cauldron; after the pedestals lower, check behind them before leaving. | Trident |
| Ocean Kingdom | Crank Handle | Open the gate with the crank, find the Submarine save room and collect the map. Speak to Marvin in the Arcade with the flashlight off to clear the way to Neptune’s Palace. | Explore the ocean-themed district |
| Neptune’s Palace | Trident | Progress with Trident and turn the four tank heads toward the center so they sing. Stand centrally and confirm all four chest lights are green, then collect Silver Key. | Silver Key |
| Tolman’s Office and Staff Hallway | Silver Key | Enter the office and match the tapes to the calendar to read the keyboard order. Play FACE, then pull the exposed panel’s lever to enable the underground elevators. | Underground access |
| Games Arcade | Silver Key | Restore power and set Mermaid Quiz to 1, Dolphin Dash to 2, Speed Boat to 4 and Shark Shooter to 8. Take Data Disk from the Change Machine. Quizmaster is a separate goal requiring a score of at least 5. | Data Disk |
| The Dungeon | Data Disk | Use the disk at the covered terminal. Open the Mermaid cell with 0 legs, 2 arms, 1 head and 2 eyes, then take Acid Bottle. | Acid Bottle |
| Underground and Root FRI | Underground elevators and Acid Bottle | Enable Root Access in the Break Room. After its optional mini-boss, read 2663 on the dropped number plate for the exit. Fill the bottle at the drip in Root FRI. | Carry acid |
For the graves: Estelle east, Solomon Weselby southwest, Norbert Easley northeast and Soulina south. Match names and the compass rather than applying a memorized sequence to the wrong grave.
The Submarine Shotgun puzzle targets a total of 21. Source target-sequence transcriptions differ, so use the displayed target values to verify the total rather than a fixed shooting sequence.
Golden Key to the final approach
Open answers or major spoilers
| Stage | Prerequisite | Action | Next goal |
|---|---|---|---|
| Theatre | Filled Acid Bottle | Raise the curtain and shoot the fairy’s head to expose the resin. Add acid to the audience-side tank, operate the mechanism and collect Golden Key. | Golden Key |
| Root THU and The Seven Seas | Data Disk, Golden Key and Julie’s assistance | Use the Root THU terminal to reach a gas-pressure total of 50 and stop the gas. Unlock the Seven Seas control room with Golden Key, inspect the console and ask Julie to help. At the ride’s end, take Battery from the third mermaid from the left. | Battery |
| Root SUN and Crow’s Office | Golden Key | Destroy the Root SUN generator to remove the office’s electrical obstruction. Find 9218 in Crow’s Office, enter it at the Control Room and pull the exposed lever to power the central elevator. Handle the optional mini-boss and the floor-die exit sequence, 1 through 6, separately. | Central access controls |
| Root TUE and central crow | Battery | Charge Battery in Root TUE. Open and rotate the central crow, install the battery, turn it back and start its walk cycle. Use the revealed central elevator. | Central Underground |
| Lantern gates and Lab | Central elevator | Shoot lanterns to match each gate’s required count and create a route. Save at the Lab beyond the final ladder, then check dialogue, vials and notes before the last fight. | Main finale |
Sources agree on a total of 50 at Root THU but disagree on the allocation among rooms. No single distribution, such as 9/11/10/20, is certified here; compare the terminal with the in-game room targets.
Diagnosing a blocked route
Open answers or major spoilers
- With Bronze Key but no progress, check the Crypt lever, safe’s crank and Swan Boats gemstone. The crank alone does not yield the mask; Chain and Gasoline are also required.
- If underground access is blocked after Silver Key, check Tolman’s keyboard and lever. If you have the disk but no acid bottle, check the Mermaid body counts at the Dungeon terminal.
- Electricity, gas and battery power are separate problems after Golden Key. Mark Root SUN for the generator, THU for gas, TUE for charging and FRI for acid.
- If central access remains closed, separately check control-room progress and battery charging, installation and orientation. Lantern counts beyond the entrance belong to a different gate puzzle.
Final preparations
Open answers or major spoilers
- After Golden Key, separate the Seven Seas, Root SUN and Crow’s Office objectives and retrieve Battery. Record opening a room and collecting its item as separate tasks.
- Charge the battery in Root TUE and operate the central crow. If it remains rotated, recheck the panel, installed battery, orientation and walk-cycle control in order.
- Read the lantern count for each central-underground gate. Rather than firing at unrelated lamps, identify the gate you need and its required lit count.
- Save in the Lab, check the medicine, documents and dialogue, then continue to the finale. Check the medicine and note before entering the final fight.
- Keep room to move and attack with available firearms when there is a clear line. A fixed three-stage HP script, instant-kill timer and required ammunition counts are unverified.
Achievement and replay goals
After clearing, plan secrets, upgrades, optional bosses and ranks separately. Identify unfinished conditions before deciding which parts of the route to repeat.
| Goal | What to check | Keep separate |
|---|---|---|
| Secret Hunter | Collect fifteen secrets | Finding the map alone is insufficient |
| Wishes Granted | Upgrade all four main weapons | More than picking up weapons |
| Thorough | Defeat all four optional mini-bosses | Not every ordinary enemy |
| Quizmaster | Score at least five at Mermaid Quiz | Separate from the disk’s one-point setting |
| B/A/S ranks | Check the mode and results screen | Hard-mode conditions differ |
Check progress before time estimates
A first run varies with reading, exploration, puzzles, combat and difficulty. This revision does not retain unmeasured six-to-eight-hour claims, minute-by-area estimates or comparisons with other games. Use items and opened routes above to judge progress.
Frequently asked questions
Where do I go after finding a key?
Revisit Crypt and Dig Site for Bronze; Tolman’s Office, shops and parking for Silver; Seven Seas and Crow’s Office for Golden. Open the stage table for exact answers.
Is Data Disk used only once?
It is reused at multiple terminals. After collecting it from the Arcade, track its roles in Dungeon, Train Room and Root THU separately.
Should I kill every enemy?
Prioritize safe movement and a clear on a first run. Thorough’s four encounters are separate from ordinary enemies. Hard-mode evaluation differs, so do not blindly reuse standard-mode resource rules.
What should I keep before the finale?
Save in the Lab and check health, usable firearms, ammunition and healing. Fixed ammunition requirements or a mandatory equipment sequence have not been measured.
Version scope and verification limits
Scope: the main Crow Country game. Official information is cross-checked with firsthand play records; this is not a hands-on full clear or verification on every platform. Controls vary by version and platform. All Murder of Crows values, rank thresholds and individual gas allocations remain unchecked.

Switch Pro Controller

PS5 Digital (Slim)

ATH-M50x

LG UltraGear 27GP850
Affiliate links to Amazon Japan. Purchases may earn us a commission at no extra cost to you. Check the retailer for current prices.
Roguelike Design Theory
eShop ¥5000 — Rakuten
ELECOM controller
Switch OLED — Splatoon 3
Affiliate links to Rakuten Japan. Listed prices are indicative; check the retailer for current prices.