Crow Country Combat and Weapons: Resources and Four Mini-Bosses
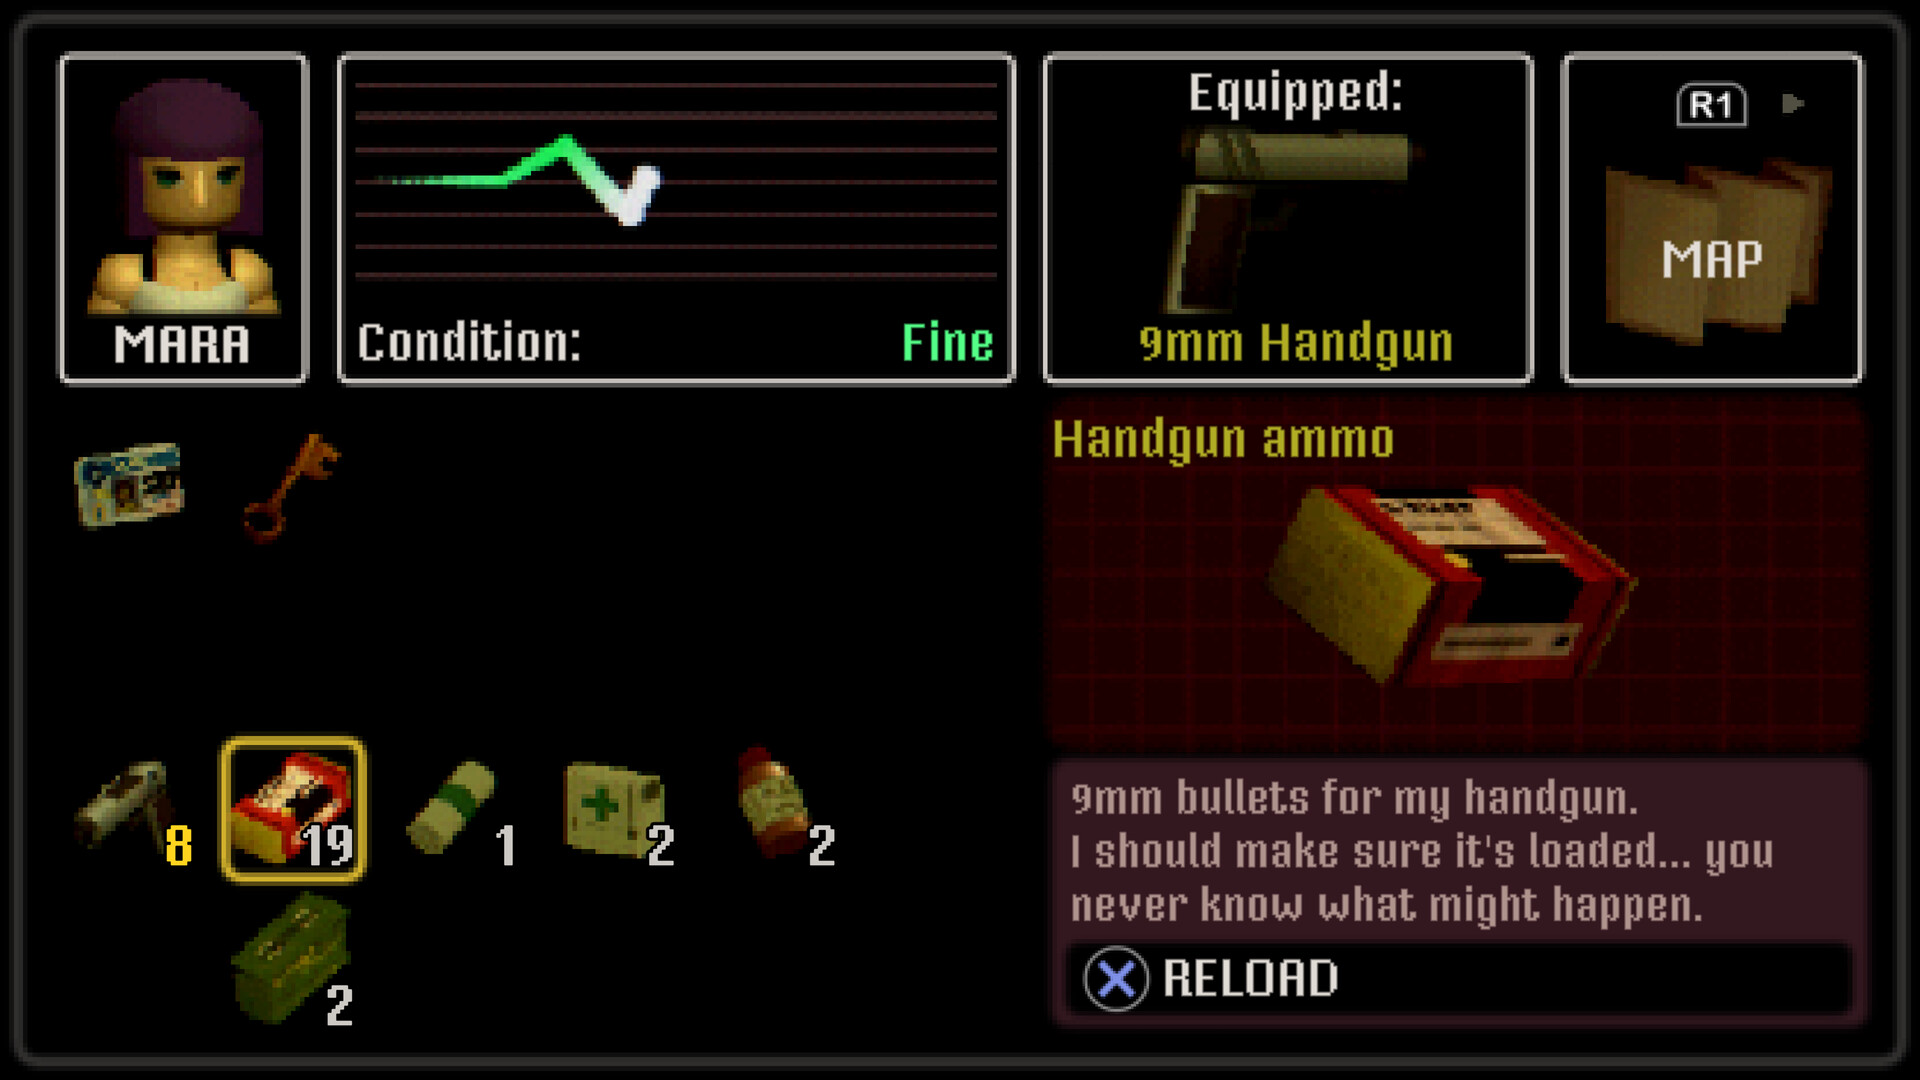
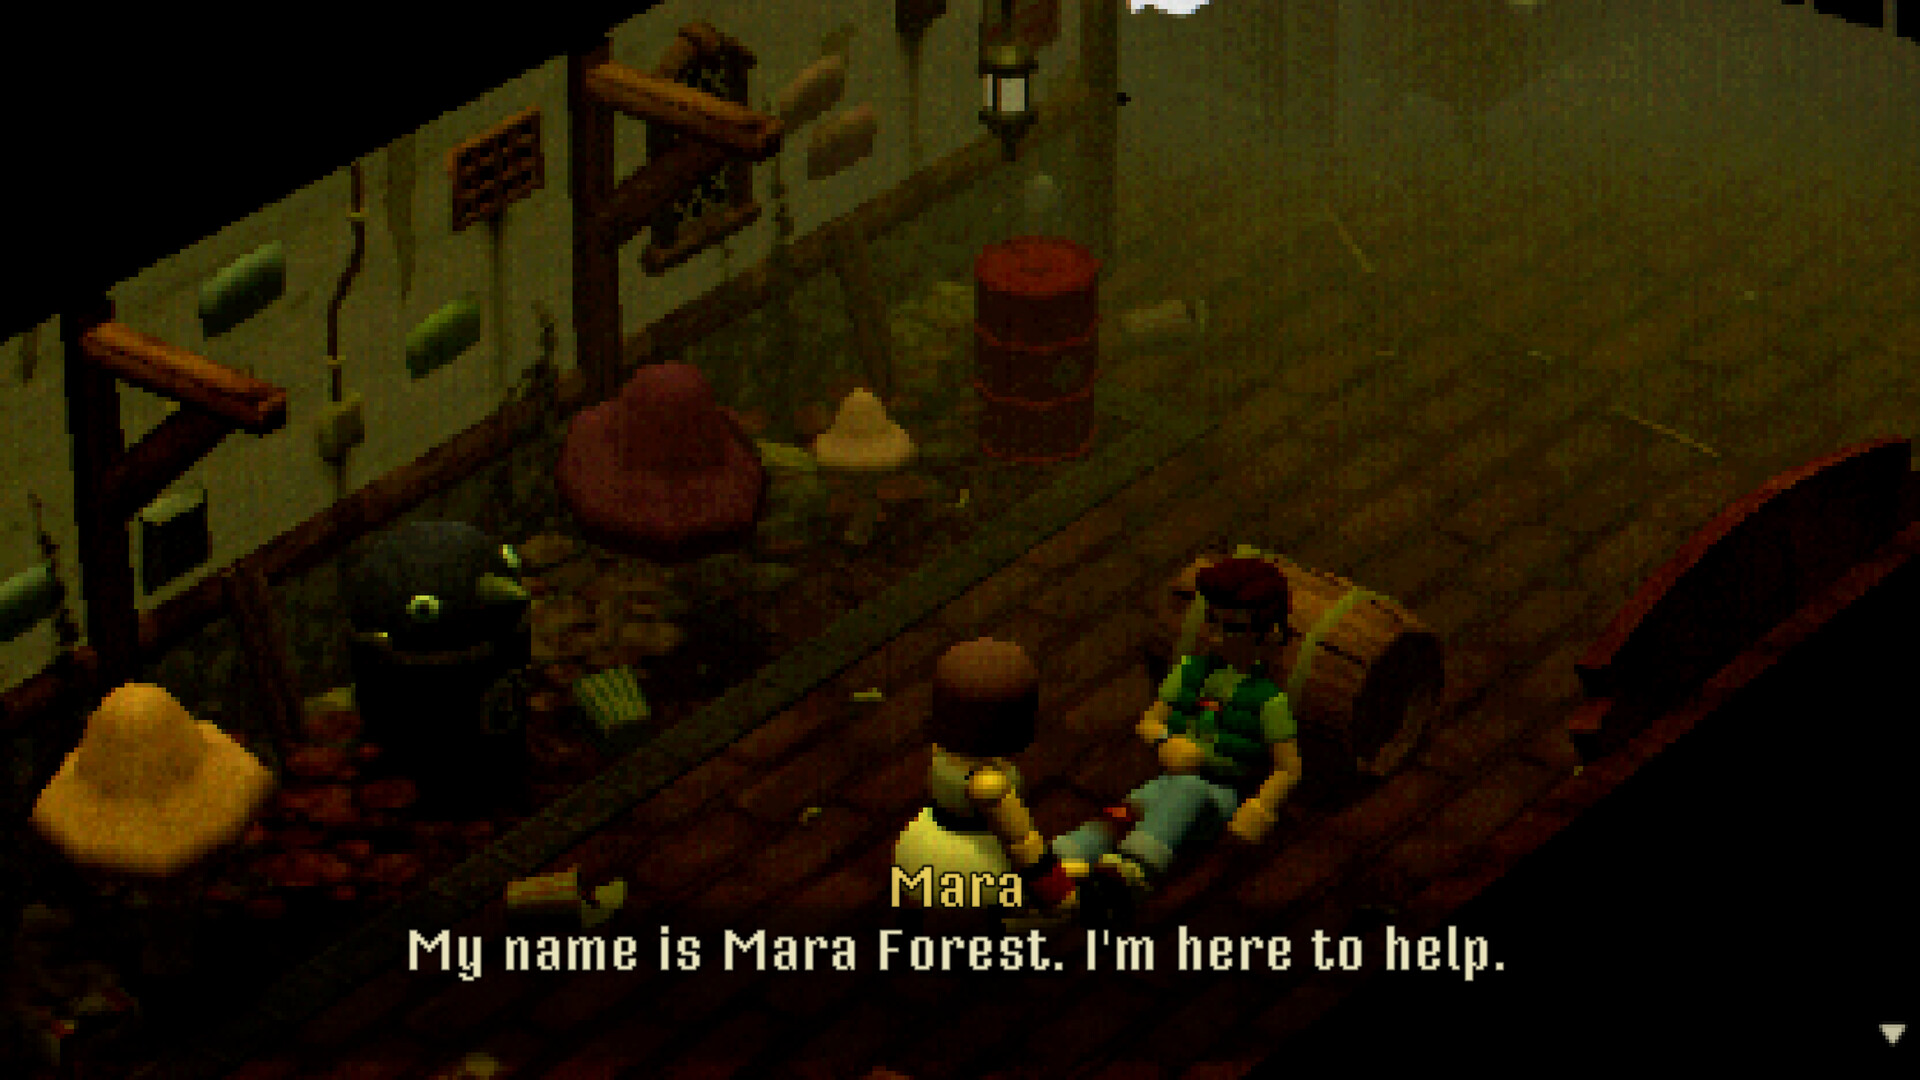
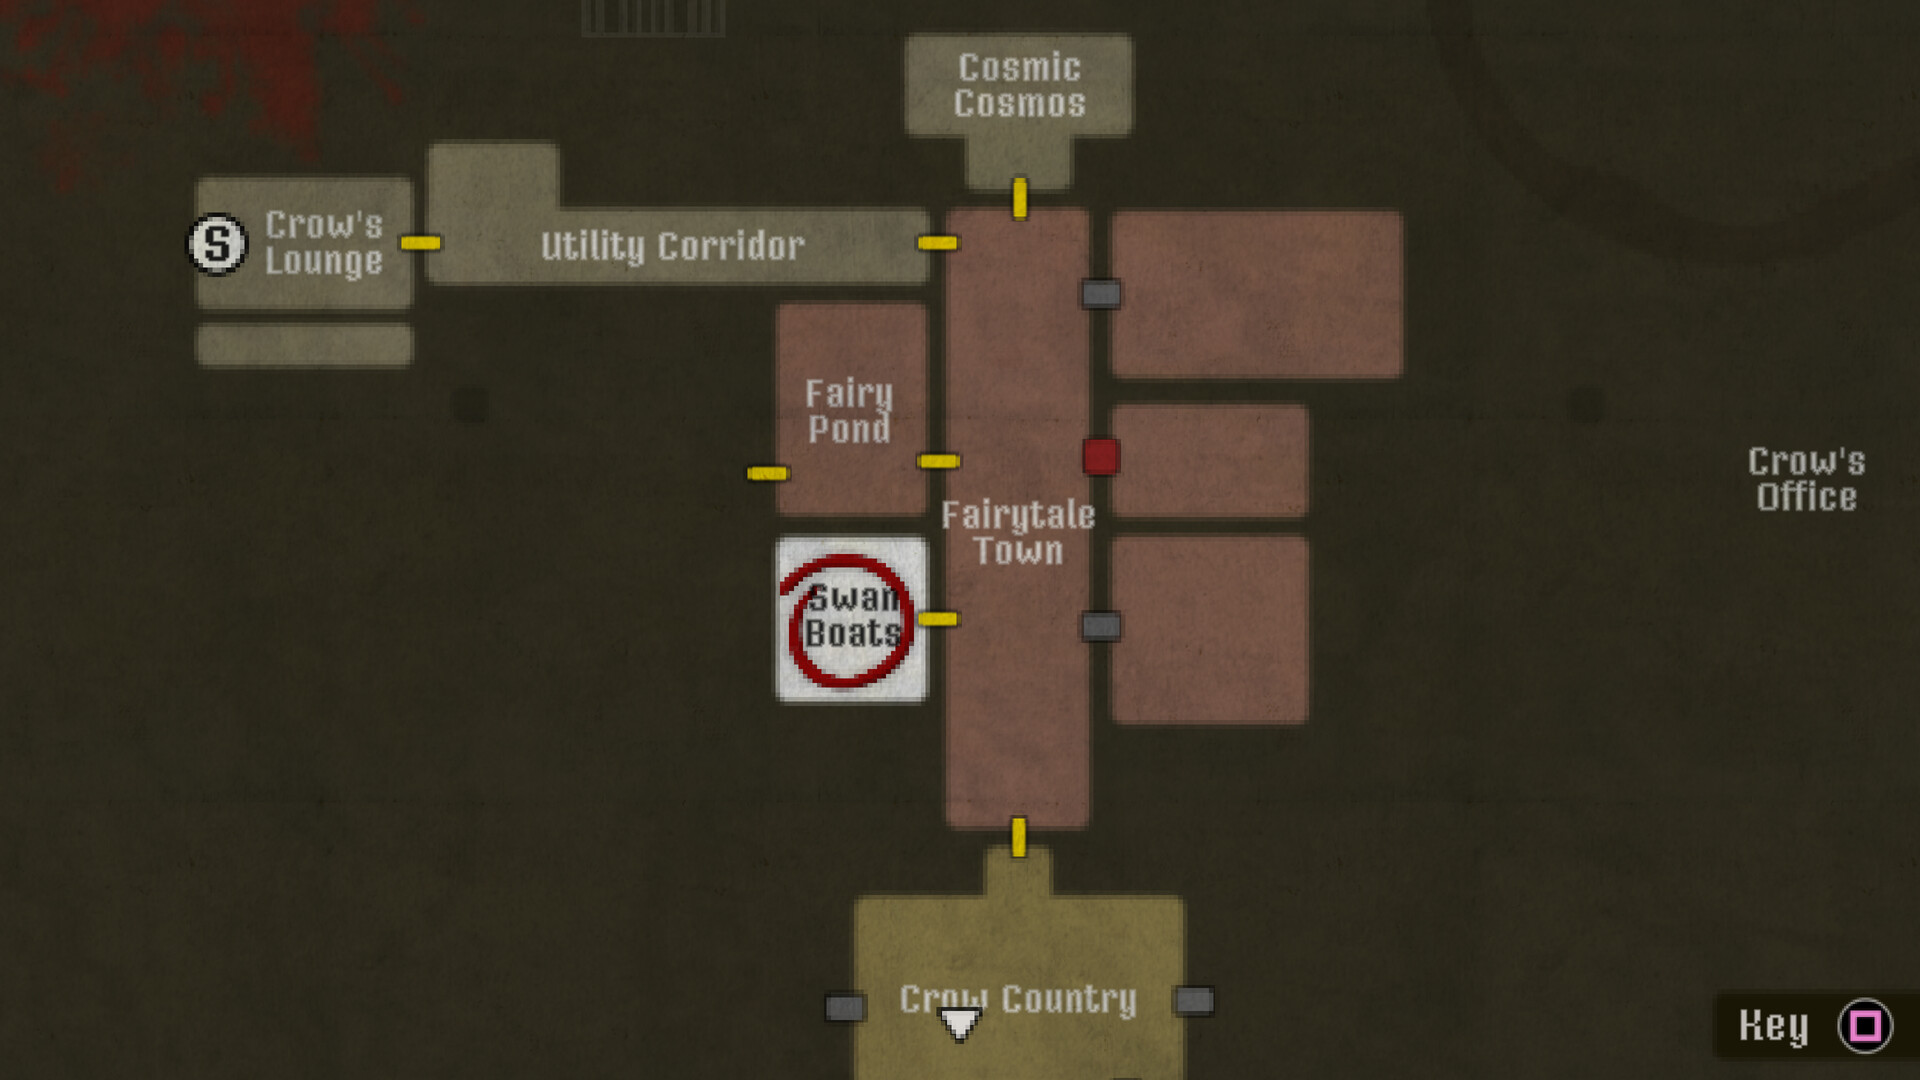
Choose fights through distance, movement, space and expected revisits. Check the roles and pickups of Handgun, Shotgun, Magnum and Flamethrower, then prepare for four optional mini-bosses and the finale. Complete enemy HP, fixed drops and exact shot counts are unverified.
Aim, distance and retreat
Adjust the view to check floor obstacles and distance. Positioning matters as well as aiming: an enemy in the center of the screen does not make the shot safe.
- Check ammunition and health before entering. Once inside, locate exits and obstacles first; in a narrow passage, retreat to make space instead of trying to squeeze past.
- Aim before shooting and check whether the threat is down before firing again. Do not assume unverified enemy names, fixed HP or exact shot counts.
- Distinguish clearing a frequently used corridor from passing through a room once. Thorough requires four optional mini-boss defeats; that does not mean every enemy in the game.
Handling different situations
| Situation | Check first | Decision |
|---|---|---|
| Single distant threat | Line of fire and retreat space | Use the Handgun from a position where you can aim. Observe reactions rather than assuming a fixed shot count. |
| Large nearby threat | Whether the exit is blocked | Plan an escape before spending Shotgun or Magnum ammunition. Closeness is not automatically a safe weak point. |
| Several enemies in one room | Routes that could surround you | Avoid rushing deep inside; keep a retreat and separate threats. Consider your position when using fire or grenades. |
| Traps and suspicious pickups | Unusual placement or color | Check before collecting, and stand clear if shooting a trap to trigger it. Do not assume every container holds an item. |
| Frequently used corridor | Damage accumulated on returns | If repeated dodging wastes healing, consider spending ammunition to make the corridor safer. |
| First entry to a boss room | Health, ammunition and save | Secure room to move, using openings and clear lines rather than an unverified ammunition total or HP-percentage script. |
| Floor traps | Ground position and passage width | Inspect bear traps and gas traps before stepping forward. If triggering one with a shot, check your own position and the enemies, keeping a usable way back. |
| Hanging lights | Whether you stand underneath | Stand clear of the landing area before shooting an overhead hazard. Even when using it against an enemy, check the route you will need afterwards. |
| Visible bottles and wooden crates | Visible contents and ammunition cost | Prioritize visible supplies you need rather than assuming every wooden crate contains a refill. Hard mode has more empty containers, so do not budget for the same supply count. |
The four main firearms
Open answers or major spoilers
| Weapon | Acquisition | Use | Handling and upgrades |
|---|---|---|---|
| Handgun | Available at the start | Single targets, distant switches and puzzle targets | Aim before firing and check that the target is worth the ammunition. Check Mush Room for its power upgrade. |
| Shotgun | Submarine target game, total 21 | Close-range threats and clustered danger | Use from close enough to benefit without stepping into a hit. Collect the Gift Shop capacity upgrade and Dig Site laser separately. Exact shots required at each range are unverified. |
| .44 Magnum | Gift Shop register, 1975 | Stronger threats and reserve firepower for the finale | Save ammunition rather than spending it on every common threat, and plan a retreat. Check Store Room for power and Fairy Pond for the laser. |
| Flamethrower | Train Room disk terminal, BDAC | Burnable obstacles and sustained attacks | It also opens the Store Room entrance. The Haunted Manor range upgrade is a separate secret. Consider the next route before exhausting its fuel. |
Check the entrance Toilet for the Handgun laser. The four firearms gain further improvements through secrets; keep base weapons separate from B/A/S replay rewards.
Four optional mini-bosses and Thorough
Open answers or major spoilers
| Encounter location | Trigger | Handling and exit | Completion check |
|---|---|---|---|
| The Crypt | After the gravestone-direction puzzle | The encounter breaks through the wall. Separate your route to the lever behind it from the fighting space; avoid trading repeated hits. | Record a defeat toward Thorough |
| Break Room | At the Root Access stage | Check the floor and retreat space when the exit becomes blocked. Afterwards, read the dropped plate, 2663, and complete the exit interaction. | Do not overlook this optional fight |
| Western Utility Corridor | Open the crate grille, then speak to Tolman | Open the grille on the crate, then return after Tolman’s conversation and the underground-power interaction. Do not miss the optional encounter emerging from the box. | Count separately from Crypt, Break Room and Control Room |
| Control Room | After using 9218 from Crow’s Office | After entering 9218, pull the exposed lever to power the central elevator. Handle the confined-room encounter, reset the exit panel and press the floor dice in order from 1 to 6. Power, combat and the exit are separate interactions. | Defeat all four for Thorough |
The Western Utility Corridor crate needs its grille opened beforehand. Passing through Break Room and Control Room alone does not mean all four were defeated.
Even where another route lets you progress, Thorough calls for four defeats. Separate a clear that skips an optional encounter from an achievement attempt.
Late-game combat preparation
Open answers or major spoilers
- After Golden Key, separate the Seven Seas, Root SUN and Crow’s Office objectives and retrieve Battery. Record opening a room and collecting its item as separate tasks.
- Charge the battery in Root TUE and operate the central crow. If it remains rotated, recheck the panel, installed battery, orientation and walk-cycle control in order.
- Read the lantern count for each central-underground gate. Rather than firing at unrelated lamps, identify the gate you need and its required lit count.
- Save in the Lab, check the medicine, documents and dialogue, then continue to the finale. Check the medicine and note before entering the final fight.
- Keep room to move and attack with available firearms when there is a clear line. A fixed three-stage HP script, instant-kill timer and required ammunition counts are unverified.
Ammunition, healing and difficulty
Healing spent on failed dodges is a resource cost as well as ammunition. If avoiding shots prevents progress, reconsider the route and each weapon’s role.
- Do not keep taking hits merely to avoid spending a heal. In Murder of Crows, serious injury prevents running, making health and retreat planning especially connected.
- Collect lasers, capacity, power and range upgrades as separate secrets. Obtaining a firearm does not complete every improvement; check all four weapons for Wishes Granted.
| Mode | Resource focus | Caution |
|---|---|---|
| Survival Horror | Standard experience with combat and resource management | Learn routes around enemies, ammunition, healing and puzzles together. A first clear does not require forcing an S rank. |
| Exploration | Mode focused on exploration, story and puzzles | The official description allows exploration without monster attacks. This guide has not checked whether combat achievements and rank rewards are available under identical conditions. |
| Murder of Crows | Additional hard mode | Available immediately. Resources are scarcer, enemies more aggressive and serious injury prevents running. Rank requirements differ, so do not reuse standard-mode thresholds. |
Replay unlocks
| Rank | Reward | Confirmed condition |
|---|---|---|
| B | Crow Bar | Official achievement pairs at least B rank with this reward |
| A | Crow Launcher | Official achievement pairs at least A rank with this reward |
| S | Crow Wings | Official achievement pairs S rank with this reward |
Crow Bar is a B-rank unlock, not a wrench held from the start. Crow Launcher and Crow Wings are separate from the four main firearms; check their availability after unlocking them.
Frequently asked questions
Can I use a starting melee weapon for everything?
Do not confuse the B-rank Crow Bar reward with starting equipment. You begin with a Handgun and find other firearms during exploration.
Where is the Shotgun?
Reach a total of twenty-one at the Submarine target game. Target-sequence transcriptions differ, so check displayed values. The weapon table is closed by default.
Why did Thorough not unlock?
Check the optional encounters in Crypt, Western Utility Corridor, Break Room and Control Room. Watch for the crate’s preparatory interaction and encounters you bypassed.
Do standard resource rules apply on hard mode?
Murder of Crows changes resources, enemy behavior, running while badly hurt and ranking. Identical numerical requirements are not guaranteed.
Version scope and verification limits
Scope: the main Crow Country game. Official information is cross-checked with firsthand play records; this is not a hands-on full clear or verification on every platform. Controls vary by version and platform. All Murder of Crows values, rank thresholds and individual gas allocations remain unchecked.

Arctis Nova 3

Glorious Model O 2

Keychron Q1 V2

Samsung Odyssey G4
Affiliate links to Amazon Japan. Purchases may earn us a commission at no extra cost to you. Check the retailer for current prices.
Rakuten Points ¥3000
PowerA Fusion Pro
Roguelike Design Theory
Game Music Collection
Affiliate links to Rakuten Japan. Listed prices are indicative; check the retailer for current prices.