ANIMAL WELL Map Guide: Four Flame Branches, Telephones, Flute and Revisits
Use map landmarks alongside your current tools to identify branches and return routes. This guide covers room records and travel mechanics; individual egg coordinates and every telephone location are outside its scope.
Updated: 2026/10/17
Map structure and reference points
The well is one interconnected maze. The four entries below are references to the flames and animals, not four official region names. Do not choose a destination solely from visual labels such as upper, water, underground or mechanical.
After obtaining the map, inspect explored rooms and use the egg-room stamps to record missing interactions. Mark telephones, animal shortcuts and unopened doors separately.
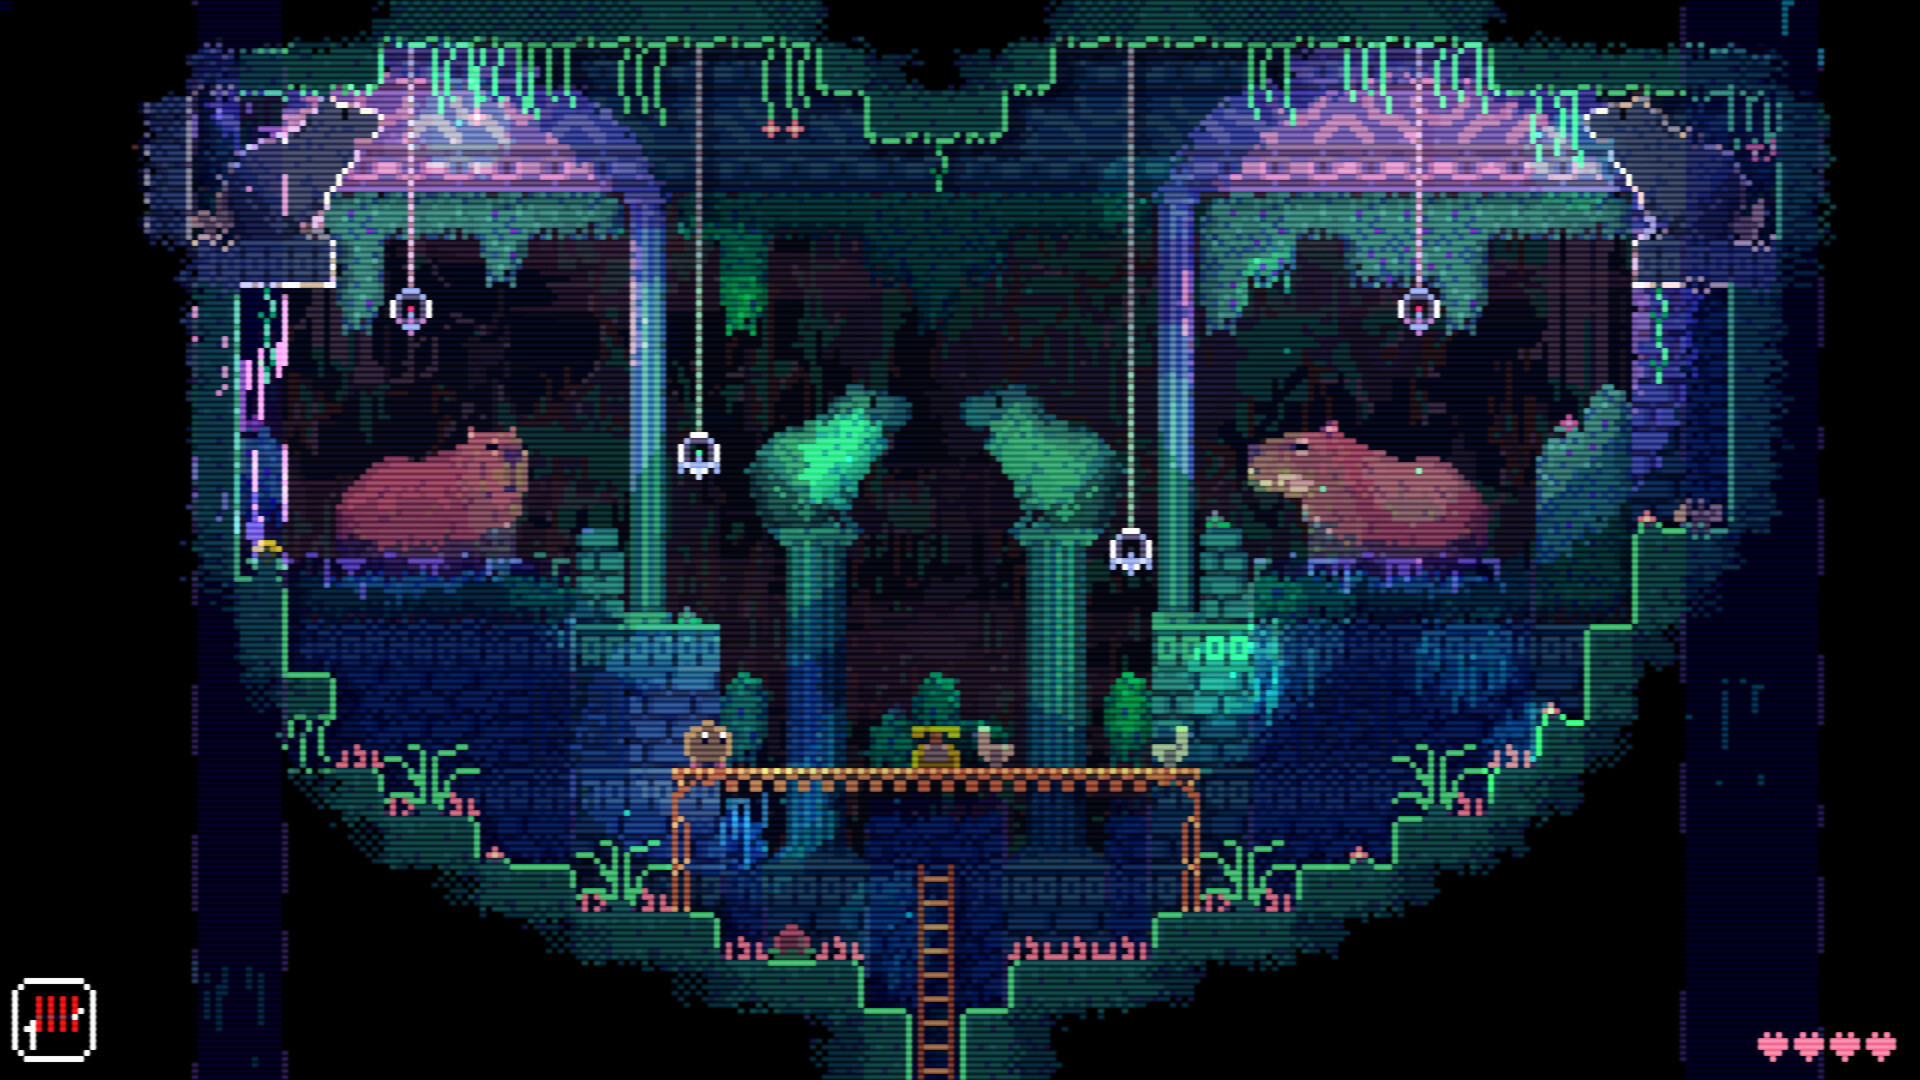
Chameleon branch: V. flame / Chameleon
Leave Slink on a switch while taking another platform. Match the Yo-Yo and Animal Flute to your tools and the mechanism.
- Observe platforms involving porcupines and chinchillas. Recheck the mechanism if a tool knocks an animal off.
- Bait the chameleon’s aim, retreat at the tongue cue and let it eat a porcupine. Take the flame route opened after it eats them all.
Tools, eggs and hidden routes
Separate reaching a platform, holding a switch and reading a marking. Compare egg records with the shelves rather than inferring every coordinate from this overview.
When to revisit
Record the entrance, attempted tools and changed mechanism. Identify a telephone and shortcut for returning, then revisit rooms matching a new tool.
Dog shrine and ghost chase: P. flame / Ghost
The safe exchange for acquiring the Disc as a tool is separate from the later chase while carrying the M. Disc.
- Obtain the M. Disc for the safe exchange, then practice passing while dogs follow the Disc.
- For the flame-related delivery, scout the destination altar and shortcut first, then save at a telephone. Follow that prepared route after removing the M. Disc.
Tools, eggs and hidden routes
Separate reaching a platform, holding a switch and reading a marking. Compare egg records with the shelves rather than inferring every coordinate from this overview.
When to revisit
Record the entrance, attempted tools and changed mechanism. Identify a telephone and shortcut for returning, then revisit rooms matching a new tool.
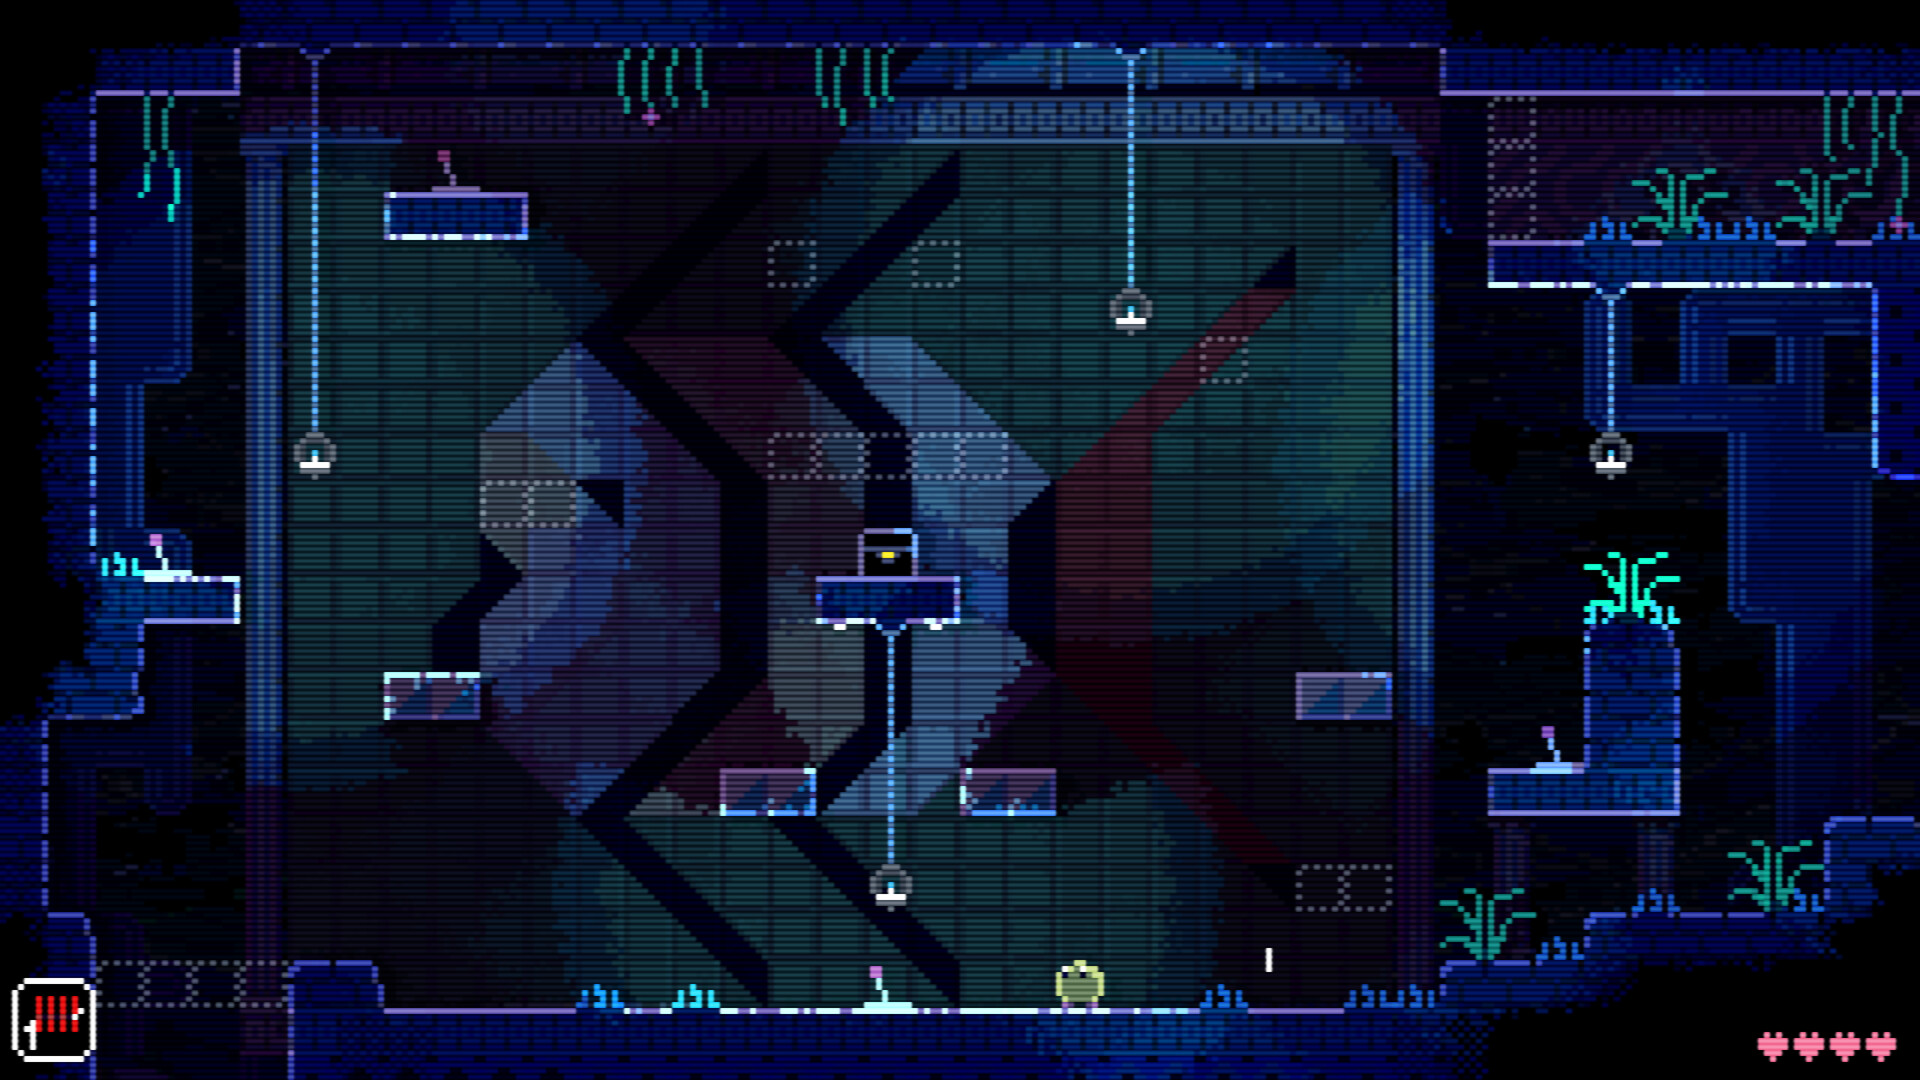
Ostrich branch and machinery: G. flame / Ostrich
Distinguish Yo-Yo interactions with lower mechanisms from changes to the direction of wheel-running animals.
- Move through shafts while the ostrich’s head retreats and reach the lower yellow buttons. Firecrackers can make it retreat temporarily when needed.
- After switching a mechanism, check the platform direction. At the later cage, press the yellow button below it to release the ostrich, run right to lure it onto the floor trap, then take the lower-right route to the G. flame. This is not a damage-dealing Yo-Yo fight.
Tools, eggs and hidden routes
Separate reaching a platform, holding a switch and reading a marking. Compare egg records with the shelves rather than inferring every coordinate from this overview.
When to revisit
Record the entrance, attempted tools and changed mechanism. Identify a telephone and shortcut for returning, then revisit rooms matching a new tool.
Water and seahorse branch: B. flame / Seahorse
Distinguish a creature’s bubbles from your B. Wand. You do not need to own the wand before solving its initial acquisition puzzle.
- Read the water platforms and currents, checking boarding positions and obstacles that pop bubbles. In the water-channel puzzles, turn cranks to angle the ramps and direct water into cups marked I; check neighboring rooms for additional cranks.
- At the later moving-seahorse puzzle, readjust the ramps as the seahorse moves so its water fills the I-marked cups. Take the B. flame beyond the opened door. This is separate from the initial three-switch B. Wand puzzle.
Tools, eggs and hidden routes
Separate reaching a platform, holding a switch and reading a marking. Compare egg records with the shelves rather than inferring every coordinate from this overview.
When to revisit
Record the entrance, attempted tools and changed mechanism. Identify a telephone and shortcut for returning, then revisit rooms matching a new tool.
Telephones and travel: nine checks
| Target | Action |
|---|---|
| Telephone | Interact to save; the last telephone used is your return point. |
| Flute acquisition | At 8 eggs, return to the egg-room door and collect the tool. |
| Ordinary flute statue | Play one note and inspect the opened route. |
| Animal head | Walk into the opened mouth; sounding a note is not necessarily automatic travel. |
| Unavailable destination | Explore the corresponding area and open its shortcut; not all exits are assumed available immediately. |
| Scout a revisit | Test arrival and return routes once before relying on them during a chase. |
| Fish-head pipe | Make a bubble nearby and inspect the resulting route; this differs from flute-head controls. |
| Remote | Toggles compatible mechanisms in rooms with a receiver. |
| TV | A separate Remote interaction, not a normal telephone-travel menu. |
Five steps for exploration
- Save at a telephone and check your tools and recent unresolved rooms.
- Record whether a platform, switch, animal or marking is blocking progress.
- Explore another branch and return to matching marks after gaining a tool.
- Test a shortcut safely and record its destination and return route.
- Update shelf and tool records, keeping the first credits separate from collection goals.
Frequently asked questions

Introduction to Indie Game Development

eShop ¥5,000

PS5 DualSense

Switch OLED
Affiliate links to Amazon Japan. Purchases may earn us a commission at no extra cost to you. Check the retailer for current prices.
Game Music Collection
ANIMAL WELL physical edition
PowerA Fusion Pro
Rakuten Points ¥3000
Affiliate links to Rakuten Japan. Listed prices are indicative; check the retailer for current prices.