ANIMAL WELL Walkthrough: Four Flames, Tools and Goals Beyond Credits
Use your current tools and the animal altars to choose the next interaction. This is not a tested route through every room or collectible. Detailed flame interactions and the finale remain in closed sections.
Updated: 2026/10/17

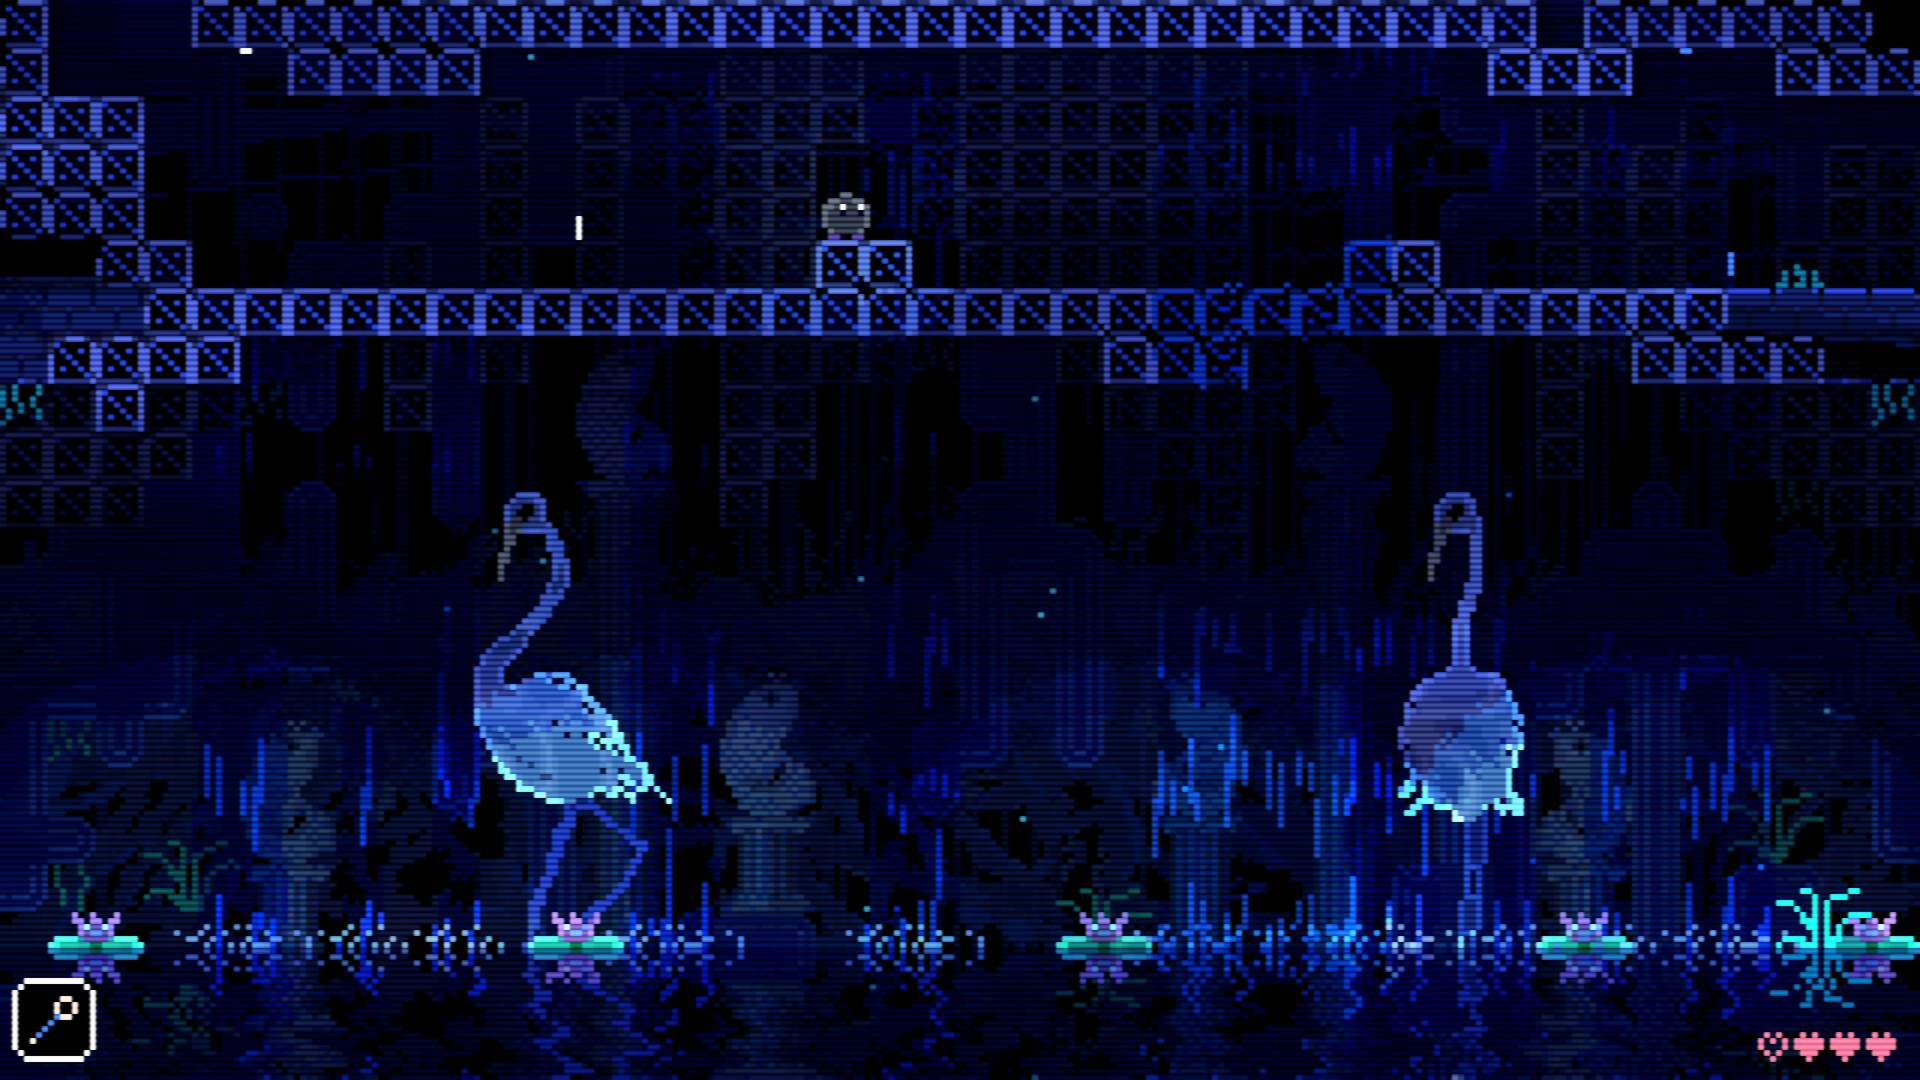
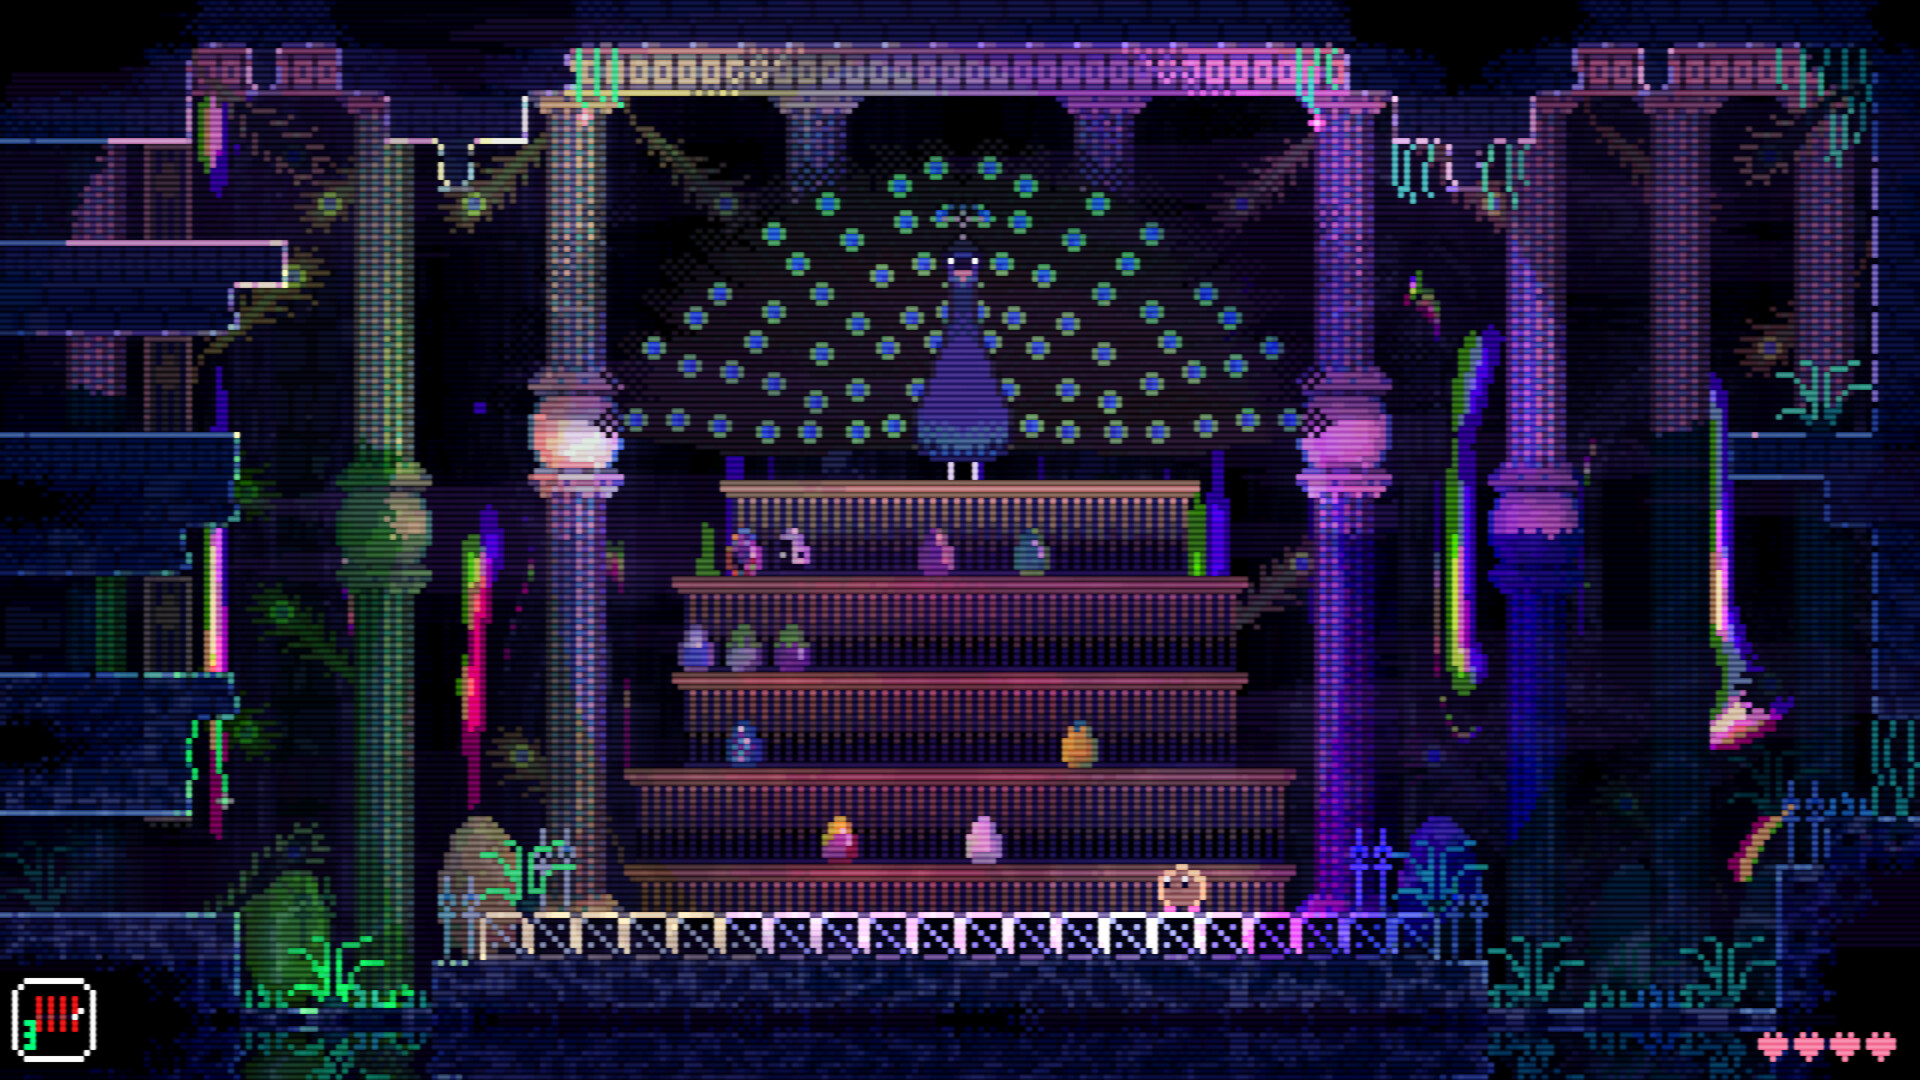

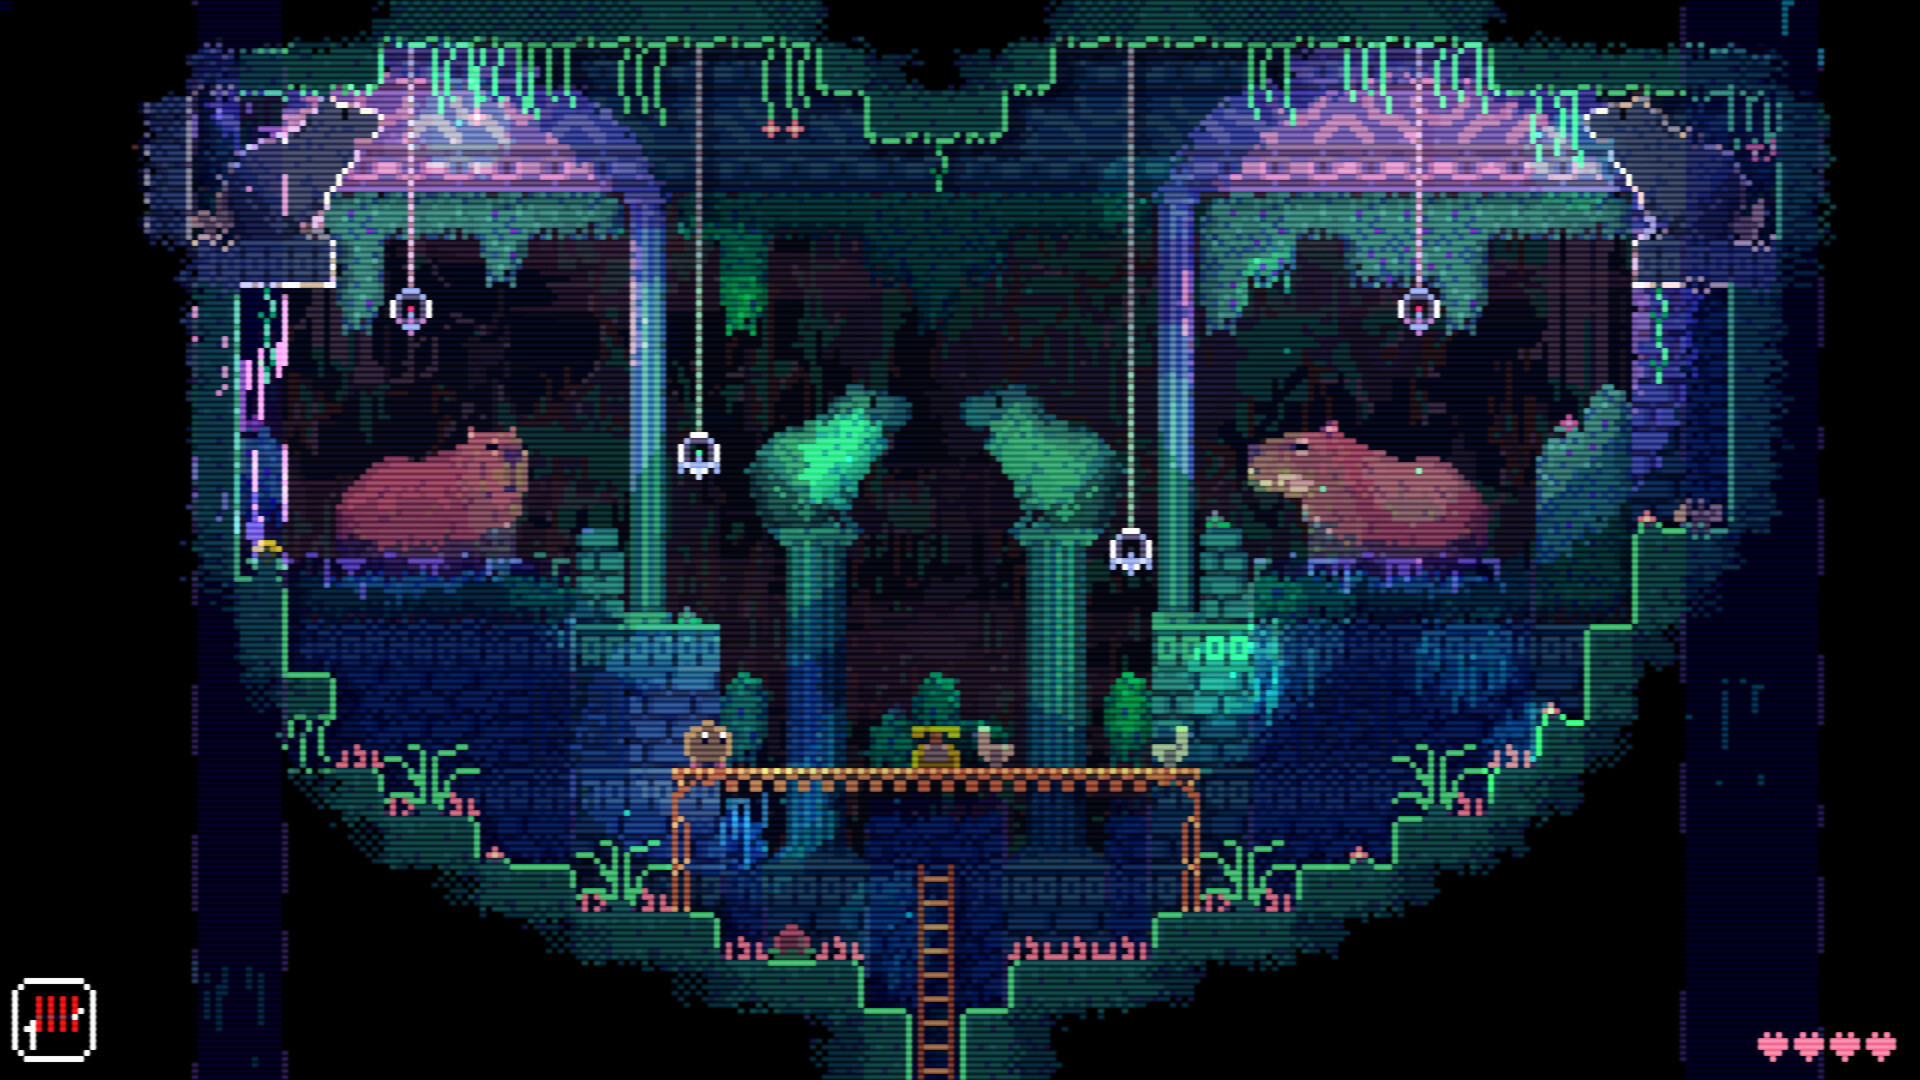
Nonlinear exploration, basic actions and observation
Practice jumping, switching tools and saving at a telephone in a safe room. A blocked room is not necessarily the one route you must solve immediately; another branch can provide a tool for returning.
Animals can be both hazards and parts of puzzles. Observe patterns, sounds, currents and platforms, and test interactions beyond attacking. If nothing changes, record the attempted action and try another room.
- Save before a new branch and remember the last telephone used.
- Mark unreachable platforms, hold switches and unreadable patterns separately.
- Revisit rooms that need the action provided by a new tool.
Nine selected tools and when to use them
This table corresponds to the detailed nine-tool article; it is not the total tool count. Check Lantern, Remote and Wheel as progression calls for them.
| Tool | Acquisition reference | Use |
|---|---|---|
| B. Wand | Reach the three yellow switches on bubbles created by the seahorse. Continue through the upper-left opening to the green chest. | An empty bubble rises and an occupied one slowly descends. Use it as a platform or to control a fall. |
| Disc | Explore around the dog shrine to obtain the M. Disc and exchange it for the real Disc. Removing it without a substitute starts a chase; return it if taken prematurely. | Throw horizontally and rebound it from walls; use compatible switches or distract dogs. |
| Firecrackers | Check placed bundles and refills during exploration. Watch the consumable count and save at a telephone before a dangerous branch. | Scares ghosts and some animals, and provides temporary light. |
| Slink | Look for the chest above stair-shaped platforms on a chameleon-side branch. No single acquisition order is imposed. | A spring that descends stairs. Leave it on a hold switch while you move elsewhere. |
| Animal Flute | Eight regular eggs open the corresponding egg-room access. The eighth egg does not add the flute automatically; return and collect it from the chest. | Use directional input to play notes. At an ordinary flute statue, test the passage opened by one note. |
| Yo-Yo | Check the chest along the ostrich-side route involving shafts and yellow buttons, moving while its head retreats. | Use the extended Yo-Yo on compatible distant or lower switches, or to attract an animal’s attention. |
| Spinning Top | At 32 regular eggs, return to the corresponding egg-room door to collect it. | A tool for digging through compatible ground and revealing paths. |
| B. Ball | Gather three K. Shards by startling kangaroos with firecrackers, use them at the matching device and follow the opened route to the chest. | A bouncing ball that breaks compatible rectangular blocks. |
| UV | Progress through collecting Matches and lighting Candles, then check the later route associated with the E. Medal. Every individual location and melody input is outside this page’s scope. | Reads hidden markings and messages; distinguish it from movement tools. |
Four flames: investigate branches without a fixed order
Use the central animal altars to track the V., P., G. and B. flame goals. Move to another branch if a tool is missing; the order below is not mandatory for every player.
Chameleon branch: V. flame / Chameleon
Read the late-game route and solutions
Leave Slink on a switch while taking another platform. Match the Yo-Yo and Animal Flute to your tools and the mechanism.
- Observe platforms involving porcupines and chinchillas. Recheck the mechanism if a tool knocks an animal off.
- Bait the chameleon’s aim, retreat at the tongue cue and let it eat a porcupine. Take the flame route opened after it eats them all.
Dog shrine and ghost chase: P. flame / Ghost
Read the late-game route and solutions
The safe exchange for acquiring the Disc as a tool is separate from the later chase while carrying the M. Disc.
- Obtain the M. Disc for the safe exchange, then practice passing while dogs follow the Disc.
- For the flame-related delivery, scout the destination altar and shortcut first, then save at a telephone. Follow that prepared route after removing the M. Disc.
Ostrich branch and machinery: G. flame / Ostrich
Read the late-game route and solutions
Distinguish Yo-Yo interactions with lower mechanisms from changes to the direction of wheel-running animals.
- Move through shafts while the ostrich’s head retreats and reach the lower yellow buttons. Firecrackers can make it retreat temporarily when needed.
- After switching a mechanism, check the platform direction. At the later cage, press the yellow button below it to release the ostrich, run right to lure it onto the floor trap, then take the lower-right route to the G. flame. This is not a damage-dealing Yo-Yo fight.
Water and seahorse branch: B. flame / Seahorse
Read the late-game route and solutions
Distinguish a creature’s bubbles from your B. Wand. You do not need to own the wand before solving its initial acquisition puzzle.
- Read the water platforms and currents, checking boarding positions and obstacles that pop bubbles. In the water-channel puzzles, turn cranks to angle the ramps and direct water into cups marked I; check neighboring rooms for additional cranks.
- At the later moving-seahorse puzzle, readjust the ramps as the seahorse moves so its water fills the I-marked cups. Take the B. flame beyond the opened door. This is separate from the initial three-switch B. Wand puzzle.
After the four flames: Lantern, Manticore and credits
Read the late-game route and solutions
- Bring the four flames to the corresponding central altars and descend through the opened route.
- Follow the dark rooms and mechanisms and check the Lantern chest beyond the white bird. Prepare a route around shadows and ghosts.
- In the Manticore sequence, watch beams and switches and operate mechanisms to open the exit. Firecrackers can provide a distraction in some moments.
- Continue to the fireworks beyond the opened route and reach the first credits. Use bubbles to support movement.
Separate the layers beyond credits
| Goal | What to check |
|---|---|
| 64 regular eggs | Gaps on five shelves, plus the 8- and 32-egg tool milestones. |
| 65th egg | Beyond the final 64-egg door, separate from the shelf collection. |
| 16 regular rabbits | Individual puzzles and tools; some are accessible before 64 eggs. |
| Deeper puzzles | Sound, murals and combined clues; full input solutions are outside this guide. |
Five common blockers
| Problem | What to check next |
|---|---|
| Cannot advance early | Check the seahorse’s three switches for B. Wand and the M. Disc exchange; explore another branch too. |
| Cannot reach a ledge | Bubble currents, Disc rebound/boarding height and possible alternate entrances. |
| A door closes | Observe whether a switch toggles or must be held, then choose Slink or a remote interaction. |
| Cannot find an egg | Compare shelf gaps with room records; do not make UV a universal collection starting condition. |
| A chase keeps failing | Test the shortcut safely and save before starting; do not expect a bubble wall to stop the pursuer. |
Frequently asked questions
Videos: supplemental viewing
The article above covers actions, blockers and missed-item checks. These videos supplement the atmosphere; playing loads YouTube.
ANIMAL WELL official launch trailer
The official trailer introduces the atmosphere and tool-based puzzles. Use the article above for progression and missed-item checks.

Nintendo Switch 2

HyperX Cloud III

BenQ MOBIUZ 27"

G PowerPlay
Affiliate links to Amazon Japan. Purchases may earn us a commission at no extra cost to you. Check the retailer for current prices.
Roguelike Design Theory
ANIMAL WELL physical edition
eShop ¥5000 — Rakuten
PowerA Fusion Pro
Affiliate links to Rakuten Japan. Listed prices are indicative; check the retailer for current prices.