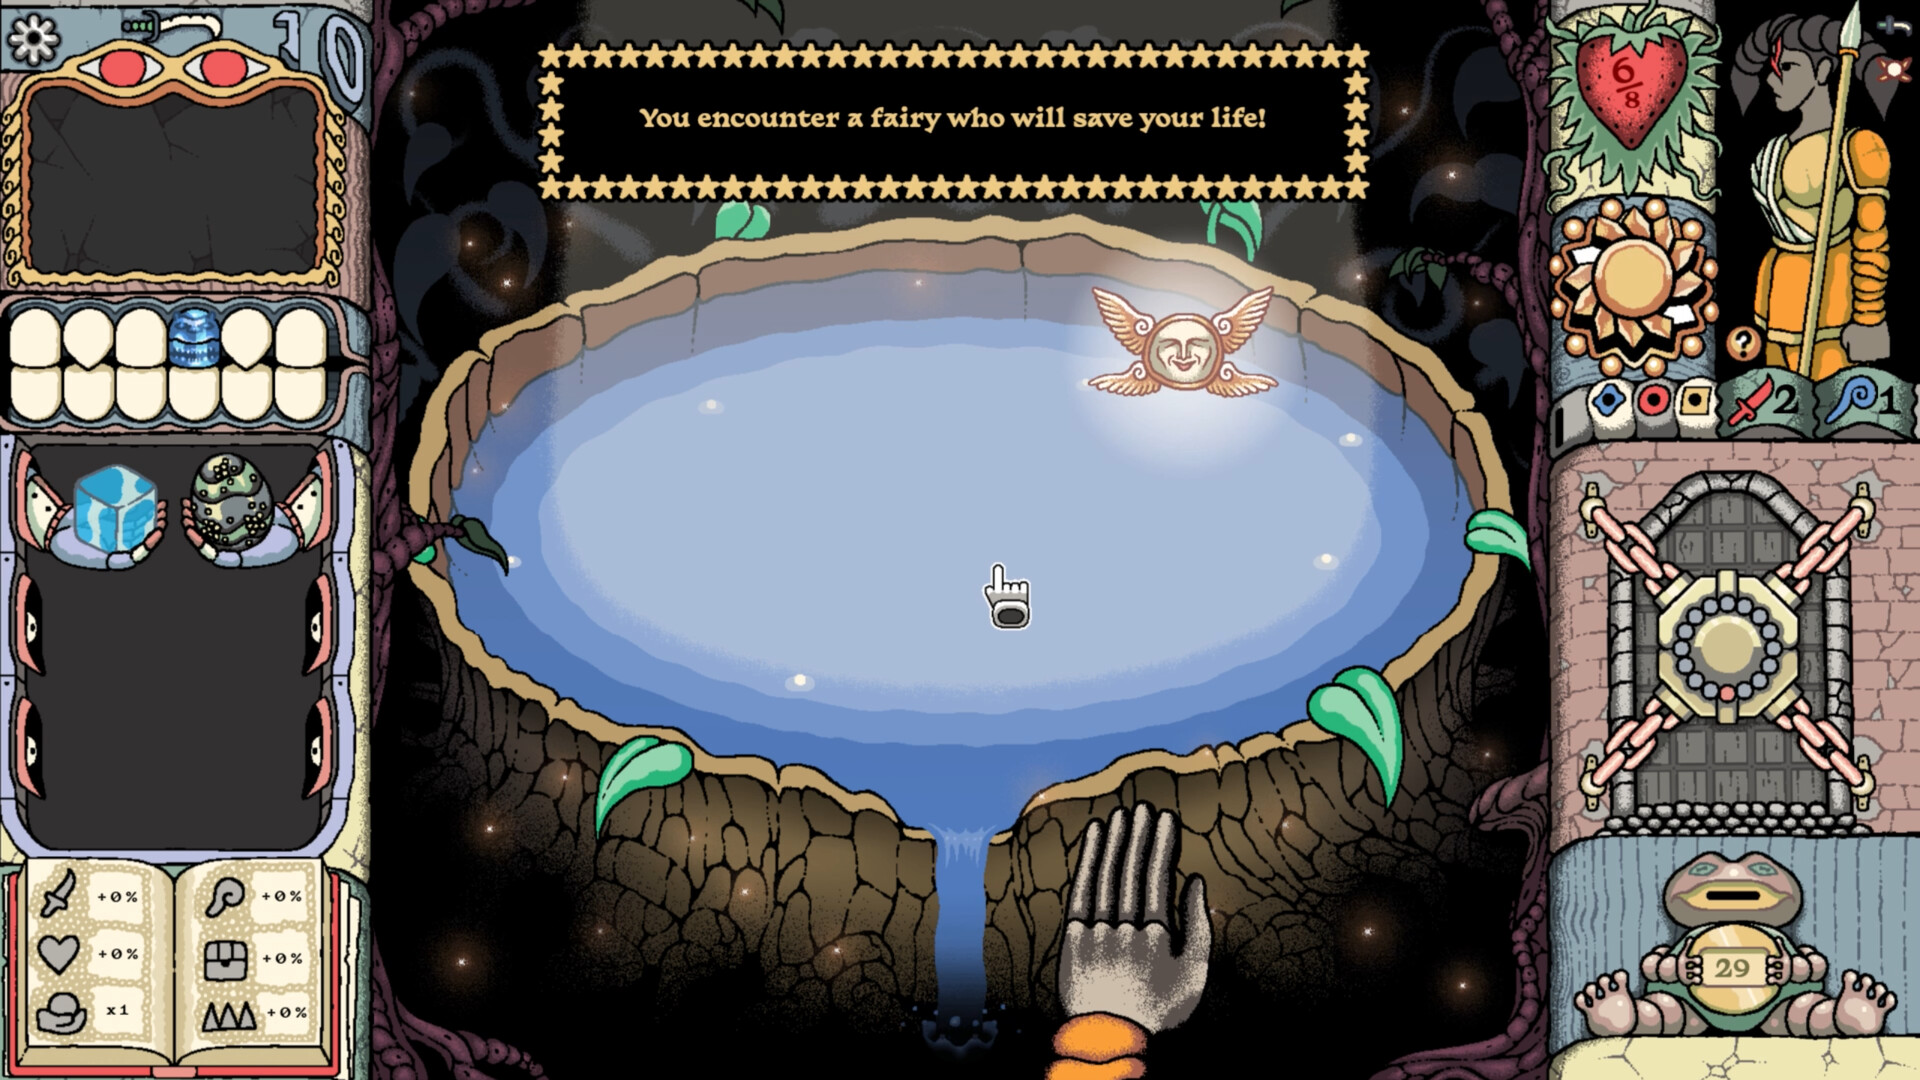
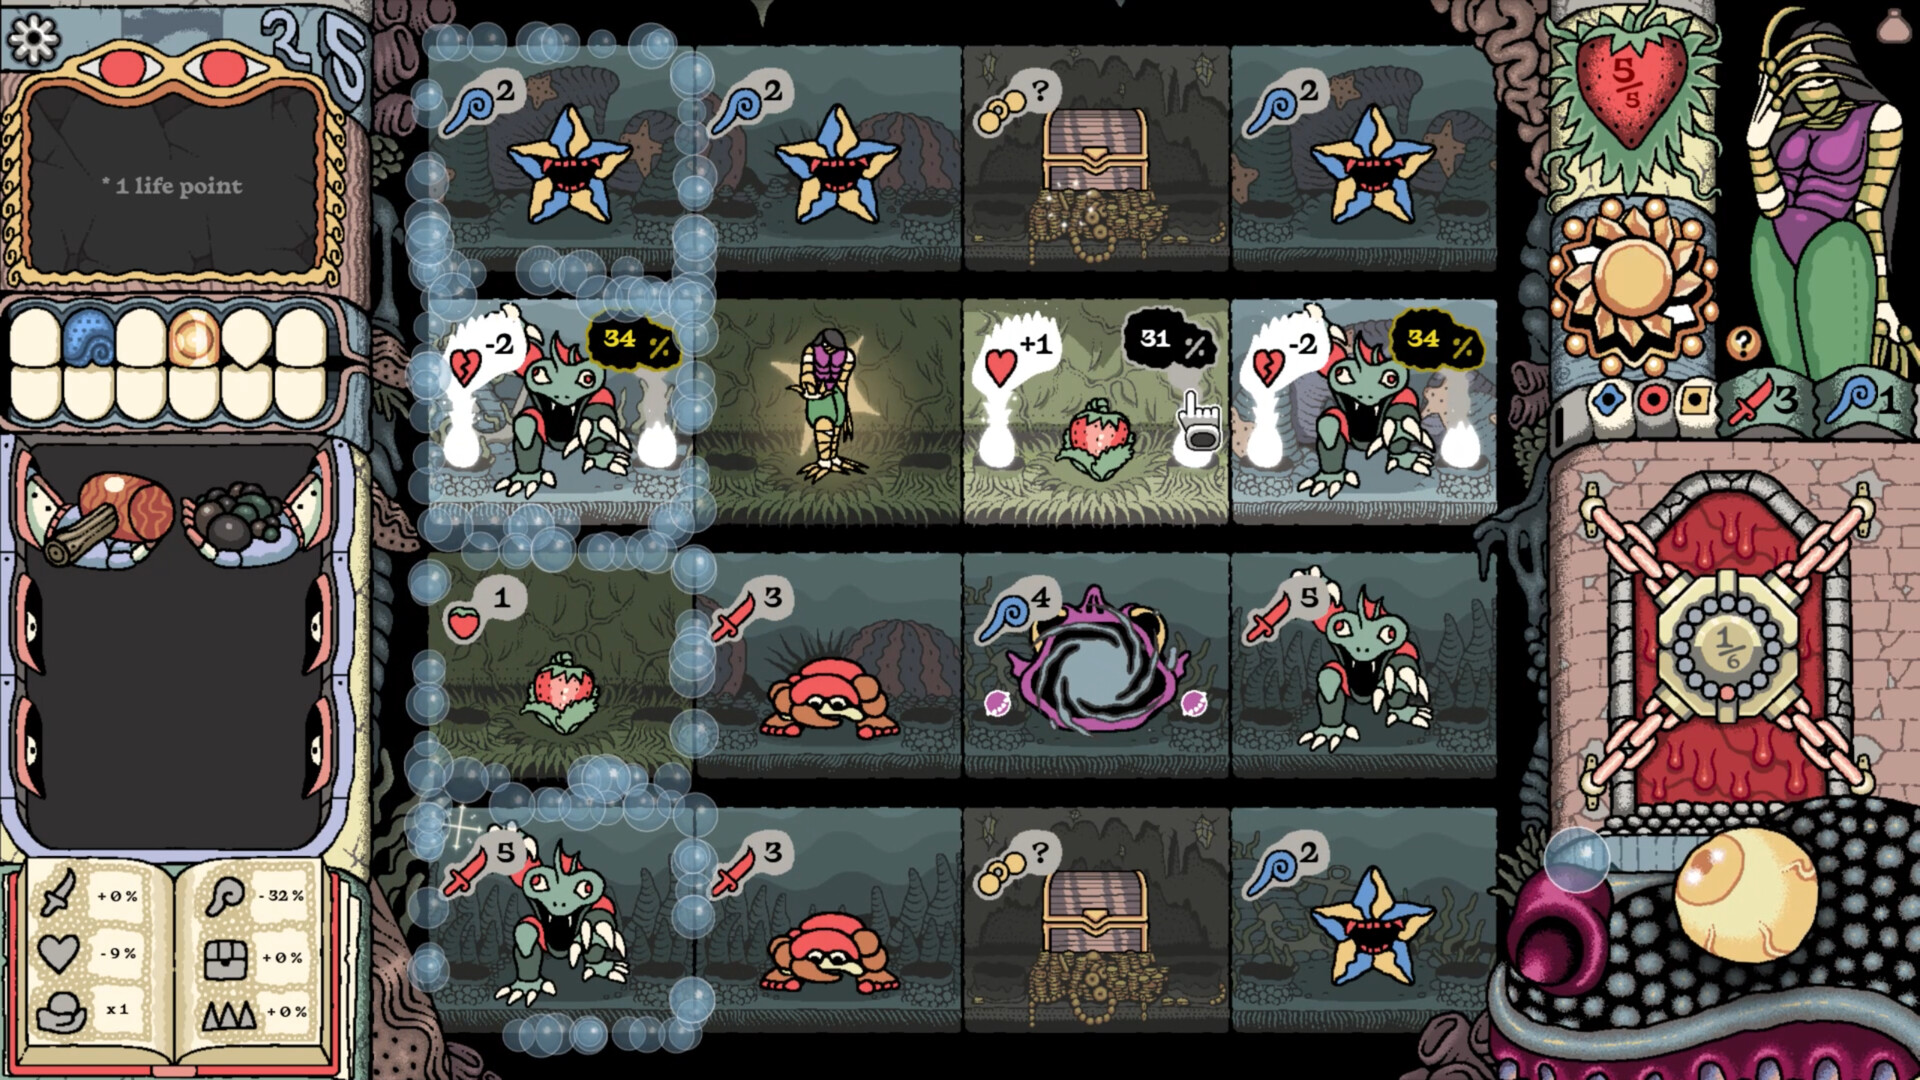
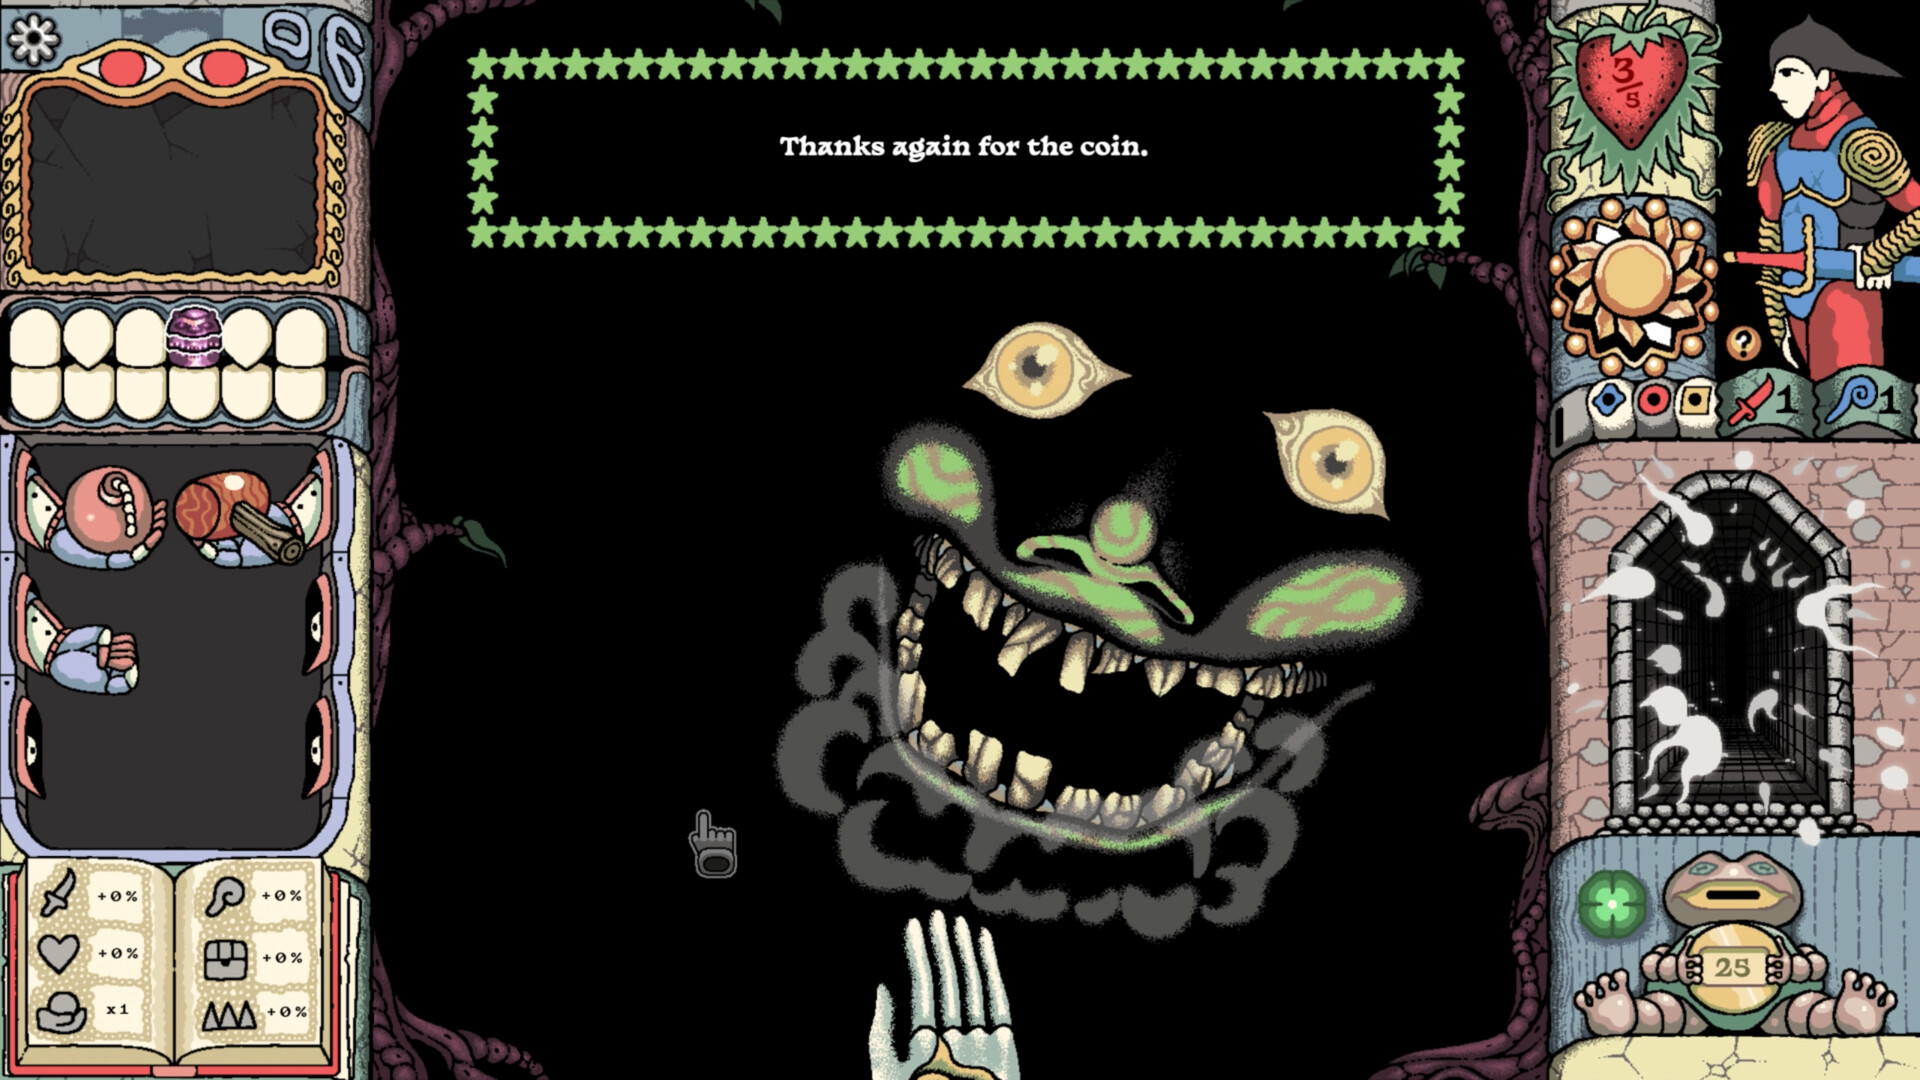
Dungeon, Mushroom Forest, Ocean and the two deeper areas
A guide to Sol Cesto’s five biomes. Confirmed names are Dungeon, Mushroom Forest and Ocean; the fourth biome and additional deepest area are also covered. Read the key points, special rooms (Blacksmith, Merchant, Devil Statue), biome-ending bosses, suggested build approach and progression for each. Coverage follows checked source material through the first biome’s Egg, the Lizard unlock and the final boss added in v1.0.
Sol Cesto follows five biomes in sequence. Each biome contains 4×4 rooms (16 tiles) navigated by choosing a row and dropping onto a tile. Confirmed names follow Dungeon → Mushroom Forest → Ocean, then the fourth biome and additional deepest area. Each has its own theme and ending boss. Using the Blacksmith, Merchant and Devil Statue (Teeth) is central to progression.
🗺️ Progression through five biomes
1. Dungeon (learn the basics) → 2. Mushroom Forest (new mechanics and a boss) → 3. Ocean (initial Early Access stopping point / Egg hatches) → Fourth biome (name unconfirmed) → Additional deepest area (final boss added in v1.0). Proper names beyond the third biome are withheld because reliable sources did not confirm them.
🎲 The 4×4 grid and probabilities
Each room has 4×4 tiles. Select one of four rows to land randomly on one of its four tiles. Tiles contain monsters, treasure chests, healing strawberries or traps. Hovering over a row shows tile probabilities and predicted damage. Combat resolves immediately by comparing Strength or Magic.
👹 Bosses at biome endings
Each biome ends in a boss; claims that Mushroom Forest has none are incorrect. v1.0 also added a concluding final boss in the deepest area. Individual names and precise weaknesses could not be reliably confirmed, so this site does not assert them.
⚒️ Blacksmith, Merchant and Devil Statue
Upgrade stats at the Blacksmith, then restock healing and items at the Merchant. Choose Teeth at the Devil Statue to favor appearance probabilities. Locations vary between runs, so use these rooms when you find them.
- 1. 🏰 Dungeon: learn the basics
- 2. 🍄 Mushroom Forest: new mechanics
- 3. 🌊 Ocean: hatch the Egg
- 4. 🏛️ Fourth biome (name unconfirmed): deeper areas
- 5. 🌑 Additional deepest area (v1.0): final boss
- 6. 🧭 Progression basics and irreversible mistakes
- 7. 🏠 Room types
- 8. 🎁 Priorities for each biome
- 9. ☀️ Using Sun Power
- 10. ❓ FAQ
⚠️ Key points in this biome
🏠 Special rooms
- Blacksmith: Improves stats. Establishing a Strength- or Magic-focused build in the first biome makes later progress steadier.
- Devil Statue: Choose one of two to four offered Teeth. Stone teeth change rules or probabilities; Metal teeth provide powerful ongoing effects. Tilt the odds toward safe tiles or desired resources.
- Merchant: Buy consumable items with gold. The first biome is also where you obtain the Egg used to unlock the Lizard.
👹 Boss overview
The first biome ends with a boss. Its individual name and exact weakness could not be confirmed from reliable sources, so we do not assert them. Use the Blacksmith and Merchant beforehand to prepare stats, healing and items. Raise Strength or Magic enough to safely land on ordinary enemies in the biome, then tilt probabilities with Teeth before fighting. See the boss guide for more.
⚒️ Suggested build approach
The basic equalizer approach is to focus on Strength or Magic and make enemy tiles of that type safe. Tilt the odds toward safe tiles with Teeth, and retain an emergency item.
📋 Progression steps
- 1. Learn to read row selection, tile probabilities and predicted damage
- 2. Choose Teeth at a Devil Statue and tilt the odds toward safe tiles or resources
- 3. Upgrade stats at the Blacksmith and establish a build direction
- 4. Restock healing and items at the Merchant. Obtain an Egg if pursuing the Lizard
- 5. Send gold to camp through a well or pot so death does not lose it
- 6. Prepare stats, healing and items before the biome-ending boss
The first biome establishes probability reading and an initial build direction. If pursuing the Lizard, obtain an Egg here and carry it to the third biome, Ocean; prioritize checking shops for it.
⚠️ Key points in this biome
🏠 Special rooms
- Blacksmith: When a Blacksmith appears, strengthen the main Strength or Magic direction established in the first biome to prepare for the boss and later areas.
- Devil Statue: Obtain additional Teeth. Choose combinations that fit those already selected and further favor your probabilities.
- Merchant: Restock healing and items. When pursuing the Lizard, use the shop as another opportunity to obtain the Egg.
👹 Boss overview
The second biome has an ending boss; claims otherwise are incorrect. Its individual name and exact weakness are not confirmed from reliable sources. New mechanics can drain health, so retain HP and healing items before the boss and maintain Strength or Magic above this biome’s enemies. See the boss guide for more.
⚒️ Suggested build approach
Continue strengthening the direction chosen in the first biome. Upgrade stats at the Blacksmith and tilt probabilities toward safe tiles with Teeth. Keep healing and emergency items available for mistakes involving new mechanics.
📋 Progression steps
- 1. Watch new mechanics, read row probabilities and predicted damage, and land on safe tiles
- 2. Add Teeth at the Devil Statue that complement existing Teeth and improve your odds
- 3. Use any Blacksmith to strengthen stats and develop your build direction
- 4. Restock healing and items at the Merchant; check for the Egg if pursuing the Lizard
- 5. Save HP and healing items before challenging the biome-ending boss
New mechanics make the second biome more draining. Manage HP and read probabilities carefully. It does have a boss despite claims otherwise. If pursuing the Lizard, do not miss an opportunity to obtain the Egg.
⚠️ Key points in this biome
🏠 Special rooms
- Blacksmith: Important for final adjustments before the boss. Complete the Strength or Magic direction and raise it enough to safely land on Ocean enemies.
- Devil Statue: Make final Teeth adjustments for the boss, favoring safe tiles and healing strawberries.
- Egg-hatching location: Hatch the first biome’s Egg in Ocean to permanently unlock the Lizard. Its location is not fixed, so explore thoroughly when carrying the Egg.
👹 Boss overview
Content Update #4 replaced the third biome’s boss with a giant sea serpent. It can swallow the hero and spit them out; watch the bubbles. A complete phase and weakness comparison remains unfinished. As the former initial Early Access stopping point, it tests your developed stats, Teeth and items. Finish preparations at the Blacksmith and Merchant, retain emergency items and establish odds that provide safe tiles before fighting. See the boss guide for more.
⚒️ Suggested build approach
Finish the main direction of the build. Raise Strength or Magic above Ocean enemies and secure safe tiles with Teeth. Retain healing and emergency items for the boss.
📋 Progression steps
- 1. Check that stats exceed Ocean enemies; fill gaps at the Blacksmith
- 2. If carrying an Egg, explore for the hatching location and unlock the Lizard
- 3. Make final Teeth adjustments to favor safe tiles and healing
- 4. Restock healing and emergency items at the Merchant, and send gold to camp
- 5. Finish stat and item preparations before the biome-ending boss
Ocean was the initial Early Access stopping point. The Lizard unlock takes place here, so explore thoroughly if carrying the Egg. In v1.0, the fourth biome and additional deepest area continue beyond it.
⚠️ Key points in this biome
🏠 Special rooms
- Blacksmith: A chance to improve stats when one appears. Use it to maintain the level needed to land safely on deep-area enemies.
- Devil Statue: Add or adjust Teeth. Choose effects that reinforce the main build for the endgame.
- Merchant: Restock healing and emergency items. Keep insurance available because mistakes are more costly at depth.
👹 Boss overview
The fourth biome also ends with a boss. Its individual name and exact weakness could not be reliably confirmed. Deep enemies can drain resources; prepare stats, healing and items at the Blacksmith and Merchant and secure favorable safe-tile odds before fighting. See the boss guide for more.
⚒️ Suggested build approach
Maintain and strengthen the direction developed so far. Keep Strength or Magic above deep-area enemies and favor probabilities with Teeth. Save healing and emergency items for unexpected bad outcomes.
📋 Progression steps
- 1. Read row probabilities and predicted damage, maintaining stats above deep-area enemies
- 2. Use the Blacksmith to improve stats and reinforce your build direction
- 3. Add or adjust Teeth at the Devil Statue to further favor your odds
- 4. Restock healing and emergency items at the Merchant and send gold to camp
- 5. Prepare stats and items before the biome-ending boss
The fourth biome was added in an update. Its proper name varies between sources and could not be confirmed, so this site uses fourth biome. Difficulty rises at depth; keep stats and backup items ready.
⚠️ Key points in this biome
🏠 Special rooms
- An opportunity for final adjustments: Before entering the deepest area, use any Blacksmith, Merchant or Devil Statue for final adjustments. These stats, Teeth and items determine your readiness for the final boss.
- Healing and supplies: Preserve as much healing and as many emergency items as possible for the final boss.
👹 Boss overview
The final boss added in v1.0 concludes the adventure at the bottom. Its proper name and detailed pattern are not reliably confirmed here. Prepare stats, Teeth and items on the way, retain emergency items and secure safe-tile odds before advancing. See the boss guide for more.
⚒️ Suggested build approach
Use the fully developed build: sufficient Strength or Magic and Teeth that secure safe tiles. Save healing and emergency items for the final boss.
📋 Progression steps
- 1. Finish adjustments at the Blacksmith, Merchant and Devil Statue before entering the deepest area
- 2. Preserve healing and emergency items wherever possible
- 3. Set probabilities with Teeth to provide safe tiles before moving forward
- 4. Use keys carefully on the final floor; a softlock was reported in earlier accounts if used before taking the sun
- 5. Challenge the final boss that concludes the adventure
v1.0 added a new small area at the bottom and a concluding final boss. Sources for exact names and access conditions are limited, so check the game. Take particular care with keys on the final floor, where irreversible softlocks have been reported.
These principles apply in every biome, alongside issues reported as irreversible in Sol Cesto. Runs normally reset because it is a roguelite, but knowing a few risks can prevent avoidable losses.
📈 Basic actions in every biome
Upgrade stats at the Blacksmith and prepare healing and items at the Merchant in every biome. Combat immediately compares Strength or Magic, so maintain Strength or Magic above the current biome’s enemies for steadier progress. Use Teeth from the Devil Statue to favor probabilities and increase safe tiles or desired resources.
🪙 Send gold to camp early
Collected gold sent to camp through a well or pot can fund metaprogression such as character unlocks and shop options. However, dying before sending it loses that gold, so send savings early. The Flute can also send coins to camp.
⚠️ Irreversible softlock reports
- Using a key on the final floor before taking the sun → was reported in earlier accounts to lose the run by entering a room without an exit.
Response: Be particularly careful where you use keys in the deepest area. - Using a key on a door between biomes → was reported in earlier accounts to cause a bug.
Response: Use keys on doors cautiously. If behavior is unclear, check the in-game display. - Dying before sending gold → loses gold accumulated in that run.
Response: Send it regularly through a well, pot or Flute.
🎼 About the Flute
A special item assembled from pieces gathered at fountains and played in the dungeon.It breaks after playing, but once the fountain bird is unlocked and available, it can repair the flute for another melody. Effects include a shop discount, sending coins to camp, full healing and swapping Strength ↔ Magic. However, exact melody inputs differ between sources; check the in-game display. See the endings and Flute guide for details.
Biomes contain rooms, facilities and NPCs such as those below. Layout and exact room counts vary, so check the game. The key is to use the Blacksmith, Merchant and Devil Statue whenever you find them.
| Room / facility / NPC | Main function | Priority | Notes |
|---|---|---|---|
| Combat room (4×4 grid) | Choose a row and drop onto a tile containing a monster, chest (gold), healing strawberry or trap | Required | Read row probabilities and predicted damage to land on safe tiles |
| Merchant | Buy consumable items with gold; also obtain the Egg used to unlock the Lizard here | High | Restock healing and items |
| Blacksmith | Spend gold to improve Strength or Magic | Highest | Essential for establishing the build direction |
| Devil Statue | Choose one of two to four Teeth. Stone changes rules/probabilities; Metal gives ongoing effects | Highest | The core of probability manipulation and building |
| Well / pot | Send gold to camp for metaprogression such as character unlocks and shop options | Special | Send early: dying before sending loses it |
| Beggar | One of the NPCs; check the game for its specific effect | — | Not a playable character |
Layouts vary between runs, even within the same biome. Make use of the Blacksmith, Merchant and Devil Statue whenever you find them. Check proper names and exact room counts in the game.
A quick reference to what matters in each biome. Your preparations directly affect the next area, so keep what to accomplish in this biome in mind. Specific item and Tooth names could not be reliably confirmed; these are action guidelines.
🏰 1. Dungeon
- 1st: Learn to read row probabilities and predicted damage
- 2nd: Choose a Strength or Magic direction at the Blacksmith
- 3rd: Obtain the Egg; carry it to biome 3 if pursuing the Lizard
- 4th: Use Teeth to tilt probabilities toward safe tiles
🍄 2. Mushroom Forest
- 1st: Strengthen the main build direction at the Blacksmith
- 2nd: Watch new mechanics while securing safe tiles
- 3rd: Add Teeth at the Devil Statue to favor probabilities
- 4th: Save healing and items for the biome-ending boss
🌊 3. Ocean
- 1st: Hatch the Egg to unlock the Lizard if carrying it
- 2nd: Finish stat preparations at the Blacksmith
- 3rd: Make final Teeth adjustments at the Devil Statue
- 4th: Save healing and emergency items for the boss
🏛️ Fourth biome (name unconfirmed)
- 1st: Maintain stats above deep-area enemies
- 2nd: Raise stats at the Blacksmith
- 3rd: Reinforce Teeth at the Devil Statue
- 4th: Keep healing and emergency items available
🌑 Additional deepest area (v1.0)
- 1st: Finish Blacksmith, Merchant and Devil Statue adjustments before entering
- 2nd: Preserve healing and emergency items as much as possible
- 3rd: Set Teeth probabilities to provide safe tiles
- 4th: Use keys carefully on the final floor; a softlock was reported in earlier accounts if used before taking the sun
Sun Power is a powerful character-specific resource. When you use it directly affects a run’s chances, so understand the suggested timing in each biome.
⏰ Early run (1–2): generally save it
Ordinary enemies dominate the early run, so save Sun Power for danger or the biome-ending boss. Use it for safety if saving it would cost excessive HP.
🌊 Mid-run (Ocean): use it for the boss
This was the initial Early Access stopping point. For its boss, save Sun Power and deploy it when needed. Ideally combine it with items to avoid damage.
🏛️ Deep areas (4): retain it for emergencies
Enemies become tougher at depth, so save Sun Power for preventing bad outcomes and for the boss. If probability manipulation avoids dangerous tiles, keep it rather than spending it unnecessarily.
🌑 Deepest area: deploy it for the final boss
The concluding boss added in v1.0 is the major challenge. Retain Sun Power and emergency items until this point, using them while securing favorable safe-tile probabilities.
- Knight: Defensive and steady. Combine its Sun Power with items to reduce bad outcomes.
- Mage: Its Sun Power links safe tiles with enemies to remove them without direct combat. Often used alongside Magic investment.
- Warrior: A melee character with its own Sun Power. Make enemies you exceed with Strength safe, using the power at key moments.
- Peasant: The only character without Sun Power. Teeth choices and probability management are central.
- Lizard: Leaves a Tail after taking damage, once per room. Use that safety mechanic while maintaining stats.
- Huntress / Vampire: Both are unlockable characters with unique Sun Powers. Check the game for detailed effects.
Formal names for each Sun Power could not be reliably confirmed, so this site does not assert them.
Q1. How many biomes does Sol Cesto have, and what are their names?
Q2. Does each biome have a boss?
Q3. How do I unlock the Lizard?
Q4. What is the basic approach to progressing through biomes?

Nintendo Switch 2

Arctis Nova 7

LG UltraGear 27GP850

VGN Dragonfly F1 Pro
Affiliate links to Amazon Japan. Purchases may earn us a commission at no extra cost to you. Check the retailer for current prices.
HORI mini controller for Switch
eShop ¥5000 — Rakuten
Game Music Collection
Art of Balatro
Affiliate links to Rakuten Japan. Listed prices are indicative; check the retailer for current prices.