👥 Sol Cesto’s Seven Characters: Handling, Sun Power and Roles
Covers Knight, Peasant, Warrior, Mage, Lizard, Vampire and Huntress: Sun Power, talents, roles, play approach, Teeth choices, unlock conditions and dedicated endings within the confirmed scope. Unconfirmed values and proper names are not invented; they are marked for in-game checking.
| Character | Tier | Role | Sun Power | Unlock |
|---|---|---|---|---|
| Knight The Knight | S | Easiest to handle; a beginner’s first unlock choice | Has a unique Sun Power that combines wel... | Unlocked after the first death; an early strong character |
| Peasant The Peasant | C | Starting character; weakest and hardest, for experienced players | None; the only character without Sun Pow... | Available from the start |
| Warrior The Warrior | A | Balanced melee | Has a unique Sun Power; check details in... | Available from the start |
| Mage The Mage | B | Magic and probability management | Links safe tiles to enemy tiles to remov... | Unlocked through progression |
| Lizard The Lizard | A | Unlockable character with Tail insurance | Has a unique Sun Power; check details in... | Obtain an Egg in biome 1 and carry it to biome 3 to hatch it and unlock permanently |
| Vampire The Vampire | B | Unlockable offensive character | Has a unique Sun Power; check details in... | Unlocked through progression |
| Huntress The Huntress | B | Unlockable ranged character | Has a unique ranged Sun Power; check det... | Unlocked through progression |
The S/A/B/C tiers here are this site’s subjective handling guide, not official in-game ranks. Several players agree that Knight is easiest and Peasant hardest, but the middle characters depend on the environment and luck; treat their order as a guide.
The highest on this site’s handling scale. The defensive Knight reduces early accidents and unlocks after the first death. Several players recommend it as the first unlock for learning row selection, probability reading and safe landings. These are subjective ease-of-use tiers, not official ranks.
📌 Starting stats
- HP: check the game (defensive, steady early progress)
- Strength: check the game
- Magic: check the game
- Sun Power: has a unique Sun Power
- Type: defensive and easiest to handle
☀️ Sun Power details
Has a unique Sun Power that works well with items such as row/column clears and enemy weakening, helping escape danger. Effects can change by version, so check current behavior in the game.
✨ Talent details
Defensive and steady, with fewer early accidents. Progress from the first Blacksmith toward the first biome’s end is relatively safe, making it suitable for learning to select rows, read odds and land on safe tiles.
🎬 Opening approach
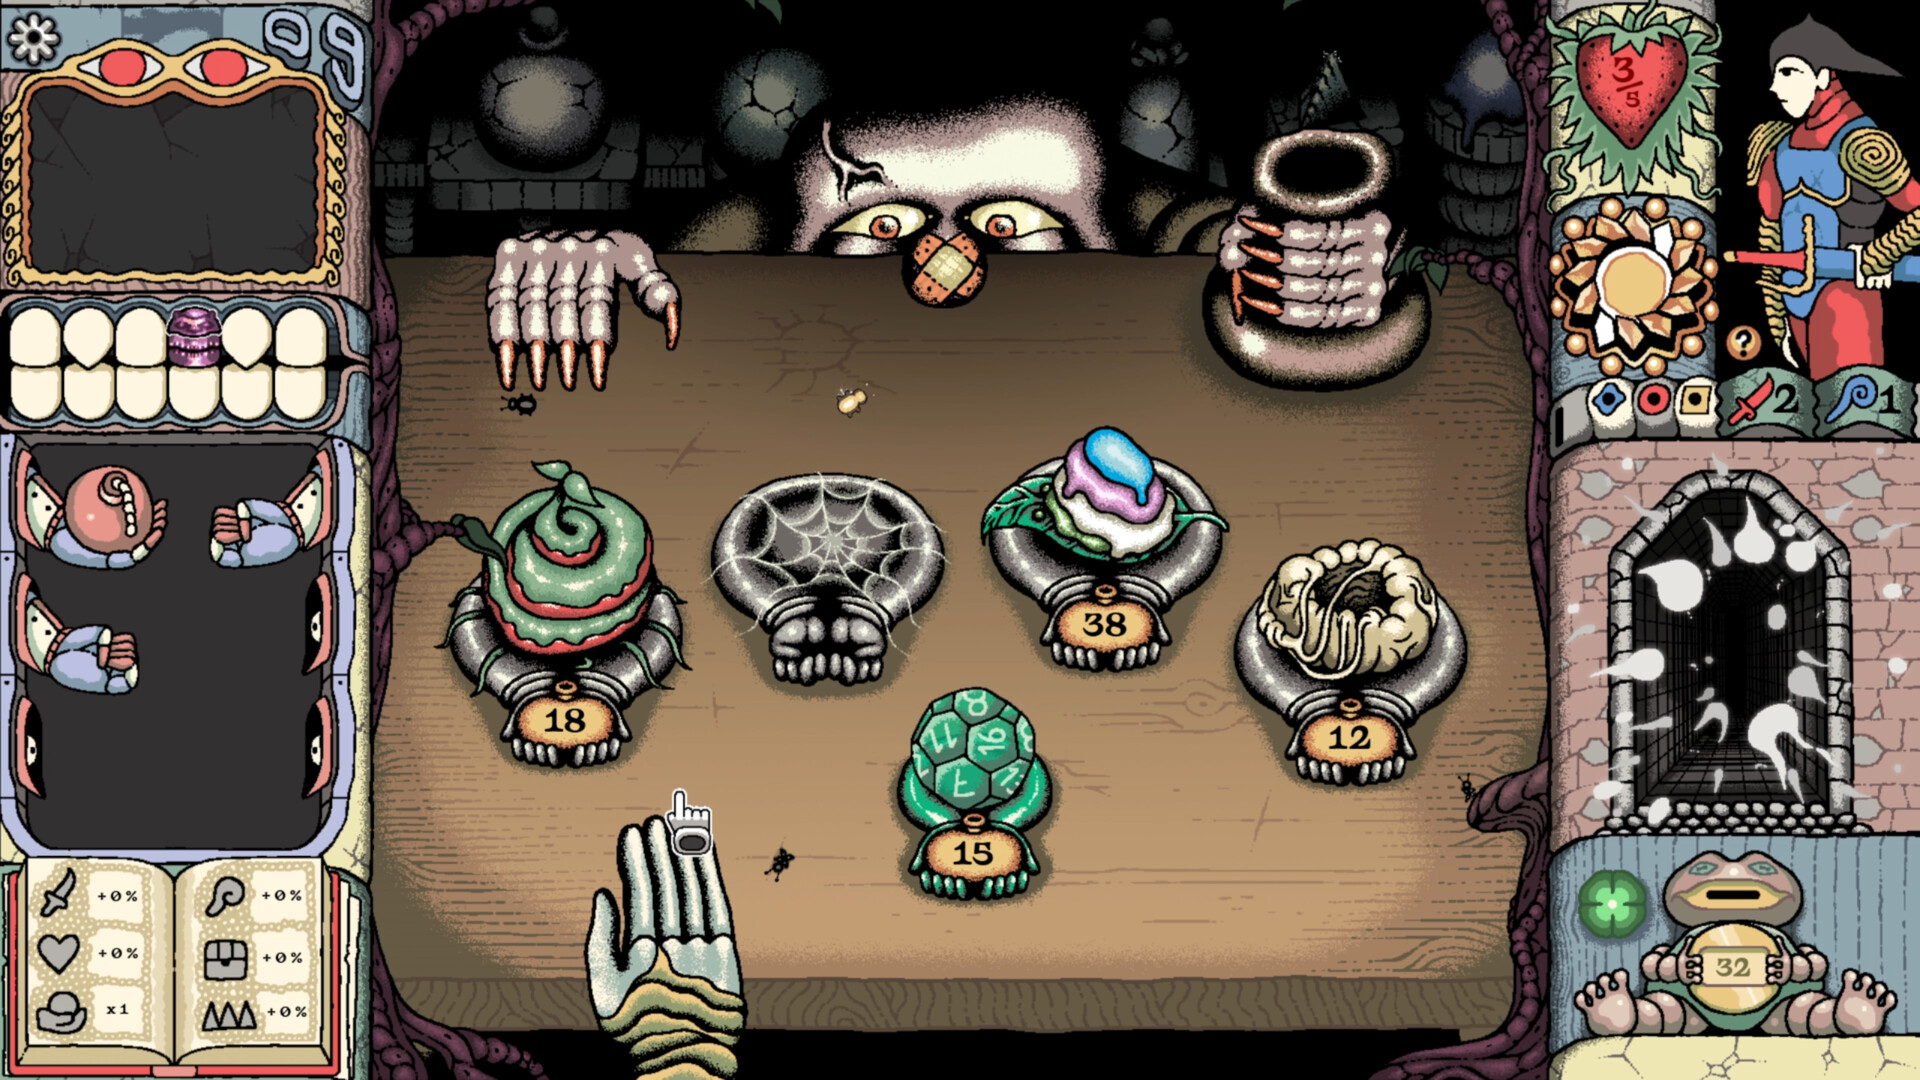
Avoid overaggression and choose safe rows after checking probabilities and predicted damage. At the Devil Statue, favor Teeth that increase safe tiles and desired resources. Save Sun Power and items for emergencies to reduce bad outcomes.
🌱 Early run (biomes 1–2)
In the Dungeon, keep stats at least equal to ordinary enemies and develop Strength or Magic at the Blacksmith. The Knight’s lower accident rate helps you collect chest gold while using safe tiles; send it to the surface early through a well or pot.
⚡ Mid-run (biome 3)
From Mushroom Forest onward, new mechanics increase difficulty. The equalizer approach—heavily raising one stat to make matching enemy tiles safe—provides steadier progress. Keep healing strawberries and healing items available.
🔥 Late run (biomes 4–5)
The fourth biome and additional deepest area test the stats, Teeth and items developed so far. Retain emergency items and Sun Power, establishing safe-tile probabilities before advancing. On the final floor, watch key targets because using a key before taking the sun reportedly caused a softlock.
🦷 Choosing Teeth
🏆 Suggested build details
Favor safe tiles through Teeth and escape danger with items. This fits the equalizer approach of heavily raising one stat and making matching enemy tiles safe. Save Sun Power for emergencies.
🔓 Unlock conditions
Unlocked after the first death. Several players recommend this easy-to-handle, strong early unlock as the first character to use.
🎼 Ending
Reach the bottom and clear as the Knight to unlock its ending. Each character has one, seven total. Check the ending’s content in the game.
High on the handling scale. Warrior has base HP 8 and a straightforward Strength approach, with Magic 0 as a weakness. Unlockable Lizard leaves a Tail on damage as insurance. Both have clear strengths and are relatively approachable. Tiers are subjective handling guidance, not official ranks.
📌 Starting stats
- HP: 8 (relatively high base HP)
- Strength: 2
- Magic: 0
- Sun Power: has a unique power; check details in the game
- Type: balanced melee
☀️ Sun Power details
Has its own Sun Power; check current behavior because effects may be adjusted by version. Higher base HP supports a direct approach that tolerates some damage.
✨ Talent details
With base HP 8, it favors direct Strength-based play. Starting Magic 0 makes magic-oriented enemies such as slimes riskier; avoid forcing magic-dependent tiles.
🎬 Opening approach
Focus Strength and use enemies you exceed as safe routes. Avoid magic-oriented enemy tiles with Magic 0 and choose safe-tile Teeth to reduce accidents. Use high HP to support physical encounters.
🌱 Early run (biomes 1–2)
In biomes 1–2, focus Strength and choose rows you exceed physically. Prioritize Strength at the Blacksmith, keep strawberries and healing items, and do not push situations requiring Magic.
⚡ Mid-run (biome 3)
From Ocean onward, Magic 0 becomes a clearer weakness. Avoid magic-oriented enemies and establish safe-tile odds with Teeth. Treat high HP as insurance while continuing to select rows Strength can handle.
🔥 Late run (biomes 4–5)
In the fourth biome and deepest area, Magic-dependent situations are a challenge. Use options such as the Flute’s Strength/Magic swap if available, while generally choosing routes your Strength exceeds and retaining emergency items for the concluding boss.
🦷 Choosing Teeth
🏆 Suggested build details
Focus Strength and make enemies you exceed safe routes. Magic develops less readily, so avoid magic-oriented enemies and use HP 8 and safe-tile Teeth to limit damage.
🔓 Unlock conditions
Available from the start. High base HP favors direct encounters, but Magic 0 is a weakness, so it is steadier once you know the controls.
🎼 Ending
Clear as the Warrior to unlock its ending. Check the content in the game.
📌 Starting stats
- HP: check the game
- Strength: check the game
- Magic: check the game
- Sun Power: has a unique power; check details in the game
- Type: unlockable character with Tail insurance
☀️ Sun Power details
Has a unique Sun Power; check details in the game. The Lizard’s key feature is its Tail talent below, which provides a safety mechanic against one damaging event.
✨ Talent details
Tail: leaves a tail when taking damage, once per room. The remaining tail lowers that row’s risk, providing some insurance against bad landings.
🎬 Opening approach
With Tail covering one damaging event, you can read probabilities and consider slightly riskier rows. Do not rely on it completely: choose safe-tile Teeth and maintain stats above local enemies.
🌱 Early run (biomes 1–2)
Use Tail’s safety mechanic early while raising stats enough to land safely on ordinary local enemies. Send chest gold to the surface through wells or pots early to prevent losses on death.
⚡ Mid-run (biome 3)
From Ocean onward, use Tail as insurance while advancing with the equalizer approach: raise one stat to make matching tiles safe. Keep healing strawberries and items available.
🔥 Late run (biomes 4–5)
In the fourth biome and deepest area, prepare sufficient stats, Teeth and items rather than relying only on Tail. Save emergency items and establish safe-tile odds before the concluding boss.
🦷 Choosing Teeth
🏆 Suggested build details
Use Tail as insurance while maintaining stats above local enemies. Combine it with safe-tile Teeth to reduce damage and save Sun Power and items for emergencies.
🔓 Unlock conditions
Obtain an Egg in the first biome and carry it to Ocean, the third, to hatch it and unlock the Lizard permanently. Dying en route requires starting again, so prioritize safe tiles and avoid damage.
🎼 Ending
Hatch the Egg, unlock the Lizard and clear its run for its ending. Check the content in the game.
Distinctive characters unlocked through progression. Mage uses Magic-focused probability management and safe/enemy links, with low HP. Vampire and Huntress offer offensive and ranged Sun Powers. Their strengths are clear, but version adjustments can affect details; check current effects in the game. Tiers are subjective handling guidance, not official ranks.
📌 Starting stats
- HP: relatively low; avoid overconfidence
- Strength: relatively low
- Magic: relatively high; Magic focused
- Sun Power: links safe and enemy tiles
- Type: magic and probability management
☀️ Sun Power details
The Sun Power links safe tiles to enemy tiles, removing enemies without direct combat. Used well, it clears enemies without damage. Specific mechanics and restrictions can change by version; check current behavior in the game.
✨ Talent details
Exceeds magic-oriented enemies to handle them without damage. Investing in Magic broadens the safe range. Relatively low HP means avoiding strong physical enemies is important.
🎬 Opening approach
Use Magic to turn matching enemy tiles into safe routes. Avoid dangerous physical tiles with low HP and link safe tiles to enemies with Sun Power to clear them without damage. Prioritize safe-tile or enemy-weakening Teeth.
🌱 Early run (biomes 1–2)
In biomes 1–2, maintain a Magic focus and prioritize it at the Blacksmith. Choose rows you exceed with Magic and avoid damage. Secure safe-tile Teeth and healing to compensate for low HP.
⚡ Mid-run (biome 3)
From Ocean onward, maintain the Magic advantage against magic-oriented enemies. Linking safe tiles to enemies with Sun Power avoids direct combat. Keep strawberries and healing items for unexpected damage.
🔥 Late run (biomes 4–5 and the bottom)
In the fourth biome and deepest area, prioritize safe tiles because low HP becomes a weakness. Choose routes Magic exceeds, combine enemy-weakening Teeth and items to avoid damage, and retain emergency items for the concluding boss.
🦷 Choosing Teeth
🏆 Suggested build details
Focus Magic and combine enemy-weakening Teeth or items to avoid damage. Its strength is probability management through Sun Power links rather than direct combat. Do not overestimate its relatively low HP.
🔓 Unlock conditions
Unlocked through progression. The exact unlock route may change by version; check the in-game condition display.
🎼 Ending
Clear as the Mage to unlock its ending. Check the content in the game.
📌 Starting stats
- HP: check the game
- Strength: check the game
- Magic: check the game
- Sun Power: has a unique power; check details in the game
- Type: unlockable offensive character
☀️ Sun Power details
An offensive character with a unique Sun Power. Effects may be adjusted by version; check current behavior in the game.
✨ Talent details
Favors aggressive play. Check its specific talents and effects in the game. Managing damage risk while advancing aggressively is important.
🎬 Opening approach
Play aggressively while checking tile probabilities and avoiding unreasonable rows. Balance offensive Teeth with safe-tile Teeth, and retain Sun Power for danger or a boss.
🌱 Early run (biomes 1–2)
In biomes 1–2, maintain stats above local enemies while attacking. Prepare stats at the Blacksmith, send chest gold through wells or pots early and keep healing available.
⚡ Mid-run (biome 3)
From Ocean onward, use offense while managing damage with Teeth and items. Use the equalizer approach to make matching tiles safe and maintain healing strawberries and items.
🔥 Late run (biomes 4–5 and the bottom)
In the fourth biome and deepest area, prepare stats, Teeth and items instead of relying only on offense. Keep emergency items and establish safe-tile odds before the concluding boss.
🦷 Choosing Teeth
🏆 Suggested build details
Play aggressively while managing damage risk with Teeth and items. Details may change by version, so check current effects before choosing a build.
🔓 Unlock conditions
Unlocked through progression. The exact unlock route may change by version; check the in-game condition display.
🎼 Ending
Clear as the Vampire to unlock its ending. Check the content in the game.
📌 Starting stats
- HP: check the game
- Strength: check the game
- Magic: check the game
- Sun Power: unique ranged power; check details in the game
- Type: unlockable ranged character
☀️ Sun Power details
Has a ranged Sun Power that can affect distant tiles. Effects, range and usage rules may change by version; check current behavior in the game.
✨ Talent details
Favors targeting from a distance. Check specific talents and effects in the game. Removing dangerous tiles remotely helps establish a safe route.
🎬 Opening approach
Use range to avoid dangerous tiles and create routes. Read tile probabilities and choose safe rows, retaining Sun Power for emergencies or a boss. Prioritize safe-tile Teeth for steadier progress.
🌱 Early run (biomes 1–2)
In biomes 1–2, maintain stats above local enemies and use range to avoid dangerous tiles. Send chest gold early through wells or pots and secure healing.
⚡ Mid-run (biome 3)
From Ocean onward, remove dangerous tiles remotely and use the equalizer approach to make matching tiles safe. Keep healing strawberries and items available.
🔥 Late run (biomes 4–5 and the bottom)
In the fourth biome and deepest area, use range to create safe routes while preparing stats, Teeth and items. Retain emergency items and secure safe-tile odds before the concluding boss.
🦷 Choosing Teeth
🏆 Suggested build details
Use range to avoid dangerous tiles and build routes. Combine safe-tile Teeth to reduce damage, saving Sun Power and items for emergencies and bosses. Check detailed properties in the game.
🔓 Unlock conditions
A ranged character unlocked through progression. The exact unlock route may change by version; check the in-game condition display.
🎼 Ending
Clear as the Huntress to unlock its ending. Check the content in the game.
The hardest on this site’s handling scale. This starting character has no Sun Power and low stats, directly testing probability reading without Sun Power. It is the weakest, hardest experienced-player challenge and a way to refine player skill. Tiers are subjective handling guidance, not official ranks.
📌 Starting stats
- HP: above average (around 6; needs confirmation)
- Strength: 1
- Magic: 1
- Sun Power: none; the only character without it
- Type: starting character; weakest and hardest, for experienced players
☀️ Sun Power details
The only character without Sun Power. Without Sun Power, it directly tests selecting rows, reading probabilities and landing on safe tiles.
✨ Talent details
With no Sun Power to rely on, pure probability management matters. Low stats make this the hardest of the seven, an experienced-player challenge for refining the basics.
🎬 Opening approach
With no Sun Power and low base stats, avoid forced fights and prioritize routes that reliably reach safe tiles. Choose safe-tile Teeth, focus one stat and select rows you exceed with it.
🌱 Early run (biomes 1–2)
Base stats struggle even against first-biome enemies, so prioritize safe tiles that avoid combat. Improve stats at the Blacksmith where possible, secure healing strawberries and items, and send chest gold through wells or pots early.
⚡ Mid-run (biome 3)
Difficulty rises in biomes 2–3. Commit to raising one stat to make matching tiles safe and minimize damage. Keep healing available and carefully read probabilities to continue landing safely.
🔥 Late run (biomes 4–5)
In the fourth biome and deepest area, rely on developed stats, Teeth and items. Without Sun Power, retain extra emergency items and secure safe-tile odds before the final boss. Watch where you use keys on the final floor.
🦷 Choosing Teeth
🏆 Suggested build details
Focus one stat and play conservatively to reach safe tiles. Without Sun Power, favor probabilities through Teeth and retain ample healing and emergency items to survive.
🔓 Unlock conditions
Available from the start, but no Sun Power and low stats make it the hardest of the seven to clear. Recommended for experienced players. v1.0 added a dedicated progression branch and a talent.
🎼 Ending
Clear as the weakest, most challenging Peasant to unlock its ending. Check the content in the game.
Sol Cesto is single-player, with one character per run. Use these suggestions to choose for your current goal. They reflect this site’s approach; detailed properties can change, so check current effects in the game.
🌱 Learn the game and clear more steadily: Knight
Unlocked after the first death, the defensive Knight has fewer early accidents and helps teach row choice and probability reading. First aim to clear one Knight run while learning Teeth, gold transfers through wells/pots and healing management.
🔥 Test your skill with a restriction: Peasant
A starting character without Sun Power and with low stats, the hardest of the seven for experienced players. Without Sun Power, it develops safe-tile probability management. Focus one stat, favor probabilities with Teeth and prepare plenty of healing and emergency items.
⚔️ Push through with Strength: Warrior
Base HP 8 supports turning enemies you exceed with Strength into safe routes. Magic starts at 0, making magic-oriented enemies such as slimes a weakness; learn when to avoid those tiles.
🧙 Clear enemies without taking damage: Mage
Raise Magic and use Sun Power to link safe tiles to enemies instead of fighting directly. Clearing magic-oriented enemies without damage is its strength. Relatively low HP means avoiding strong physical encounters.
🦎 Cover mistakes with insurance: Lizard
An unlockable character that leaves a Tail after damage once per room. The remaining Tail lowers row risk and absorbs some bad outcomes. Unlock by carrying the first biome’s Egg to biome 3 to hatch it.
Peasant and Warrior are initially available. Knight unlocks after the first death; Lizard unlocks by carrying an Egg to biome 3; Mage, Vampire and Huntress unlock through progression. Specific routes may change by version, so also check the in-game condition display.
| # | Character | Unlock condition | Priority | Details |
|---|---|---|---|---|
| 1 | Knight The Knight | Unlocked after the first death | First strong character | A defensive, easy-to-handle character recommended by several players as the first unlock. Lets you learn row selection, probability reading and safe landings more safely. |
| 2 | Peasant The Peasant | Available from the start | For experienced players | Available initially, but no Sun Power and low stats make it hardest. Useful for improving probability reading. v1.0 added a dedicated progression branch and a talent. |
| 3 | Warrior The Warrior | Available from the start | Melee | High base HP (8) supports direct Strength-based play. Magic 0 leaves it vulnerable to magic-oriented enemies. |
| 4 | Lizard The Lizard | Carry the Egg to biome 3 to hatch it | Unlockable character | Obtain an Egg in biome 1 and carry it to Ocean, biome 3, to hatch it and unlock permanently. Leaves a Tail on taking damage as insurance. |
| 5 | Mage The Mage | Unlocked through progression | Unlockable character | Magic-focused probability management: links safe tiles to enemies to clear without damage. Relatively low HP. |
| 6 | Vampire The Vampire | Unlocked through progression | Unlockable character | An offensive character with a unique Sun Power. Details may change by version; check current effects in the game. |
| 7 | Huntress The Huntress | Unlocked through progression | Unlockable character | A ranged character whose Sun Power can affect distant tiles. Check detailed properties in the game. |
🦎 Lizard unlock sequence
- Obtain an Egg in the first biome — Check the game for its exact location and price.
- Carry the Egg to Ocean, the third biome — Death en route requires starting again, so prioritize safe tiles and avoid damage.
- The Egg hatches in biome 3, permanently unlocking Lizard — It can then be selected on subsequent runs.
Sources differ on the Egg’s location and exact hatching requirements; checking the in-game display is the safest reference.
One possible order for tackling all seven characters. Establish basics with Knight, then move gradually to others. Completion time varies greatly with skill and luck, so first aim for a full Knight run.
The Knight (first strong character)
Unlocked after the first death. A defensive style reduces accidents while learning row selection and probability reading. First aim to finish a full run with one character.
The Warrior (melee)
Use high HP to learn selecting rows you exceed with Strength. Magic 0 teaches when to avoid magic-oriented enemies.
The Lizard (unlockable)
Unlock by carrying the Egg to biome 3. Learn to use the Tail safety mechanic.
The Mage (unlockable)
Raise Magic and learn probability management through links between safe tiles and enemies. Take care with low HP.
The Vampire (unlockable)
Practice aggression alongside damage management using Teeth and items. Check current properties in the game.
The Huntress (unlockable)
Learn to use range to avoid dangerous tiles and create routes. Check detailed properties in the game.
The Peasant (experienced players)
No Sun Power and low stats make this hardest. A final test of probability reading; aim for its ending.
Peasant comes last because no Sun Power and low stats make it hardest; establish the basics with other characters first. This is only one example order.
Q. Which character should I start with?
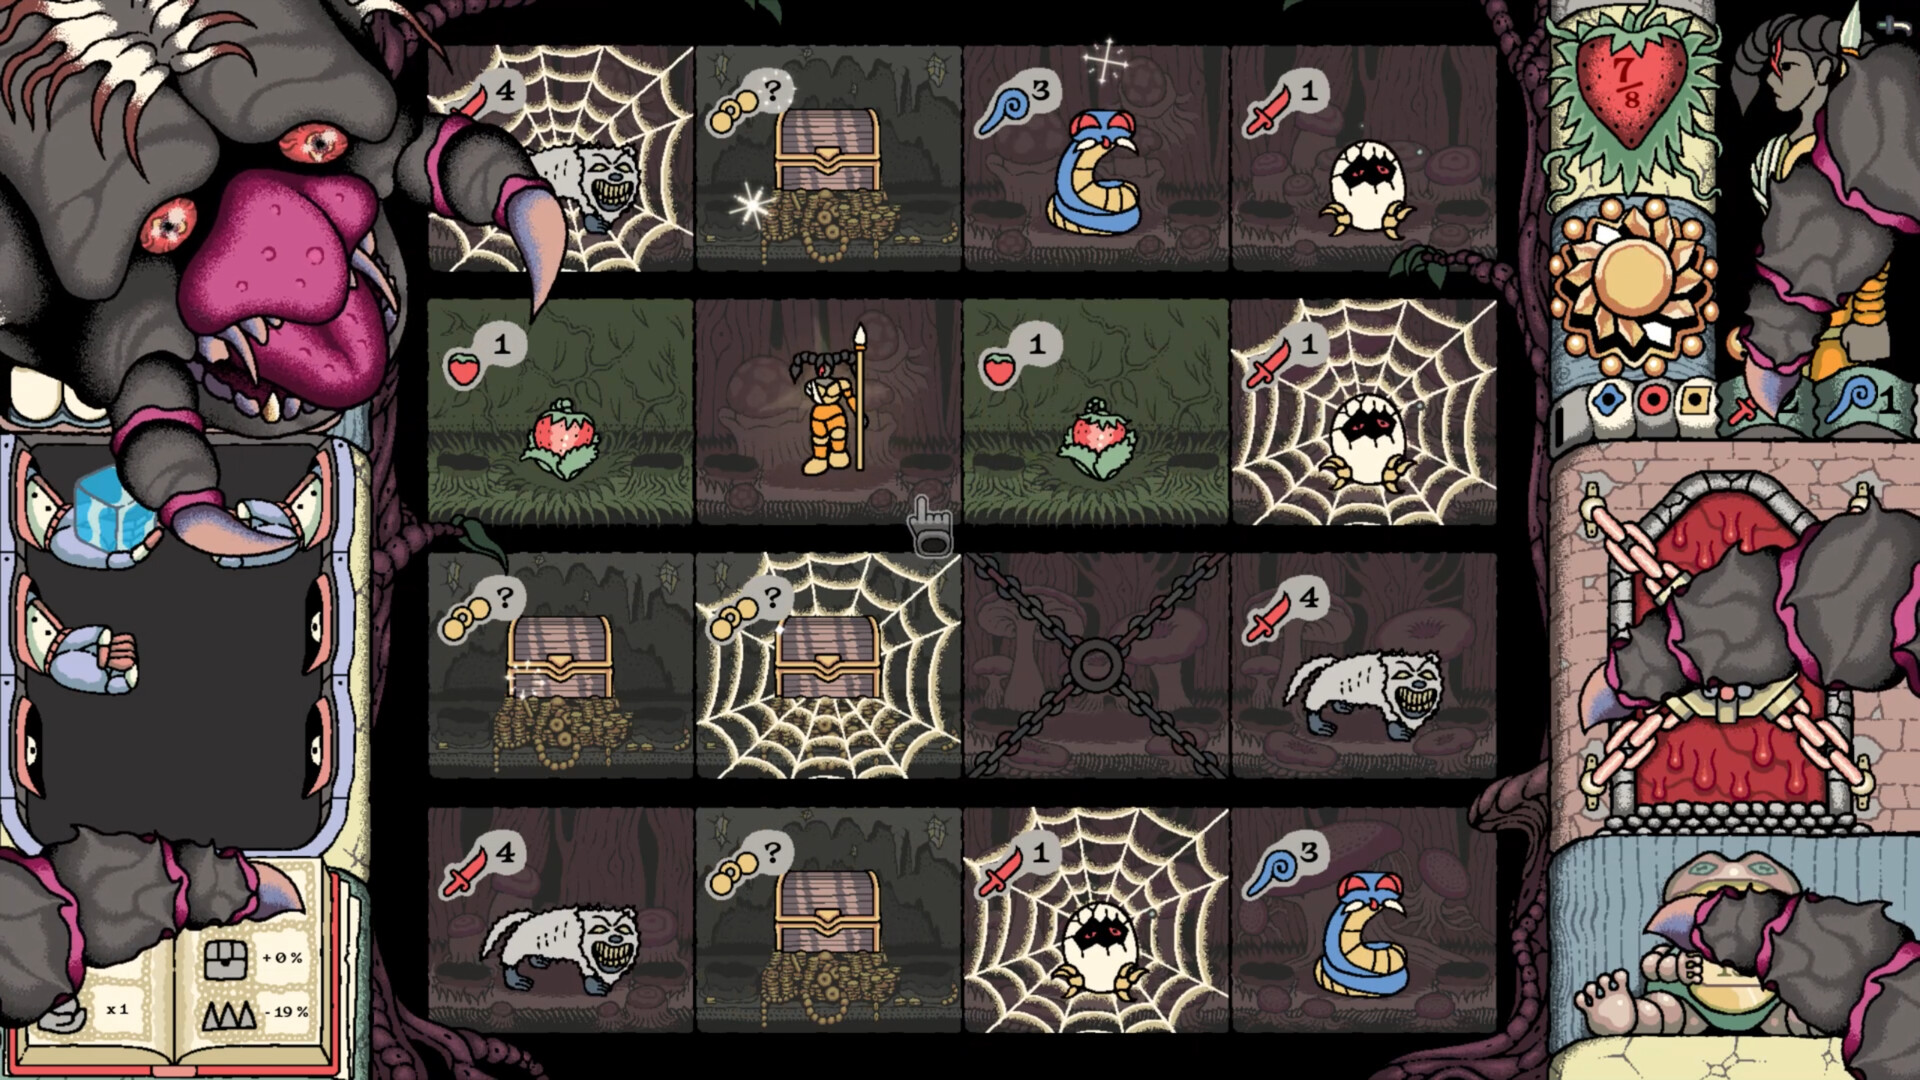
A. The Knight is the easiest to handle, and several players recommend it as the first unlock to use (after your first death). Its defensive style reduces early mistakes and lets you learn Teeth and the 4×4 grid more safely. Its unique Sun Power works well with items. The starting Peasant has no Sun Power and is the hardest character, so try that challenge after learning the controls.
Q. Is the Peasant too weak because of its low stats?
A. The Peasant is the only character without Sun Power. Its low stats make it the hardest of the seven to handle and a challenge for experienced players. It tests the basics—choosing rows and reading probabilities—without Sun Power. Favor safe tiles and use Teeth at the Devil Statue to tilt odds in your favor. v1.0 added a dedicated progression branch and a talent.
Q. How do I unlock the Lizard?
A. The Lizard is a hidden character unlocked through progression. Obtain an Egg in the first biome and carry it to Ocean, the third biome, to hatch it and unlock the Lizard permanently. The Lizard leaves a Tail on taking damage, once per room, reducing risk in that row. Dying while carrying the Egg means starting again, so prioritize safe tiles and avoid damage while transporting it.
Q. What order should I unlock and clear the seven characters in?
A. Learn the controls with the starting Peasant or Warrior, then progress more reliably with the Knight unlocked after your first death. Unlock the Lizard by carrying the Egg to biome 3; Mage, Vampire and Huntress unlock through progression. Each character has its own ending, seven total. Completion time depends greatly on skill and luck, so first aim for one full Knight run.

Xbox Series S

Razer BlackShark V2 Pro

Samsung Odyssey G4

Basilisk V3 X HyperSpeed
Affiliate links to Amazon Japan. Purchases may earn us a commission at no extra cost to you. Check the retailer for current prices.
eShop ¥5000 — Rakuten
PowerA Fusion Pro
Game Design Bible
Art of Balatro
Affiliate links to Rakuten Japan. Listed prices are indicative; check the retailer for current prices.