🔥 TEKKEN 8 Heat System
Learn how Heat Burst, Heat Engager, Heat Smash and Heat Dash differ, then choose activation and defensive responses to suit the actual match situation.
📑 Contents
What is Heat?
Heat is a TEKKEN 8 battle system providingan enhanced state available once per round. Selected move properties improve and Heat-specific actions become available. Recoverable health is regained through offensive actions rather than passive healing throughout the state.
Heat Burst uses the assigned Heat button, commonly R1 on PlayStation or RB on Xbox; confirm your controller settings.
The official introductory reference gives 10 seconds for Heat Burst and 15 for Heat Engager. Actions and current-version rules affect the state.
Available once per round; availability resets with the next round.
Heat Burst
BurstAn attack with Power Crush properties that activates Heat and provides a slight advantage on hit or block in the official introduction. It can absorb applicable high and mid attacks. Test timing and range before using it to interrupt pressure.
Heat Smash
SmashA character-specific attack that spends all remaining Heat and ends the state. Its connection, wall effects and follow-up opportunities depend on the fighter and situation.
Heat Engager
EngagerA qualifying character-specific attack that activates Heat when it hits. The attacker closes distance and gains a strong advantageous situation; it also restores recoverable health. Multiple moves can qualify, so check your fighter's move list.
Heat Dash
DashDuring Heat, cancel an eligible Heat Engager into a forward dash. A hit can create combo opportunities; on block, the dash can create an advantageous close-range situation. Heat ends when the dash is used.
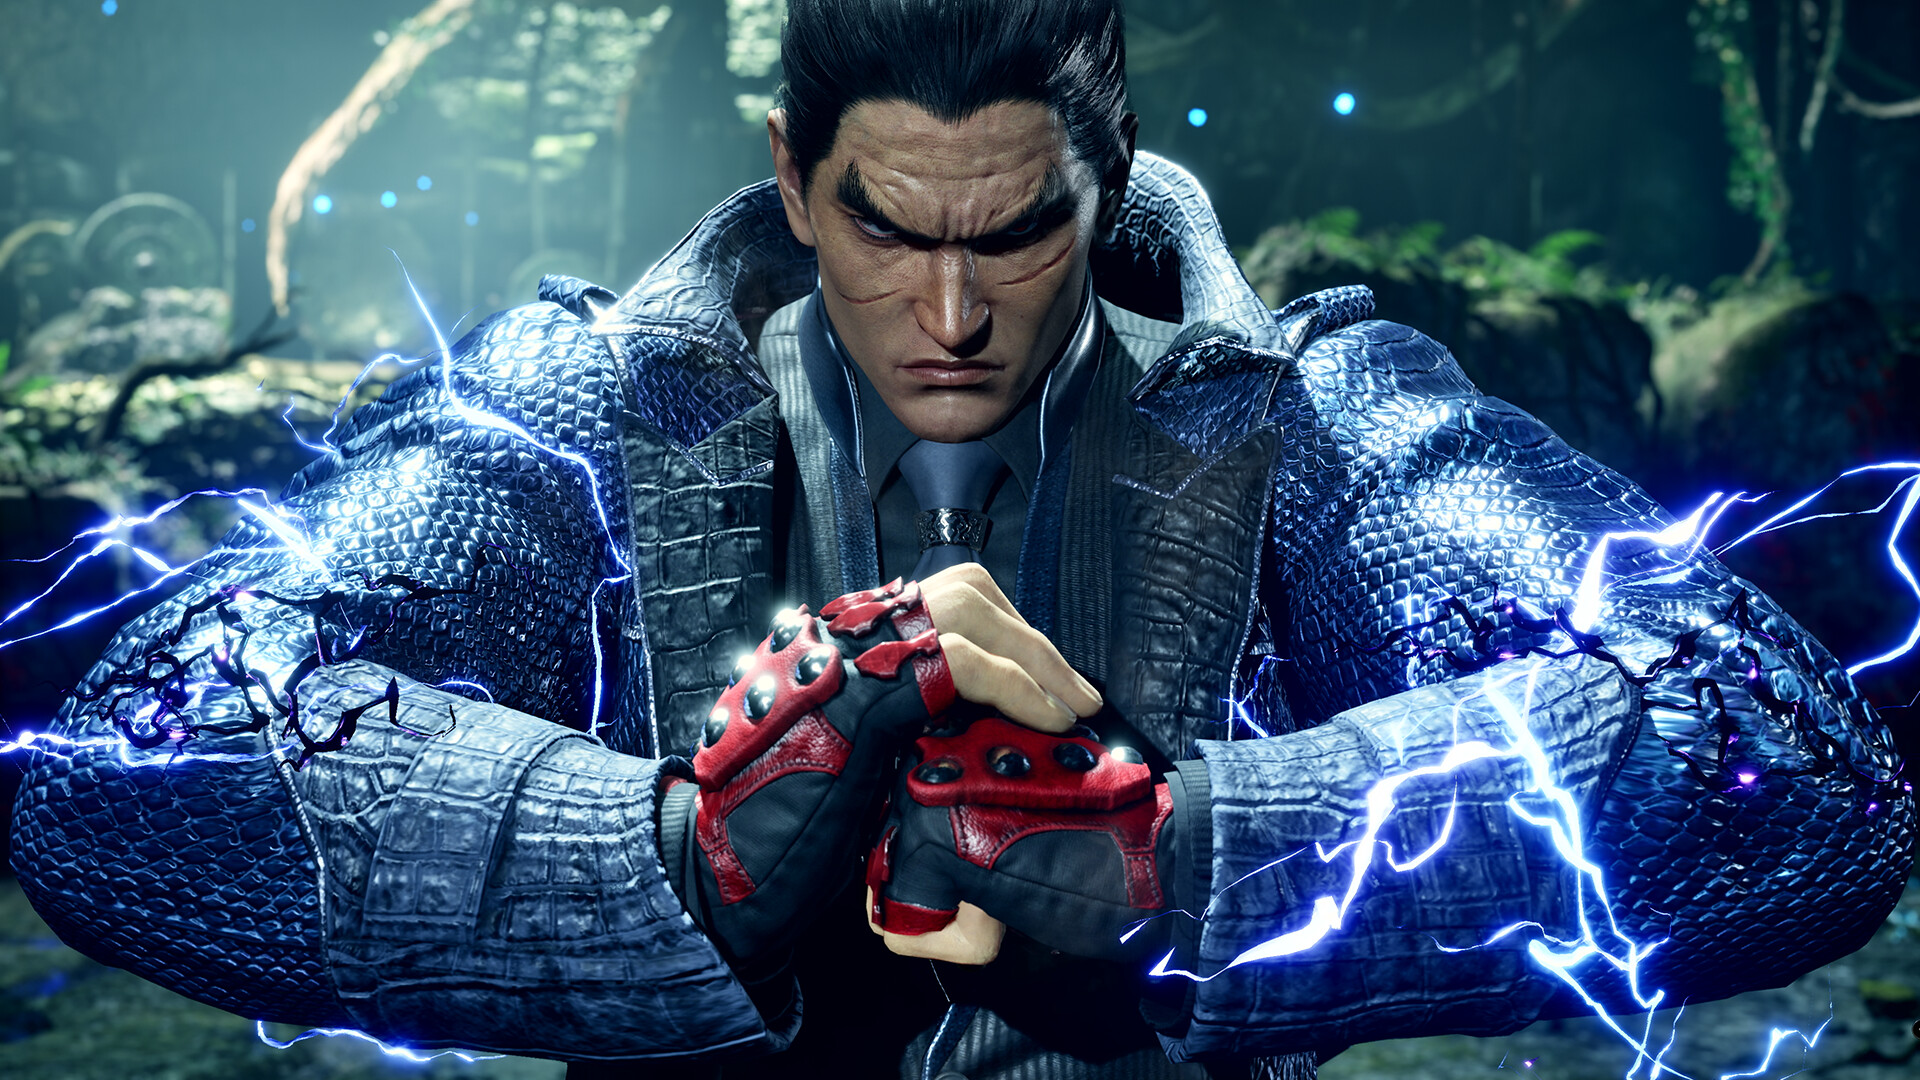
Kazuya Heat Smash (move-list check required)
Kazuya Mishima Smash Damage reference (current build untested): 75Consider it after opening the opponent's defense or as part of Heat-related pressure. Whether it connects after a particular jab string must be checked in Practice; the listed damage is not a current-patch guarantee.
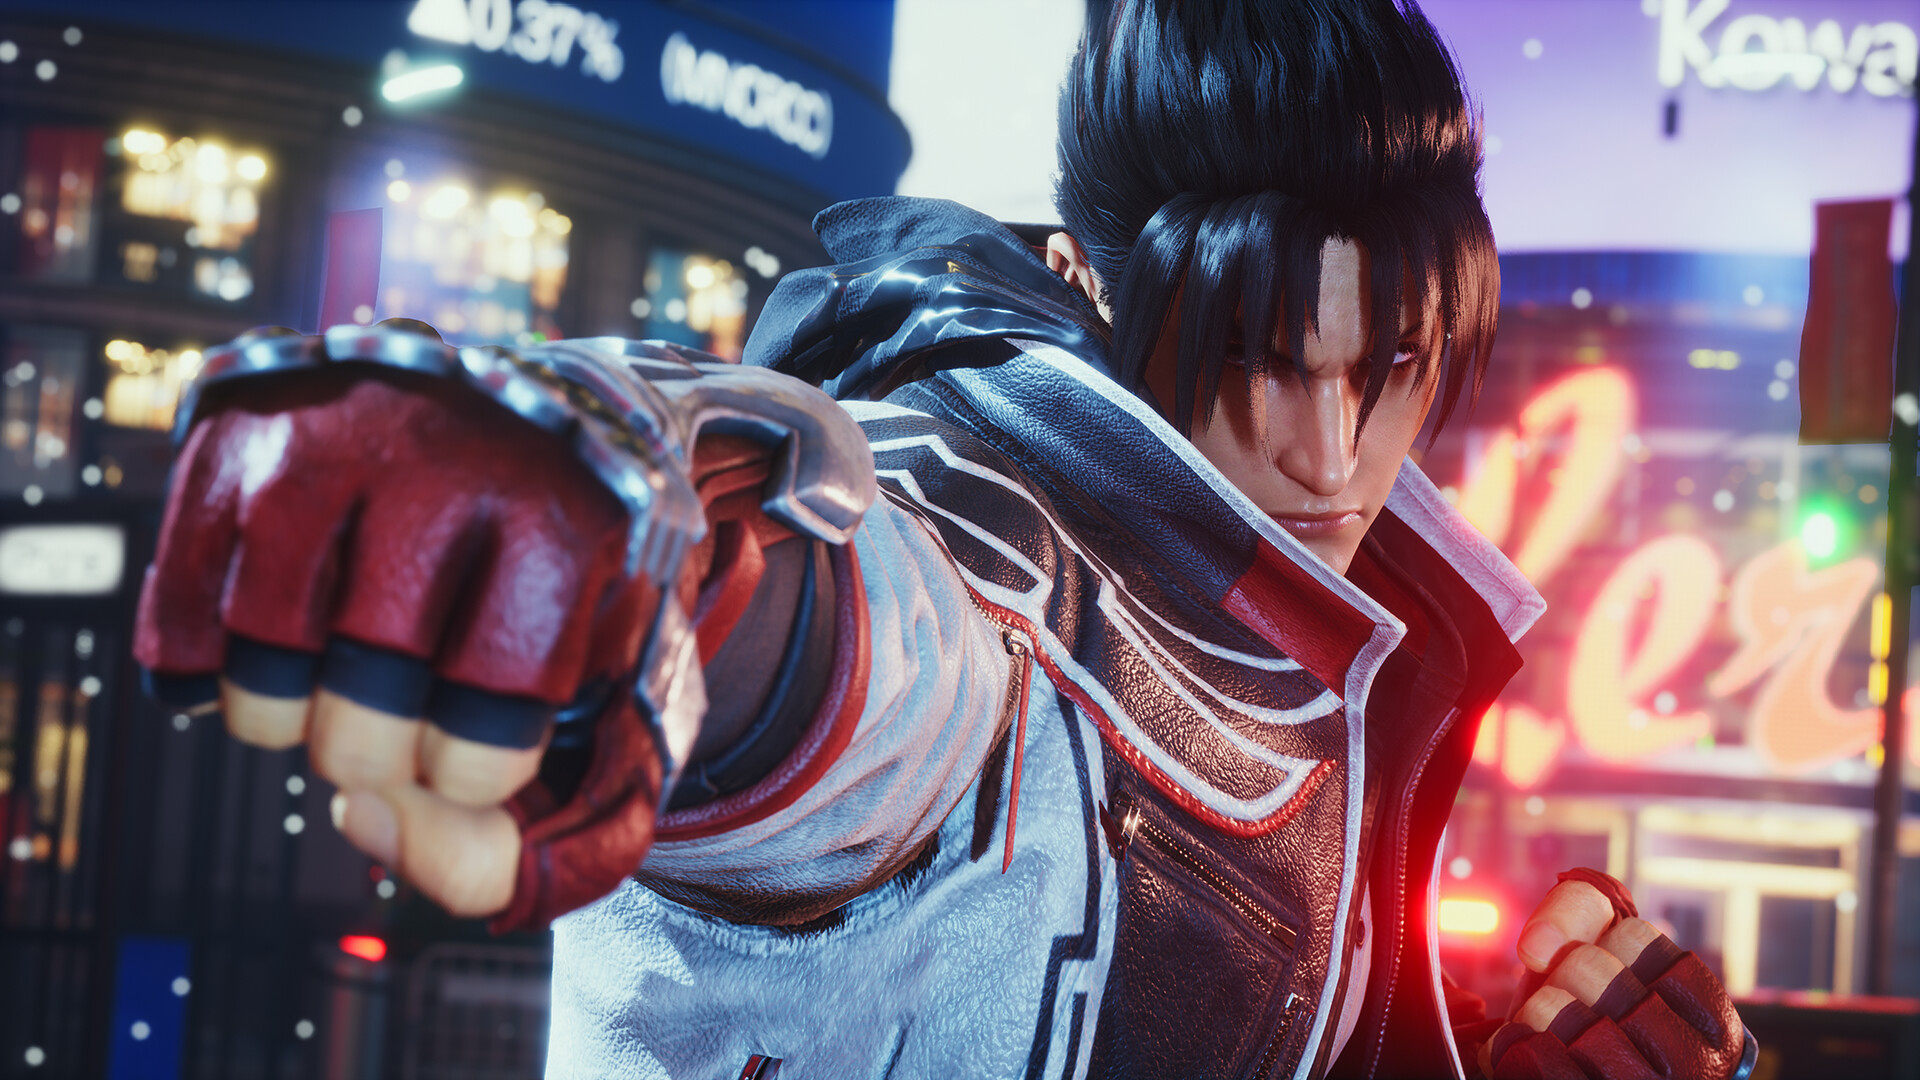
Jin Heat Smash (move-list check required)
Jin Kazama Smash Damage reference (current build untested): 65The example aims to finish a sequence with a long-reaching Heat attack and explore wall follow-ups. Check its actual combo connection, wall behavior and damage in the relevant version.
Paul Heat Burst (move-list check required)
Paul Phoenix Burst Damage reference (current build untested): 50The example uses Heat activation as an interruption or whiff-punish opportunity before further offense. Confirm timing, safety and any Death Fist follow-up in Practice rather than assuming a guaranteed route.
Nina Heat Smash (move-list check required)
Nina Williams Smash Damage reference (current build untested): 60The example uses it late in an offensive sequence and aims to continue pressure afterward. Current frame advantage, connection and damage have not been checked for a specified patch.
King Heat Smash (move-list check required)
King Smash Damage reference (current build untested): 70The example focuses on a wall-side finish and possible follow-ups. Consult the current move list to identify the actual Heat Smash and test the wall situation.
Bryan Heat Engager example (move-list check required)
Bryan Fury Engager Damage reference (current build untested): 45The example considers a mid attack as a route into Heat when it hits. Guarding a mid is different from being hit: this is not guaranteed damage against a standing defender. Check the actual qualifying move and follow-up in Practice.
Develop a confirmed offensive opportunity
SuggestedHeat can change a combo route, but the best activation point depends on what actually connects for the fighter. Practice the route rather than assuming immediate activation always gives maximum damage.
Use Burst after a missed attack when it reaches
SuggestedIf the opponent misses, a correctly ranged and fast enough response may provide an opening. Heat Burst is only one candidate: compare it with the fighter's normal whiff punish.
Recover health through offense
Situation-dependentRecoverable health returns when attacks hit or force a block, with a successful Heat Engager restoring more. Simply waiting defensively in Heat does not supply passive recovery.
Apply wall pressure deliberately
SuggestedWith the opponent near a wall, Heat may offer stronger pressure or follow-ups. Check spacing and safety; Heat does not make every wall sequence unavoidable.
Heat improves selected offensive options. Avoid reacting with an unsafe button. Where space permits, use movement and distance to make the opponent spend time approaching.
Heat Burst is described as a mid attack in the introduction. Blocking is one response; whether a sidestep makes it miss depends on the actual tracking and version. Practice the specific situation rather than assuming a universal escape.
Avoid forcing offense from a disadvantaged position. Defend against the actual attack level and recognize gaps; the timer can be spent while you manage pressure, but blocking Heat attacks can leave recoverable damage.
Pressing into an opponent's advantageous sequence risks a counter hit and a damaging follow-up. Choose responses based on the move and its recovery rather than the presence of Heat alone.
Q1. When should I activate Heat?
Useful situations include a confirmed offensive opportunity, a correctly timed Heat Burst interruption, or a punish after the opponent's unsafe action. Heat is available once per round, so avoiding indefinite hoarding matters. The best choice depends on the character, move, range and remaining health; no single timing is always optimal.
Q2. How do Heat Smash and Heat Burst differ?
Heat Burst activates Heat while using a Power Crush attack, absorbing applicable high or mid attacks. Heat Smash spends all remaining Heat on a character-specific attack and ends Heat. Burst changes the situation and starts the state; Smash spends it. Check whether a particular combo or wall follow-up connects instead of treating Smash as a universal combo finisher.
Q3. Does taking damage end Heat or heal me automatically?
Heat ends when its timer is exhausted or when an action such as Heat Smash or Heat Dash spends it. The official introduction lists 10 seconds after Heat Burst and 15 after Heat Engager. Entering Heat does not provide continuous passive healing: recoverable health returns through hitting the opponent or making them block, and a successful Heat Engager restores a substantial amount. Current patch changes still require checking.
Q4. Does every character use Heat in the same way?
No. Heat enhances character-specific properties and decisions. Kazuya's offensive options, Paul's pressure and King's strike/throw choices differ. Check the move list and Practice behavior for your fighter. Test the example moves and listed damage in Practice; a particular string or wall follow-up is not guaranteed by these examples.

Xbox Series S

HyperX Cloud III

AOC Q27G2U

Secretlab TITAN Evo
Affiliate links to Amazon Japan. Purchases may earn us a commission at no extra cost to you. Check the retailer for current prices.
Game Music Collection
Rakuten Points ¥3000
HORI mini controller for Switch
ELECOM controller
Affiliate links to Rakuten Japan. Listed prices are indicative; check the retailer for current prices.